Halloween · Crafts
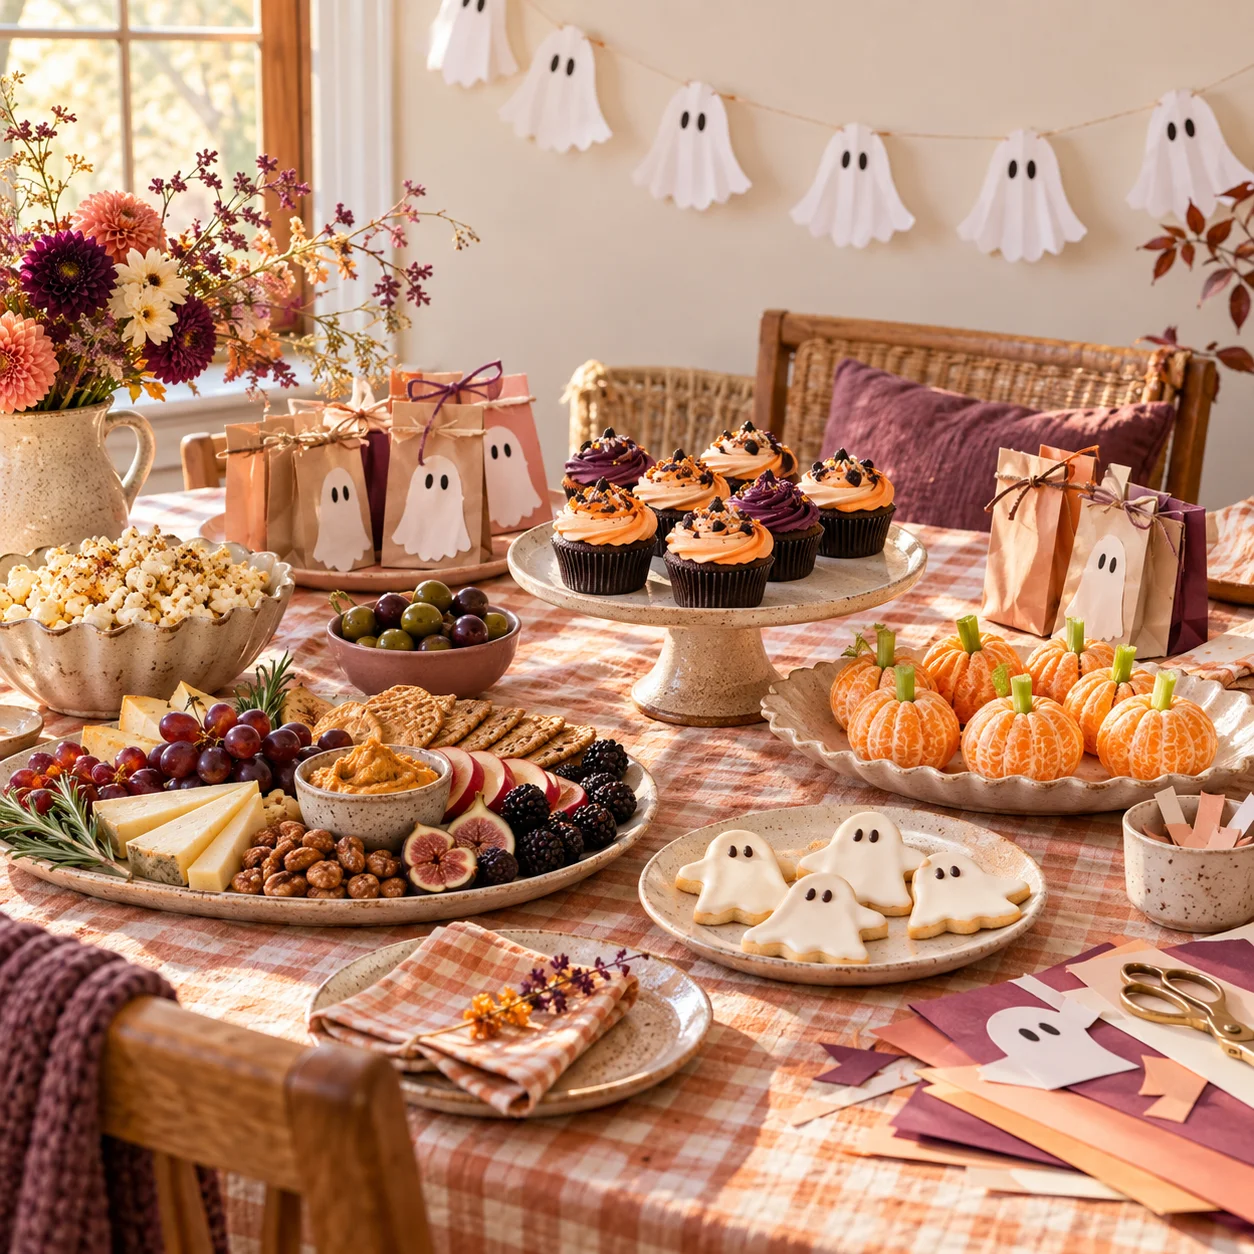
Little ghost favor bags with big personality
Turn plain paper bags into a sweet take-home detail with a broad ghost shape and handwritten faces.
Gather a small kit
For six bags, collect six plain paper bags, two sheets of cream cardstock, a pencil, scissors, a black marker and a glue stick. Use food-safe inner packaging if adding edible treats; craft paper and glue should not touch unwrapped food.
Make a sample shape
Print the free ghost outline at 100%, or draw a rounded ghost about four inches tall. Cut one sample before making the batch. Hold it against the bag and check that it leaves the opening clear.
Give the ghosts personality
Trace six ghosts, cut them and add simple faces while the shapes are flat. Use big eyes, a tiny smile or a surprised mouth. Decorate with ink instead of loose small parts for an easier cleanup.
Attach and fill
Glue each ghost to the outside front of a bag. Let the glue dry fully before opening the bag and adding separately wrapped contents. Fold the top down once or twice. A short strip of decorative paper tape is enough to close it.
Make it yours
Write a guest’s first name on the back or add a tiny thank-you note inside. Keep a sample and note the bag size so the next batch is simpler. This starter project has not been physically maker-tested.
A slightly different face on every bag is the whole point.
Feeling Crafty · feelingcrafty.net/ideas/paper-ghost-favor-bags/ · For the joy of making