Not everyone wants their Halloween corner to be frightening. A row of hand-drawn ghosts with different expressions feels playful, personal, and easy to make together.
Draw one shape you like
Start with a broad ghost about four inches tall. Keep the arms and the wavy hem chunky so the shape is easy to cut by hand. Make a test ghost from scrap paper before tracing onto your good cardstock.
Trace, cut, and give each one a face
Use the first ghost as a template and trace six to eight more. The fun is in the faces: sleepy, surprised, cheerful, a little shy. Lay them out in a row and shuffle them until the order makes you smile.
Space them evenly on the twine
Turn the ghosts face down and tape twine across the back of each one, leaving the same gap between them. Leave extra twine at both ends so you have room to hang the garland where you want it.
Hang it with care
Use a removable hook or tape that suits your wall. Keep the garland away from candles and heaters, and hang strings out of reach of little ones and pets.
Make it yours next year
Try the same template on cream or pale peach cardstock, add tiny names to each ghost, or make a mini version for a mantel. Save your template in an envelope with a note about the paper you used.
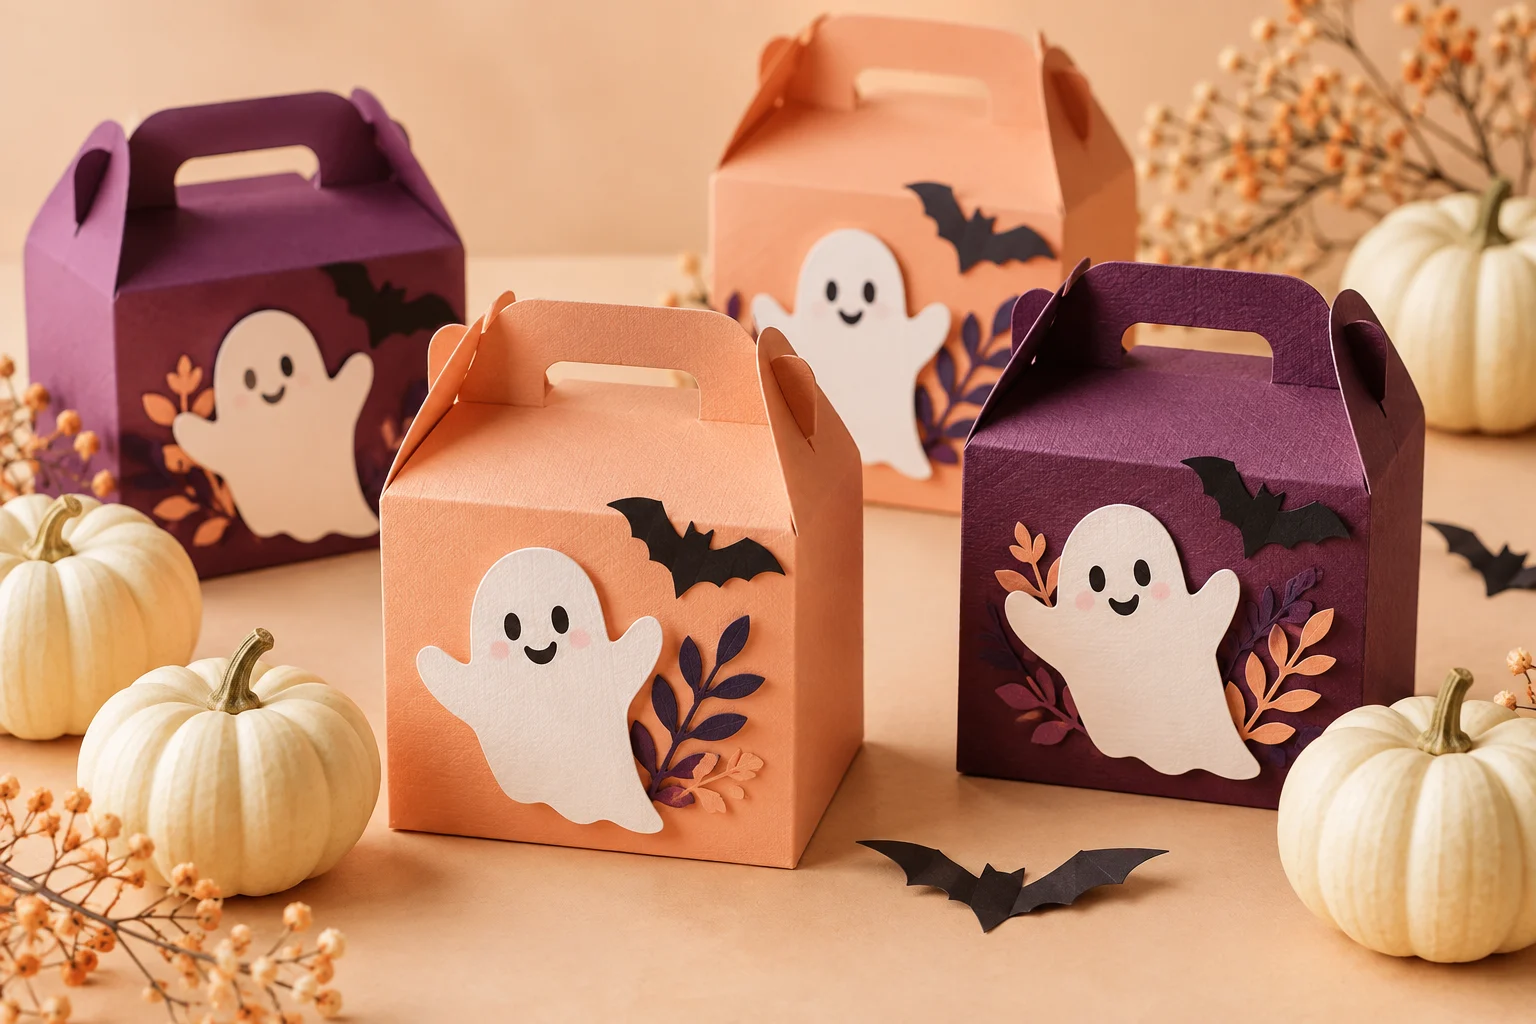
A not-so-spooky paper garland
Let’s make it ↗The related projects are starter guides and have not yet been maker-tested.
← Back to the Crafty Notebook