Halloween · No machine
A not-so-spooky paper garland
Friendly paper ghosts for a cheerful little corner.
- Active time
- About 35 min
- Skill level
- Beginner
- Materials
- Est. $2–5
Check off your supplies and steps. Your progress stays in this browser.
0 of 5 steps complete.
STARTER GUIDE · AWAITING MAKER TESTING
Let’s make something lovely.
Step 1
Draw one broad ghost outline about 4 inches tall. Keep the arms and lower curves chunky enough to cut easily.
Step 2
Cut it out and trace it onto more cardstock. Make six to eight ghosts.
Step 3
Draw a different face on each. Lay them out to decide the order.
Step 4
Tape the twine to the back of each ghost, spacing them evenly. Leave extra twine at both ends.
Step 5
Hang with a removable fixing suitable for your wall. Keep strings out of reach of small children and away from candles.
A small piece of tape at each shoulder helps the ghosts face forward.
Make it personal
Mix in paper circles or flags in your party colors.
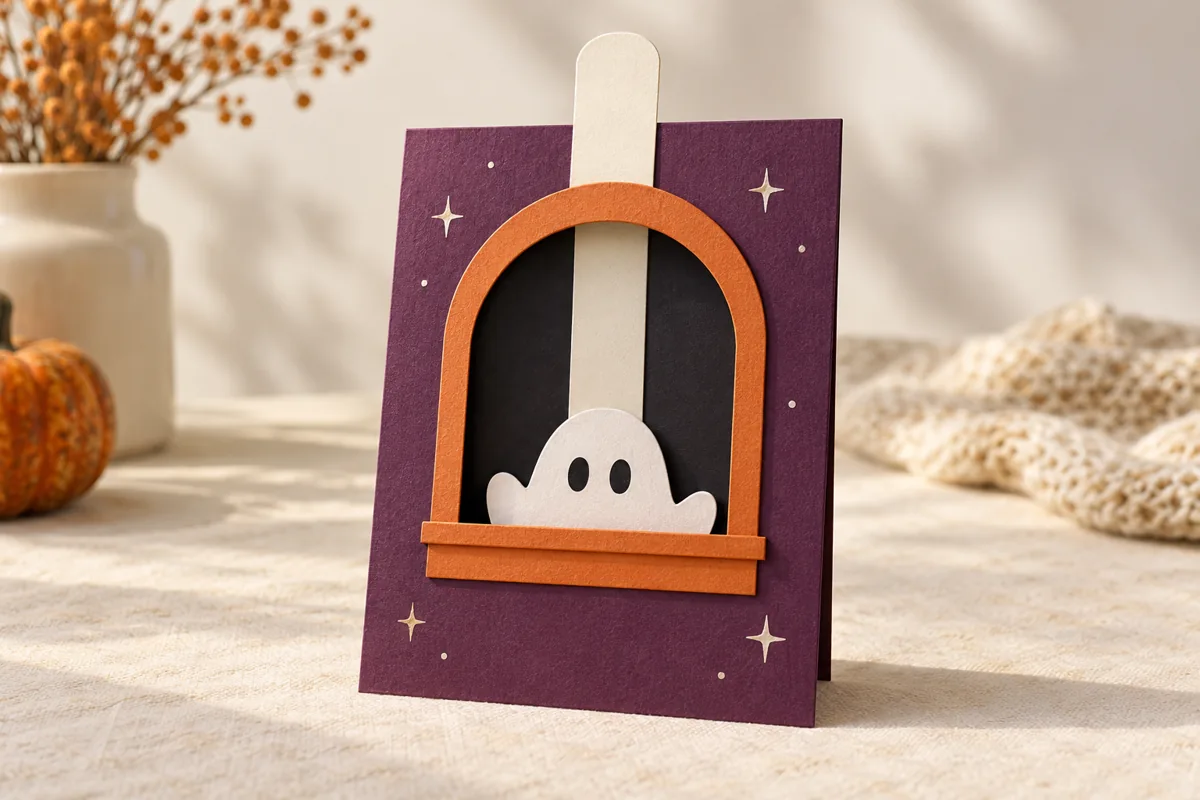
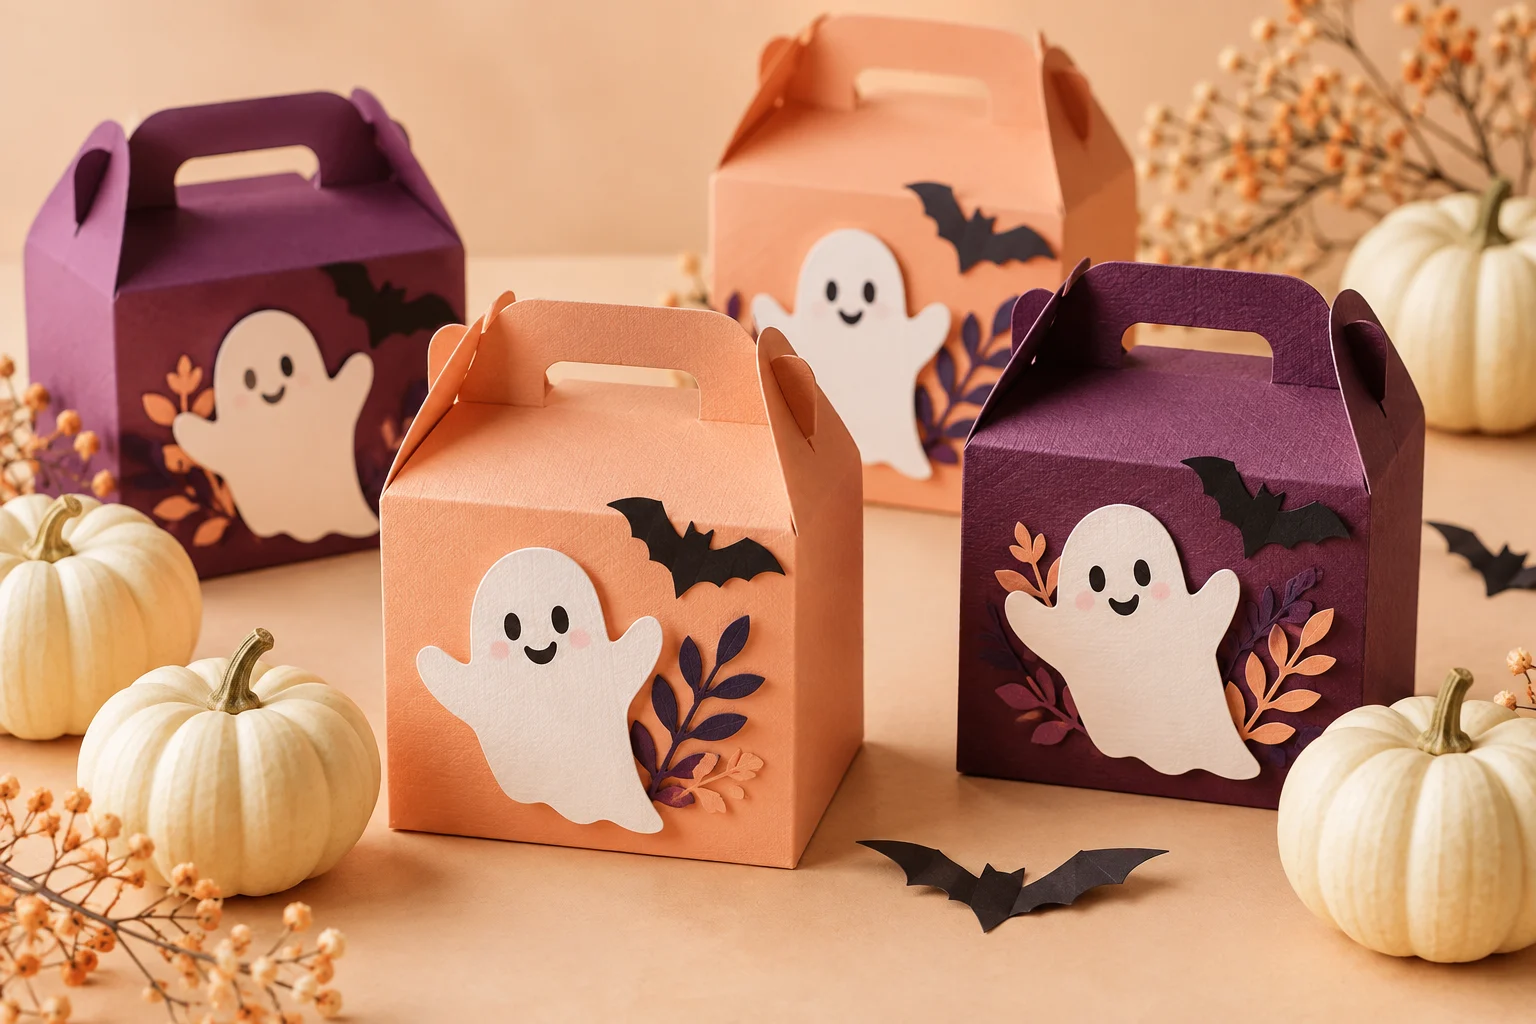
The cover is AI-generated concept imagery, not documentation of these exact steps. Allow any additional drying time. Estimated materials cost excludes equipment. Check your equipment and material instructions, verify template dimensions, and make a sample before a batch.
← Back to Halloween projects