New Year · No machine
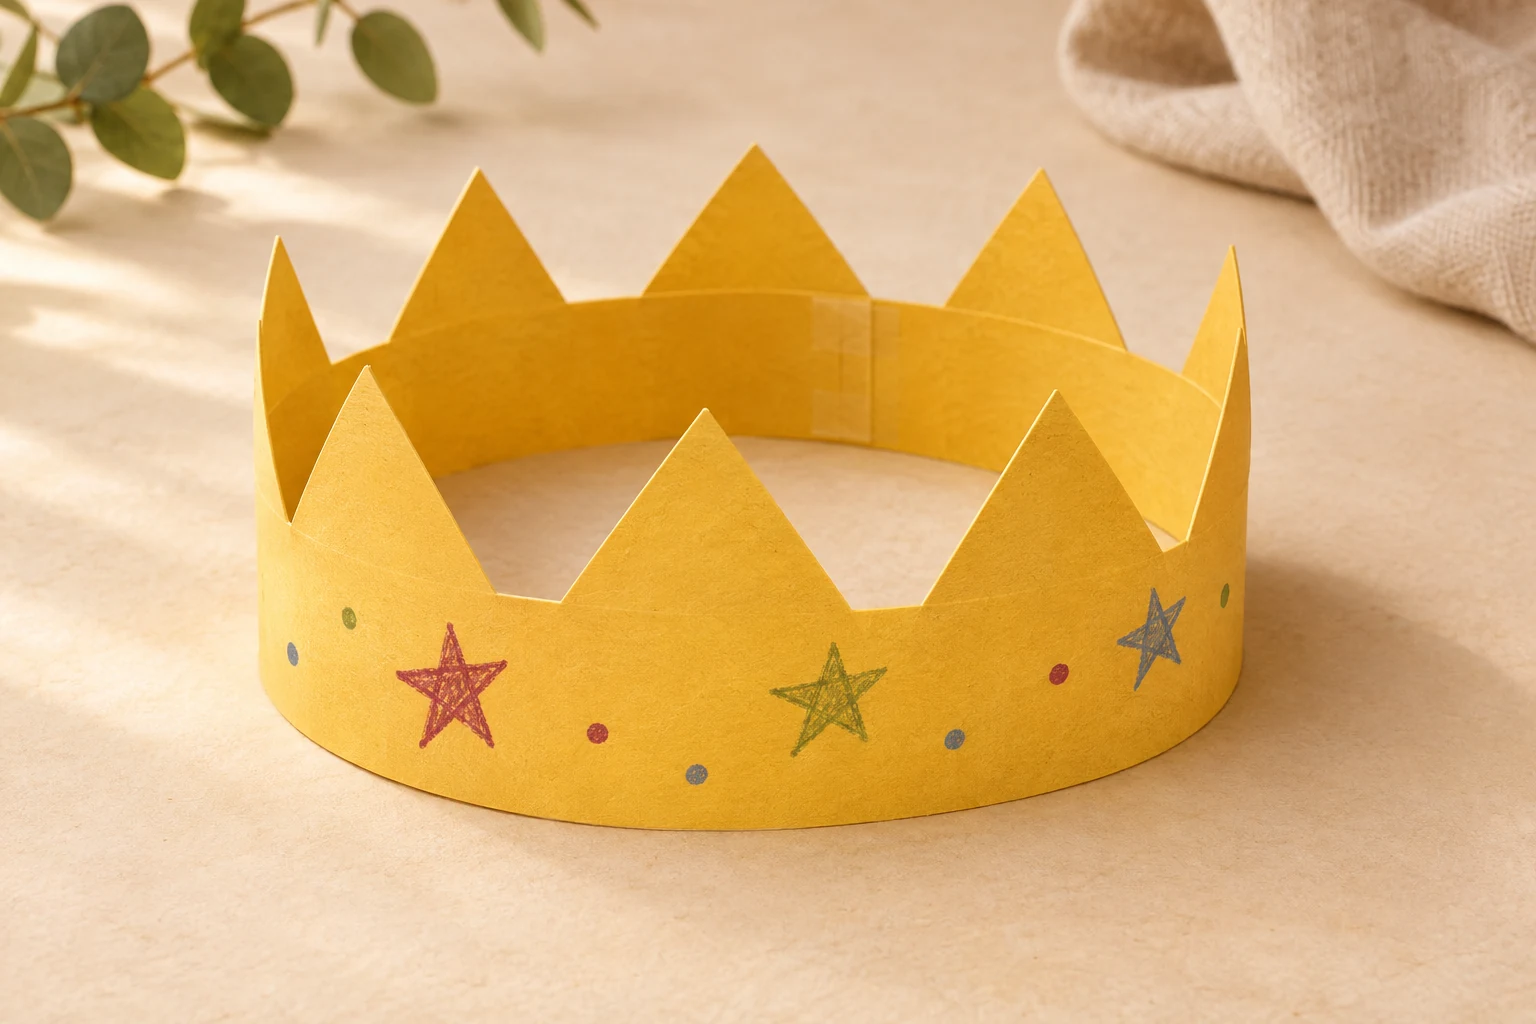
New Year party crowns
Cut a row of cheerful paper points, add a little color and fit a soft paper crown for the countdown.
- Active time
- About 20 min
- Makes
- 1 adjustable paper crown; two strips fit up to about 54 cm circumference
- Skill level
- Beginner
- Materials
- Est. $1–3
Ages 6+ with adult help
Check off your supplies and steps. Your progress stays in this browser.
0 of 4 steps complete.
STARTER GUIDE · AWAITING MAKER TESTING
Let’s make something lovely.
Before you begin: An adult should cut and fit crowns for young children. Use tape instead of staples, add no chin cord, and remove the crown for sleep or vigorous play.
4 illustrated steps to help you follow the construction. Open any image for a closer look. AI-generated process illustrations accompany the written measurements.
Measure and cut five points
Cut two 6 × 30 cm strips. On each, draw a guide 3 cm above the bottom edge to keep a solid headband. Along that guide mark every 6 cm, including both ends. Mark the top edge at 3, 9, 15, 21 and 27 cm. Connect alternating guide and top marks to draw five triangular points, then cut along this zigzag.
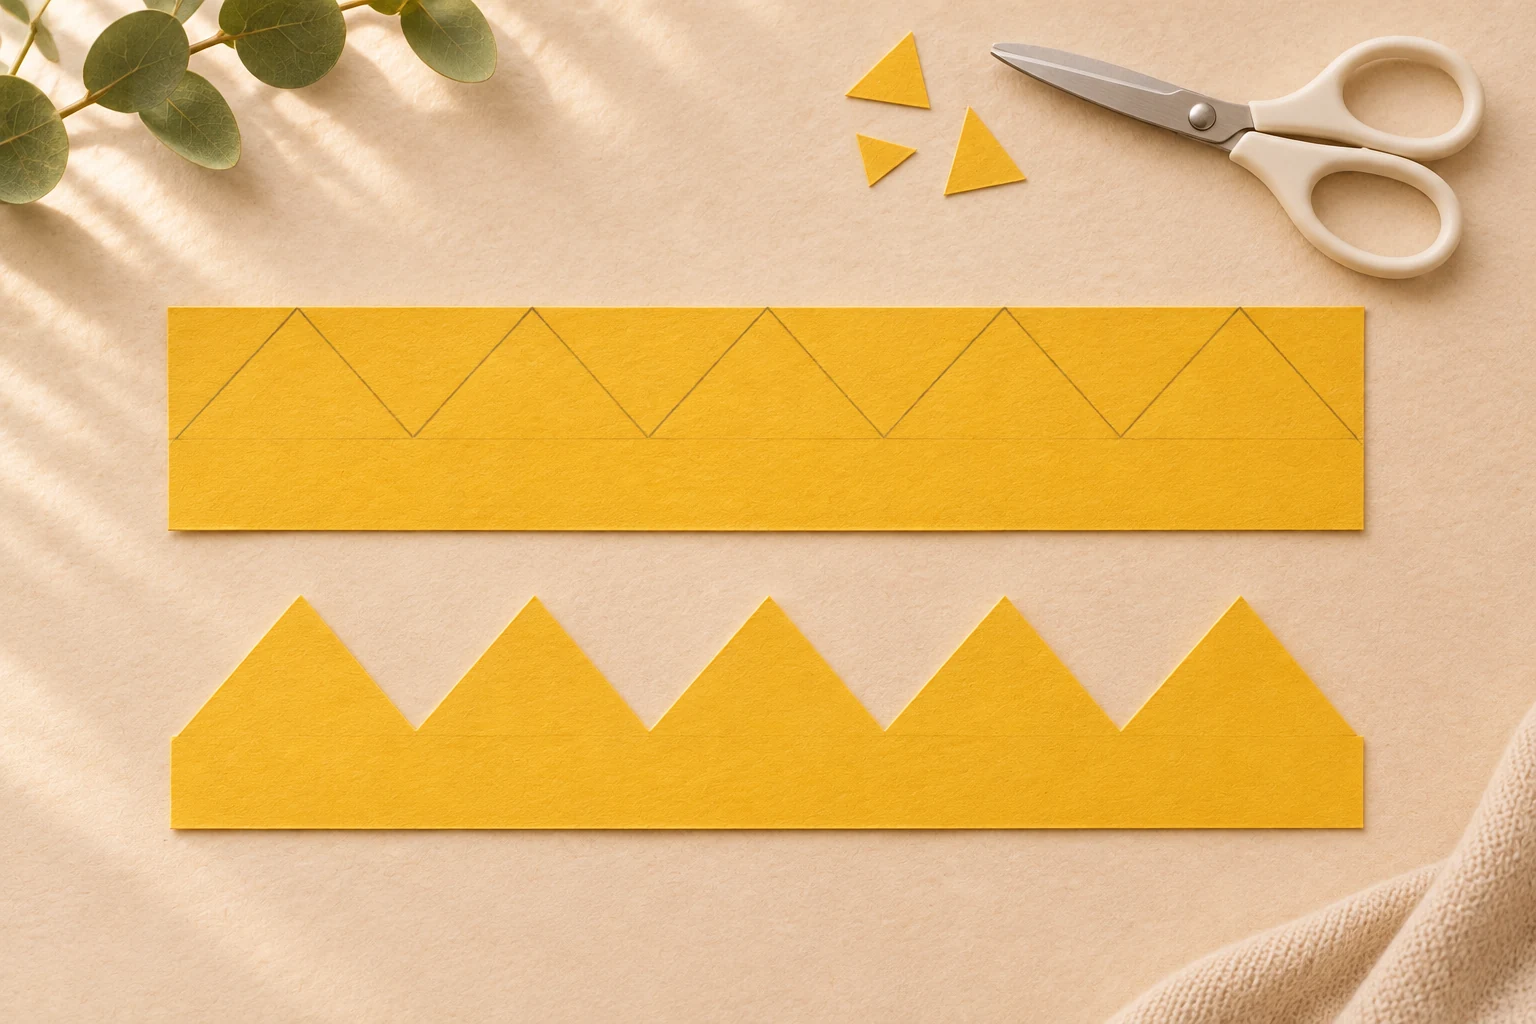
Keep the lower 3 cm uncut; each point spans 6 cm. · View full size ↗ Decorate the flat strips
Decorate the strips while they lie flat. Draw stars, dots, wishes or the coming year on the solid lower 3 cm. Leave the first and last 2 cm mostly undecorated for joining. Keep the inside surface smooth and free from raised decorations.
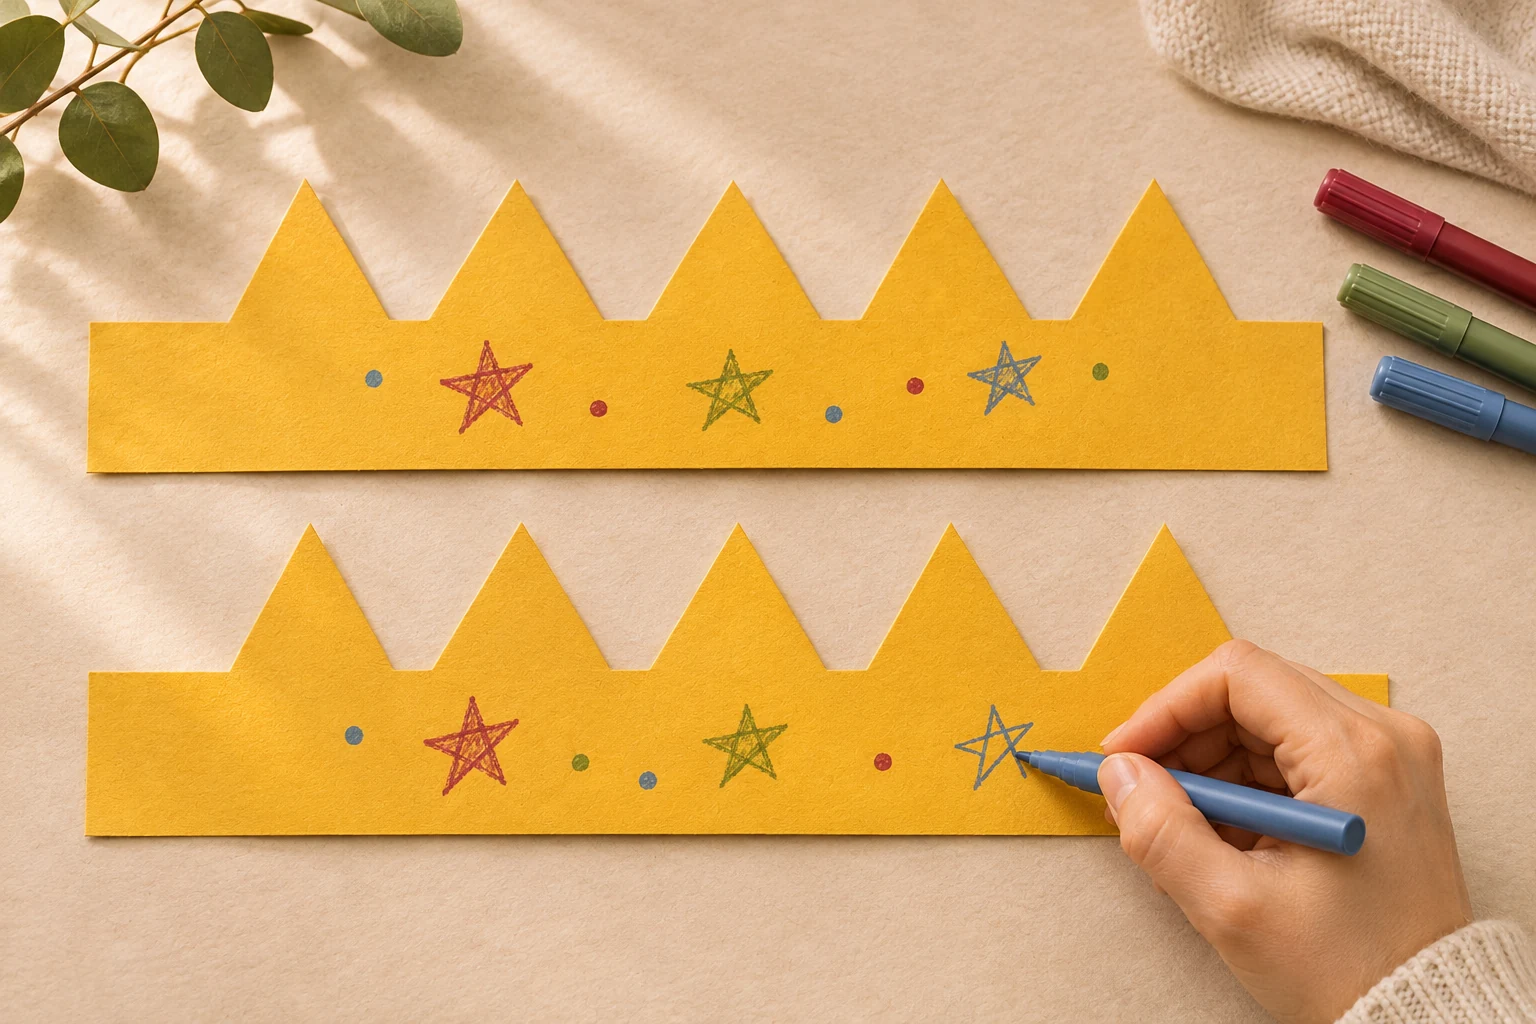
Flat paper is easier to decorate neatly. · View full size ↗ Join the band and check length
Overlap one short end of each strip by 2 cm to make a band about 58 cm long. Tape the join on both sides. The final closure needs at least 4 cm of overlap, so this band fits a circumference up to about 54 cm. If a larger crown is needed, cut and decorate another matching strip, join it with a 2 cm overlap, and trim away the excess length before closing.
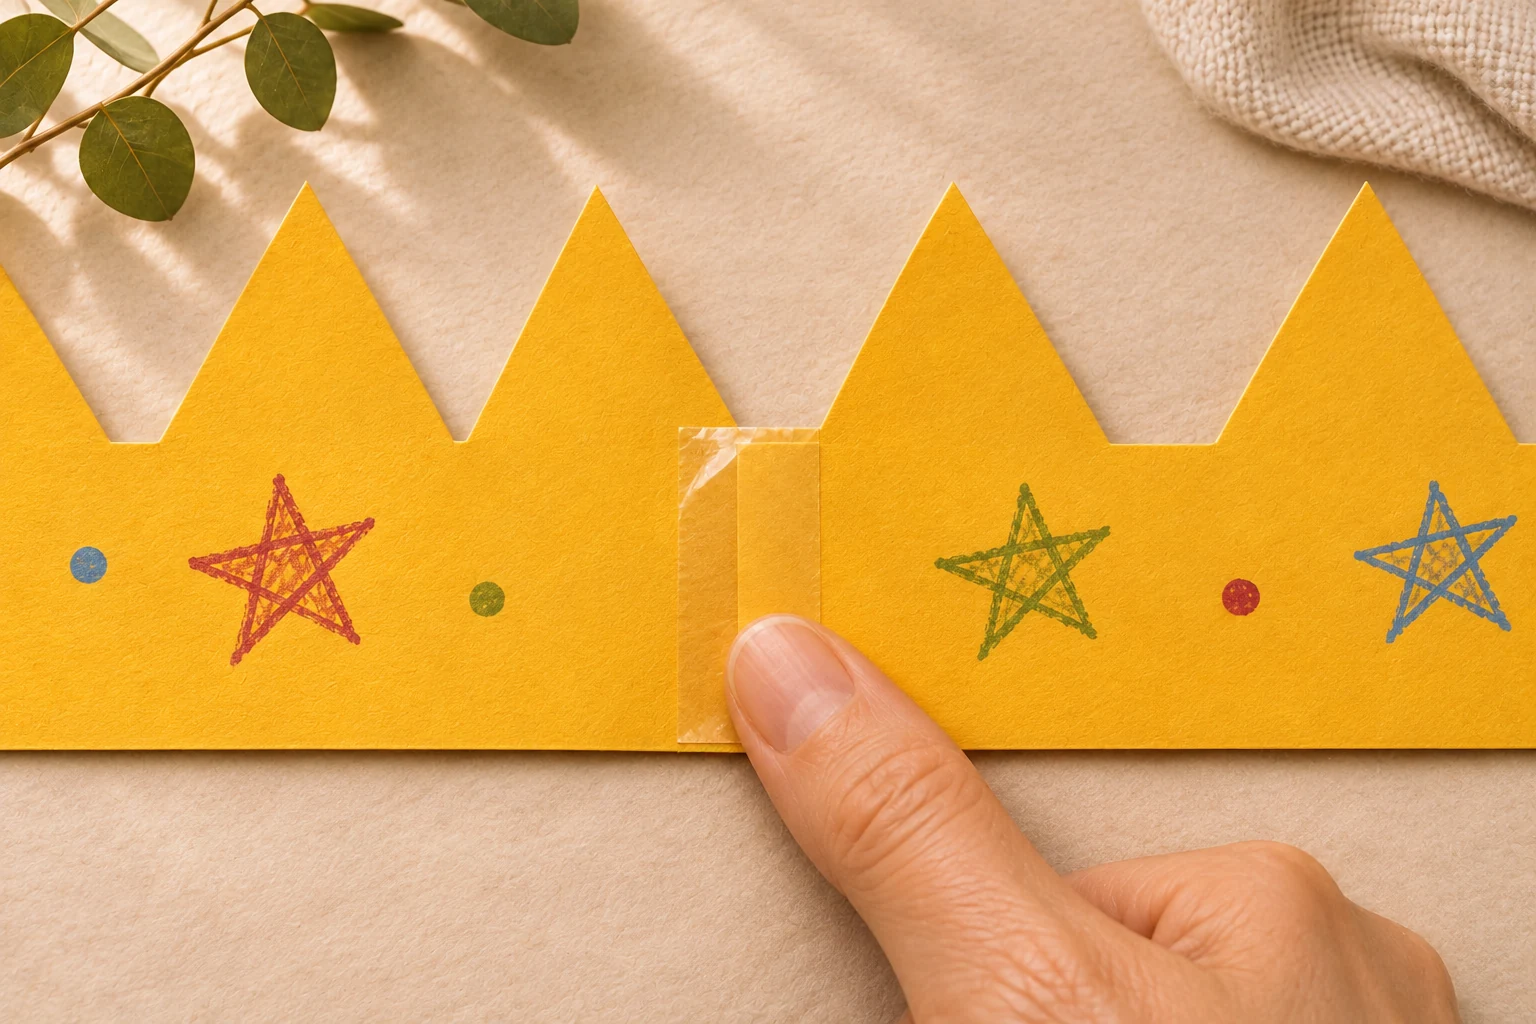
30 + 30 − 2 = 58 cm before the final overlap. · View full size ↗ Fit, remove and tape closed
Curve the band gently around the wearer’s head to find a comfortable loose fit; do not tape it while it is being worn. Mark the overlap, take the crown off, and trim any excessive inner tail while keeping at least 4 cm of overlap. Tape the final join smoothly inside and out. Check the fit and remove it if uncomfortable.
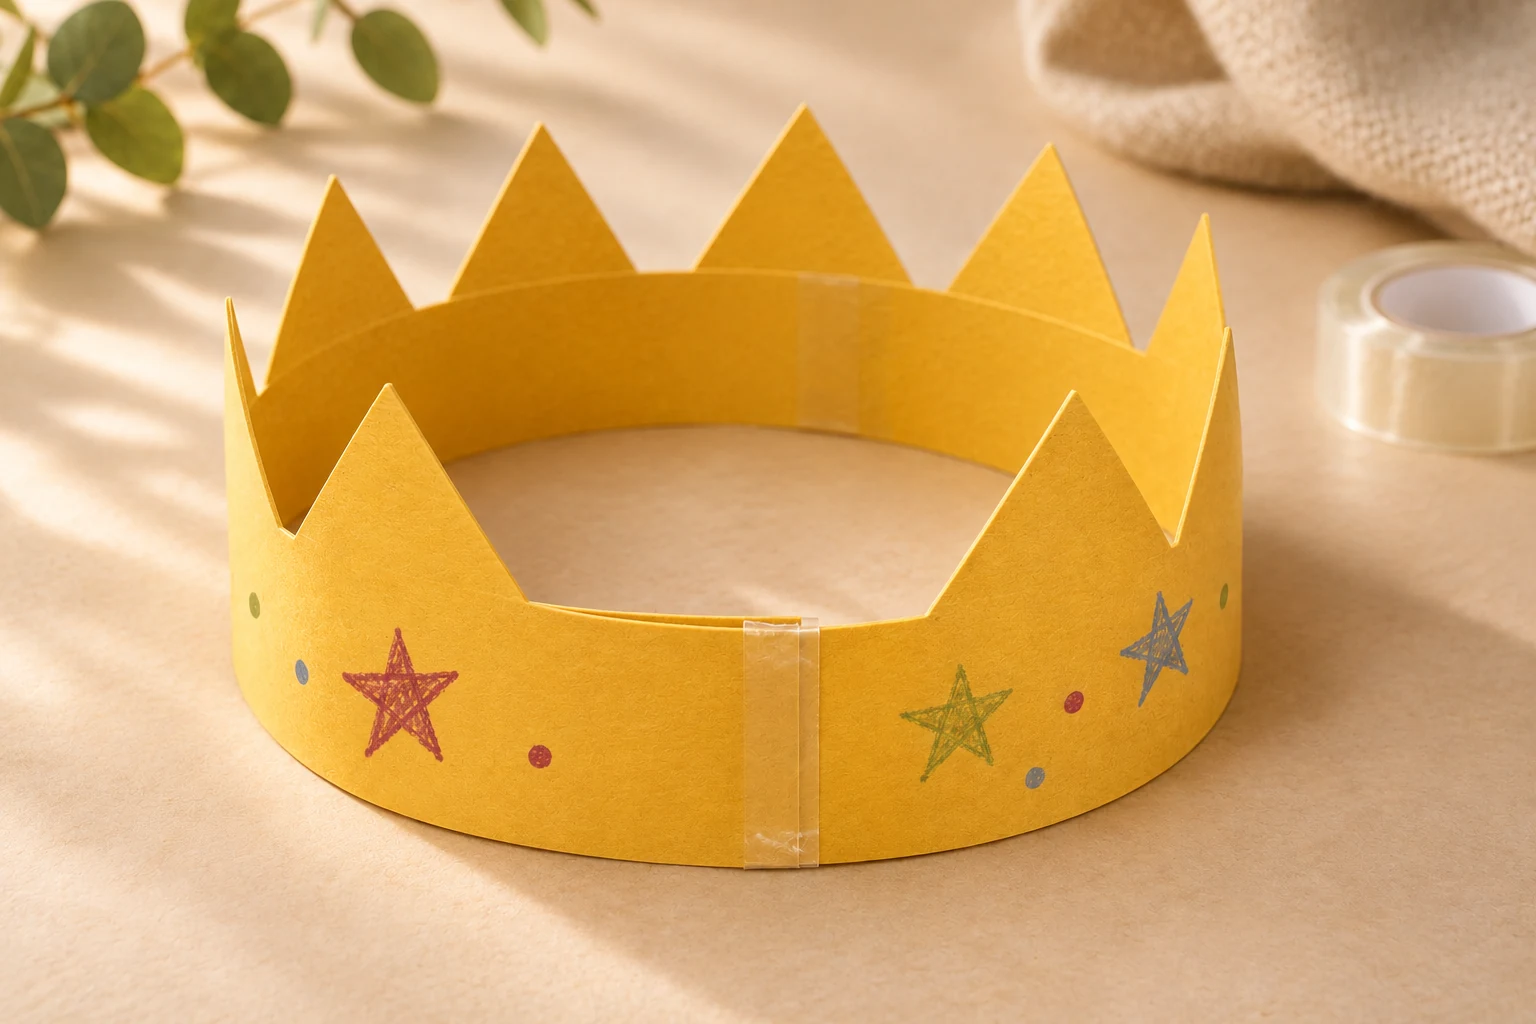
Tape the final seam off the head, then check a loose fit. · View full size ↗
Flexible cardstock curves more comfortably than stiff cardboard. Add a strip for extra length instead of tightening the crown.
Make it personal
Give each guest a different color, or write a small wish on the inside of the band.
The cover and process images are AI-generated illustrations of the intended make. Follow the written measurements; these project plans await hands-on maker testing. Allow any additional drying time. Estimated materials cost excludes equipment. Check your equipment and material instructions, verify template dimensions, and make a sample before a batch.
← Back to New Year projects