Halloween · No machine
The not-too-spooky cardboard village
Turn clean packaging into a tabletop neighborhood for a family storytelling night.
STARTER GUIDE · AWAITING MAKER TESTING
Let’s make something lovely.
Before you begin: Stay within arm’s reach. Use age-rated washable materials; grown-ups handle cutting. Skip beads, buttons, loose magnets, batteries and other small parts around children who mouth objects.
- 01
Choose three boxes and remove staples, plastic windows and loose packaging. Keep them tabletop-sized.
- 02
Adults cut simple roof shapes from spare card. Tape roofs to the boxes without sharp exposed edges.
- 03
Cover each house with colored paper. Draw doors, windows, climbing vines and friendly ghosts instead of cutting tiny openings.
- 04
Arrange the houses on a large cardboard base. Draw connecting paths and add paper trees.
- 05
Name the village and take turns telling a story about who lives behind each door. Store it dry for another play session.
Keep the houses unlit: paper windows provide all the atmosphere this version needs.
Make it personal
Make one house match your home and another that could only exist in a story.
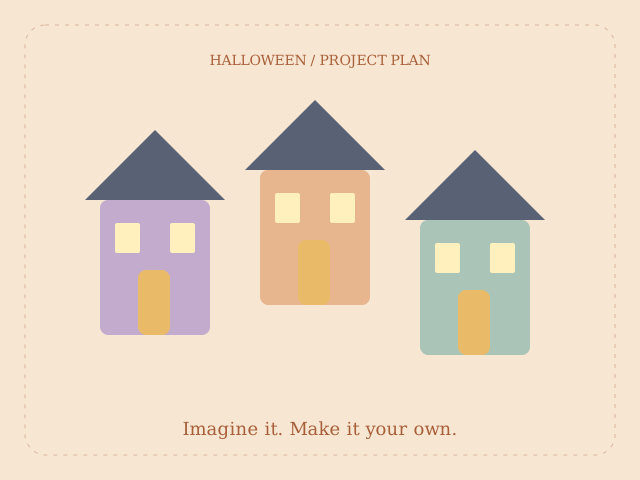
The diagram illustrates the project idea; it is not a maker-tested result. Allow additional drying time. Estimated materials cost excludes equipment. Check your equipment and material instructions, verify template dimensions, and make a sample before a batch.
← Back to Halloween projects