Halloween · No machine
A torn-paper pumpkin patch
Tiny hands make a big, cheerful patch with paper, paste and wonderfully imperfect shapes.
STARTER GUIDE · AWAITING MAKER TESTING
Let’s make something lovely.
Before you begin: Stay within arm’s reach. Use age-rated washable materials; grown-ups handle cutting. Skip beads, buttons, loose magnets, batteries and other small parts around children who mouth objects.
- 01
Cover the table and set out one large sheet per child. Draw two broad pumpkin outlines, or let older children draw their own.
- 02
Offer large strips of orange paper to tear. A grown-up can start the first tear so little hands can finish it.
- 03
Rub glue inside one pumpkin at a time and press the torn pieces into place. Overlaps and gaps make lovely texture.
- 04
A grown-up cuts broad green stems. Attach them above the pumpkins and draw vines, clouds or a friendly face.
- 05
Let the collage dry flat. Add the maker’s name and year, then display it out of reach of younger siblings.
Offer one color at a time and stop while it is still fun. Five minutes of making counts.
Make it personal
Have every family member add one pumpkin to a shared patch.
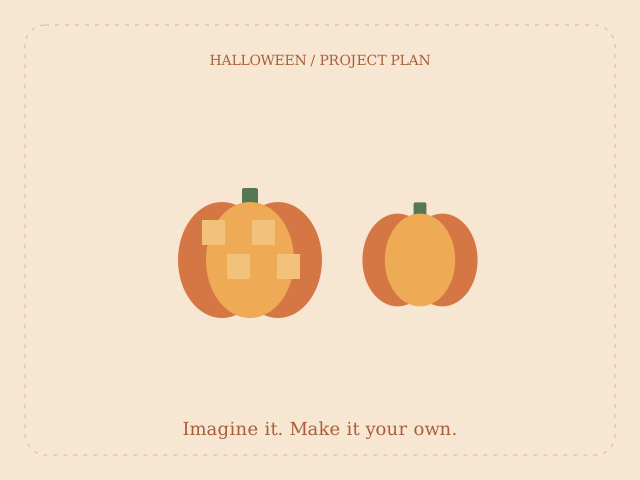
The diagram illustrates the project idea; it is not a maker-tested result. Allow additional drying time. Estimated materials cost excludes equipment. Check your equipment and material instructions, verify template dimensions, and make a sample before a batch.
← Back to Halloween projects