Hanukkah · Cricut
Hanukkah gift sleeves in blue and gold
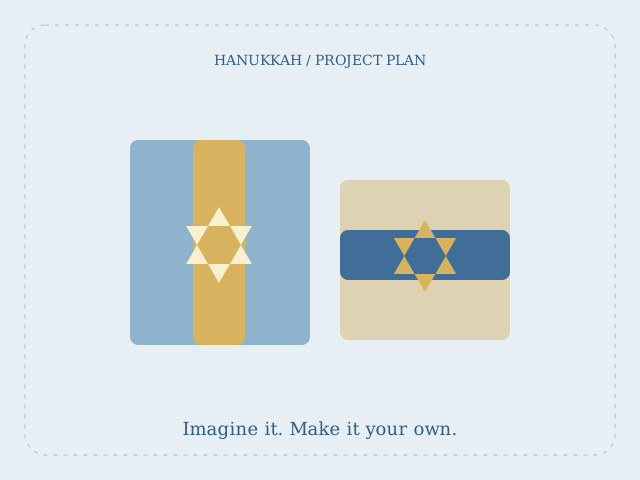
Cut layered paper bands that give a little gift a thoughtful handmade finish.
STARTER GUIDE · AWAITING MAKER TESTING
Let’s make something lovely.
Before you begin: A grown-up operates the cutting machine and keeps tools and scraps away from young children. Check the material setting for your machine and make one test before a batch. Keep finished paper decorations away from flame.
- 01
Wrap scrap paper around the gift and mark the length, including a 2 cm overlap. Measure the band width you prefer.
- 02
Create a rectangle in Design Space using those measurements. Add a separate large geometric accent or the recipient’s initial.
- 03
Cut one plain test sleeve from inexpensive card. Ordinary cardstock is cut without mirroring.
- 04
Cut the final sleeve and accent, then glue the layers flat. Handwrite a greeting or add compatible Draw lettering.
- 05
Wrap around the package and glue only the overlap. Keep paper decorations away from candles and serving dishes.
Use simple shapes you draw yourself; check licenses before using purchased designs on products for sale.
Original guides & helpful references
Make it personal
Create eight related color combinations for a coordinated family gift collection.
The diagram illustrates the project idea; it is not a maker-tested result. Allow additional drying time. Estimated materials cost excludes equipment. Check your equipment and material instructions, verify template dimensions, and make a sample before a batch.
← Back to Hanukkah projects