Hanukkah · No machine
A paper hanukkiah for little hands
Arrange eight paper candles and a distinct shamash in a colorful Hanukkah collage.
STARTER GUIDE · AWAITING MAKER TESTING
Let’s make something lovely.
Before you begin: Stay within arm’s reach. Use age-rated washable materials; grown-ups handle cutting. Skip beads, buttons, loose magnets, batteries and other small parts around children who mouth objects. Paper is flammable; this collage is never a candleholder.
- 01
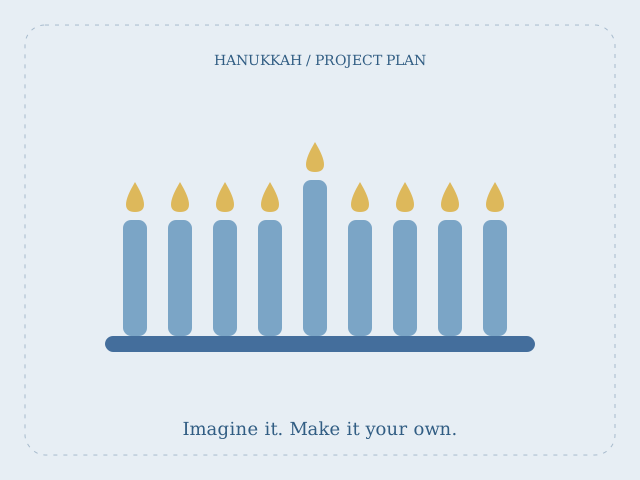
An adult cuts eight equal candle strips and one slightly taller strip for the shamash, the helper candle.
- 02
Lay the eight candles in a row, four on each side. Position the shamash higher in the center so it is visibly distinct.
- 03
Invite children to glue down one strip at a time. Draw a broad base connecting the candle shapes.
- 04
Add paper or crayon flames. Count the eight Hanukkah candles together, then point out the separate helper candle.
- 05
Write the child’s name and year on the back. Display as artwork, well away from a real menorah or any heat.
This is a paper learning decoration; never attach real candles or flame.
Make it personal
Let every person choose a candle color and share something that brings light to their day.
The diagram illustrates the project idea; it is not a maker-tested result. Allow additional drying time. Estimated materials cost excludes equipment. Check your equipment and material instructions, verify template dimensions, and make a sample before a batch.
← Back to Hanukkah projects