Halloween · Cricut
A window full of paper pumpkins
Use simple Cricut shapes for a bright, removable pumpkin window display.
STARTER GUIDE · AWAITING MAKER TESTING
Let’s make something lovely.
Before you begin: A grown-up operates the cutting machine and keeps tools and scraps away from young children. Check the material setting for your machine and make one test before a batch.
- 01
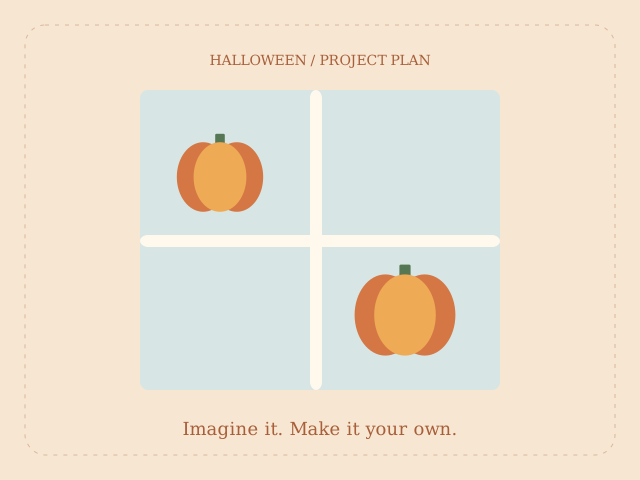
Measure the window section and choose a pumpkin width around 10–12 cm, staying within your machine’s cut area.
- 02
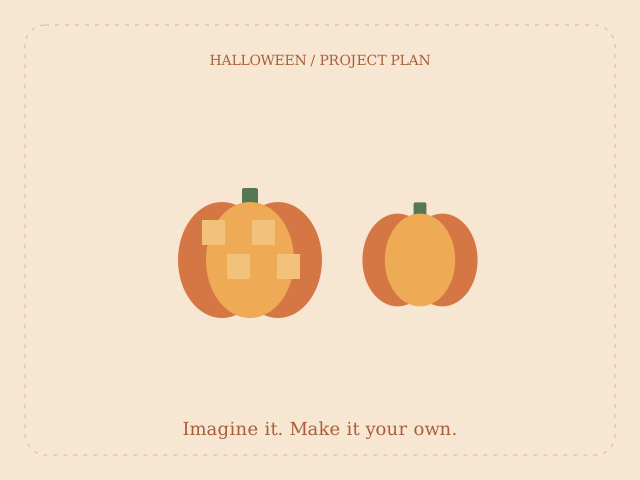
In Design Space, overlap three ovals for the pumpkin and unite them into one silhouette. Make a separate broad stem.
- 03
Select Basic Cut, choose your cardstock setting and cut one pumpkin first. Ordinary cardstock does not need mirroring.
- 04
Release the paper by gently bending the mat away. Glue on the stem and leave flat until dry.
- 05
Place finished pumpkins on the inside of the glass with removable tabs. Test the adhesive discreetly and keep the display away from heat.
Avoid delicate face cutouts on your first attempt. A marker makes friendly faces easy.
Original guides & helpful references
Make it personal
Let each family member draw a different expression.
The diagram illustrates the project idea; it is not a maker-tested result. Allow additional drying time. Estimated materials cost excludes equipment. Check your equipment and material instructions, verify template dimensions, and make a sample before a batch.
← Back to Halloween projects