Hanukkah · No machine
A torn-paper star mosaic
Layer paper pieces inside a six-pointed star for a bright Hanukkah wall decoration.
STARTER GUIDE · AWAITING MAKER TESTING
Let’s make something lovely.
Before you begin: Stay within arm’s reach. Use age-rated washable materials; grown-ups handle cutting. Skip beads, buttons, loose magnets, batteries and other small parts around children who mouth objects. Display away from candlelight and other heat.
- 01
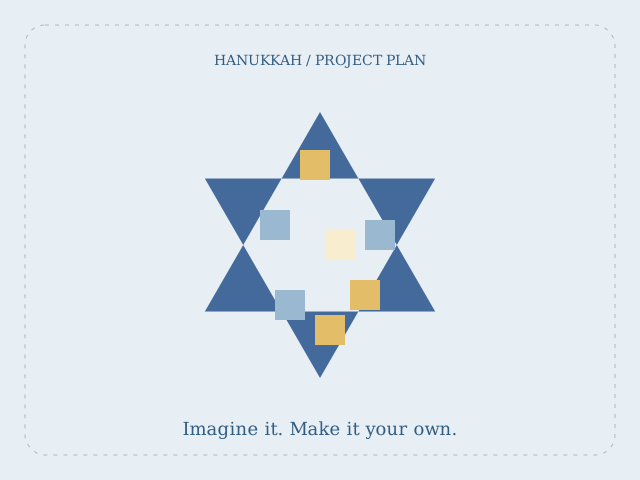
Draw two overlapping triangles, one facing up and one facing down, to form a six-pointed Star of David. Keep the shape broad.
- 02
Tear colored paper into manageable pieces. Keep larger pieces for younger makers.
- 03
Cover a small area of the outline with glue and fill it with paper, overlapping slightly.
- 04
Continue until the star is full. Add a contrasting paper border without needing to cut out the finished shape.
- 05
Let dry flat and display upright away from candles. Older children can write a short family message beneath it.
Keep the center as one open area instead of asking small hands to fill narrow lines.
Make it personal
Make a collaborative star with one color chosen by each person.
The diagram illustrates the project idea; it is not a maker-tested result. Allow additional drying time. Estimated materials cost excludes equipment. Check your equipment and material instructions, verify template dimensions, and make a sample before a batch.
← Back to Hanukkah projects