A tree can hold a surprisingly good collection of stories: a slightly lopsided star, a favorite color, the ornament someone made while telling a story that had the whole table laughing. An ornament swap gives those little things a reason to exist. This version combines a simple making session with a one-for-one exchange. Guests arrive with materials or use the host’s shared tray; nobody needs to turn up with a finished masterpiece. Keep the group small enough that everyone has comfortable table space.
Decide what kind of swap you are hosting
Choose make together or bring one finished ornament and put that choice in the invitation. Mixing the two without warning can leave someone feeling underprepared. For a making session, select one simple paper direction and offer a plain version. For a finished-ornament swap, state whether handmade, thrifted or purchased items are welcome. Ask for a small, lightweight ornament that can be packed and transported easily. Agree a comfortable materials ceiling, not a minimum spend, and be clear that nobody must bring one for every guest. One person contributes one item and takes one home.
Choose a beginner-friendly paper shape
Start with a folded circle, layered star or simple paper medallion. The paper-ornament starter guide is a direction to explore, not a physically tested class plan. Make one sample before inviting people to follow it. Have an even simpler option: two decorated paper shapes glued back-to-back with a hanging loop between them. Set out paper your scissors can cut comfortably, a suitable paper adhesive, pencils, thread or ribbon and plain tags. Avoid fragile glass, unknown old decorations and anything too heavy for the intended branch. Display materials are not toys.
Make the supply table feel like a little studio
Sort paper into broad color families so guests can choose without searching through a mountain of scraps. Put adhesives on a protected surface, share cutting tools safely and provide a finished-sample spot. Each person needs a tray or a piece of labeled paper for drying work. Keep drinks away from the glue and finished ornaments. A darker pen and a large shape can be easier to handle than tiny details, so offer both. Do not describe the simple option as the children’s version; it is a perfectly good design choice for anyone who prefers it.
Give each ornament a story tag
Use three prompts: “I chose this color because…”, “This ornament reminds me of…” or “A little wish for your next year…”. One sentence is enough. Add the maker’s first name and year only with their agreement. Someone who does not want to write can dictate a sentence or leave the tag blank. The point is a keepsake, not public emotional disclosure. Keep the tag separate from any drying glue. A funny note about the making session can be just as meaningful as a carefully chosen sentiment.
Use a swap that nobody has to win
Seat participants in a circle and agree that each person will pass their finished, packaged ornament one place to the left. With two or more participants, everyone receives another person’s work and gives the same number of items. This is a transparent friendly swap, not a random draw or a stealing game. Explain the method before the making starts. Allow people who would rather keep their own ornament to opt out before arranging the circle. If there are three or more makers, an optional second small item can be for keeping—but never surprise guests with extra work.
Make room for drying and the reveal
A suggested outline is fifteen minutes to choose materials, thirty to forty for making, and a break while adhesive sets according to its instructions. Use the break to write the tags. Allow another fifteen minutes for packaging and the exchange. Those are planning allowances; your sample will give you a better estimate. Do not rush an ornament into a sealed bag while it is damp or tacky. If a project needs overnight drying, arrange a later handover or choose a different technique. Give each recipient a small box, folded-card sleeve or clean reused container for the journey home.
Keep the tradition kind
Skip awards for the best or worst ornament. Instead, offer a little appreciation round: a clever color choice, a generous helper or a line on a story tag that made someone smile. Ask before taking a group photo. Suggest that recipients send a photo of the ornament in its new home later, but make that optional too. Save the unused paper for next year and write down which shape was enjoyable to make. For another small creative gathering, try the Kindness Card Café; the same supply tray can become something entirely different.
MAKE ROOM FOR THE GOOD PART
Your little gathering plan
One week before
Choose make-together or bring-finished, announce the one-for-one swap and confirm participant count.
Before the gathering
Test one sample, allow for adhesive drying and set out a simpler option.
At the exchange
Package dry ornaments, attach optional story tags and pass one place left in the agreed circle.
A LITTLE LIST TO KEEP
Before everyone arrives
Tick as you plan, or print this guide. Checkmarks last for this page visit.
A couple of things you might be wondering
What if someone wants to keep their own ornament?
Let them opt out before the exchange circle is arranged. They can still enjoy the making session; do not pressure them into giving away their work.
Does the swap need a Christmas tree?
No. Adapt the keepsake for a hook, garland or seasonal branch, and ask what people can use in their homes.
Are these finished crafts tested?
The gathering is an original planning idea. Linked craft projects are starters; make a sample and check your own materials before leading a group.
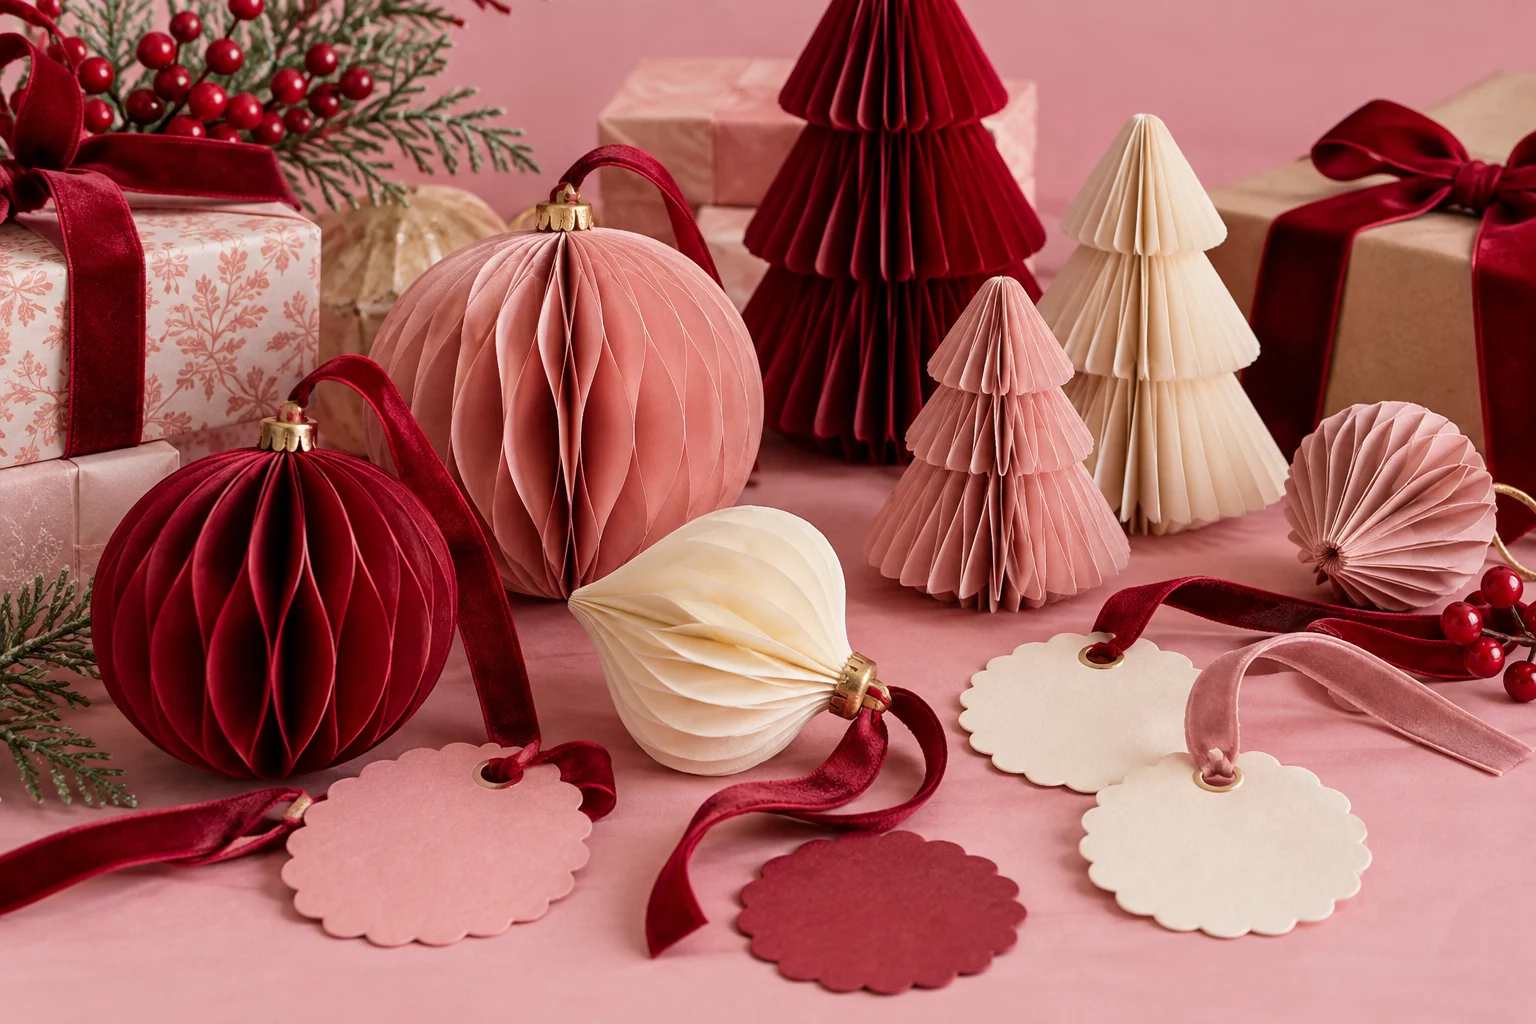
Fold a little Christmas keepsake
Let’s make it ↗The related projects are starter guides and have not yet been maker-tested.
Feeling Crafty · feelingcrafty.net/blog/handmade-ornament-swap-party/
← Back to the Crafty Notebook