Christmas · Maker & tech
A glowing 3D-printed Christmas tree
Use Adafruit’s tree design as a first family project combining code, light and 3D printing.
STARTER GUIDE · AWAITING MAKER TESTING
Let’s make something lovely.
Before you begin: Adults operate the printer and handle hot components. Use manufacturer-approved USB power and keep cords away from young children.
- 01
Read the Ruiz Brothers’ original guide and check your board, print and software requirements.
- 02
Print the specified tree and mount; printing time is additional to the hands-on estimate.
- 03
Follow the guide’s CircuitPython setup and test the board before assembling the decoration.
- 04
Fit the board and USB cable into the printed housing as directed.
- 05
Adjust the colors together and supervise the powered display. Disconnect when unattended.
Keep the original model dimensions until you understand how its mount fits the board.
Original guides & helpful references
Make it personal
Choose warm white, a favorite color palette or a slow animation.
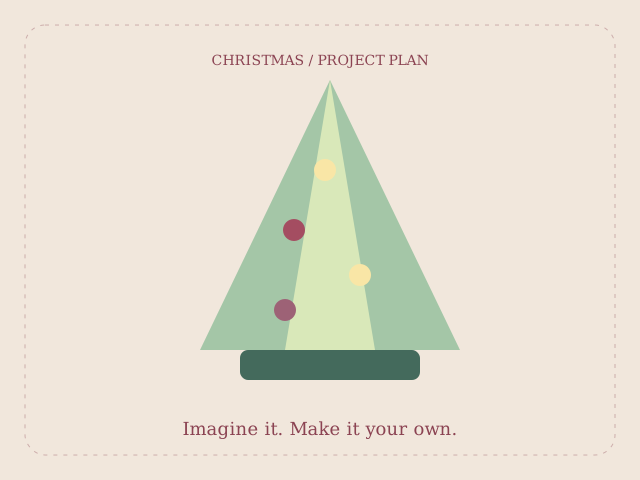
The diagram illustrates the project idea; it is not a maker-tested result. Allow additional drying time. Estimated materials cost excludes equipment. Check your equipment and material instructions, verify template dimensions, and make a sample before a batch.
← Back to Christmas projects