Christmas · No machine
A winter world inside a tiny box
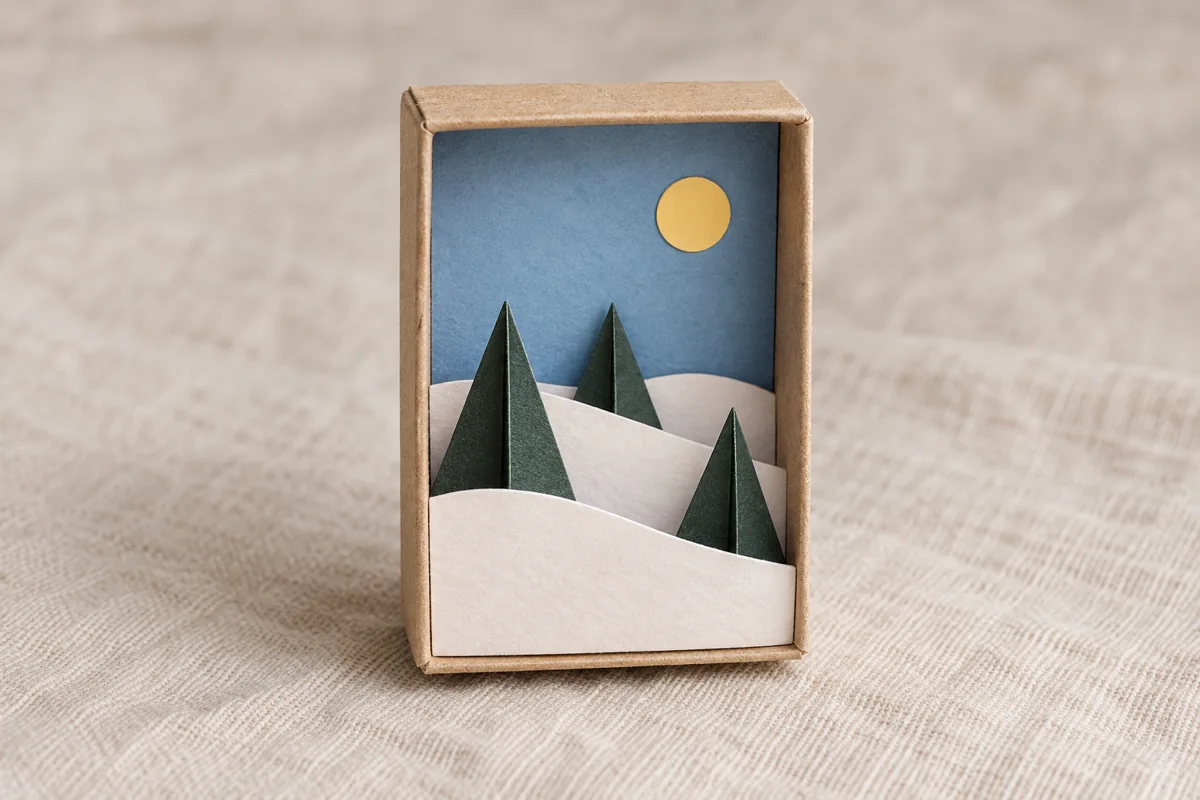
Build depth with layered paper snow, folded evergreens and a moon in a pocket-size winter scene.
STARTER GUIDE · AWAITING MAKER TESTING
Let’s make something lovely.
Before you begin: Use a clean craft box, not a box containing matches. Small parts are not suitable for children under three. This is an unlit decoration; never add a candle.
Four illustrated steps, from the first cut to the finishing touch. The cover is an AI-generated concept; the diagrams show the planned construction. This guide awaits physical maker testing.
Drying & finishing: Let every glued layer set before adding the next; dry upright before moving.
- 01
Line the tiny sky
Stand the empty drawer upright and measure its inner back and sides. Cut a blue rectangle to fit the back and glue it flat. Add a small yellow paper moon near one top corner. Leave the lower half clear for the landscape.
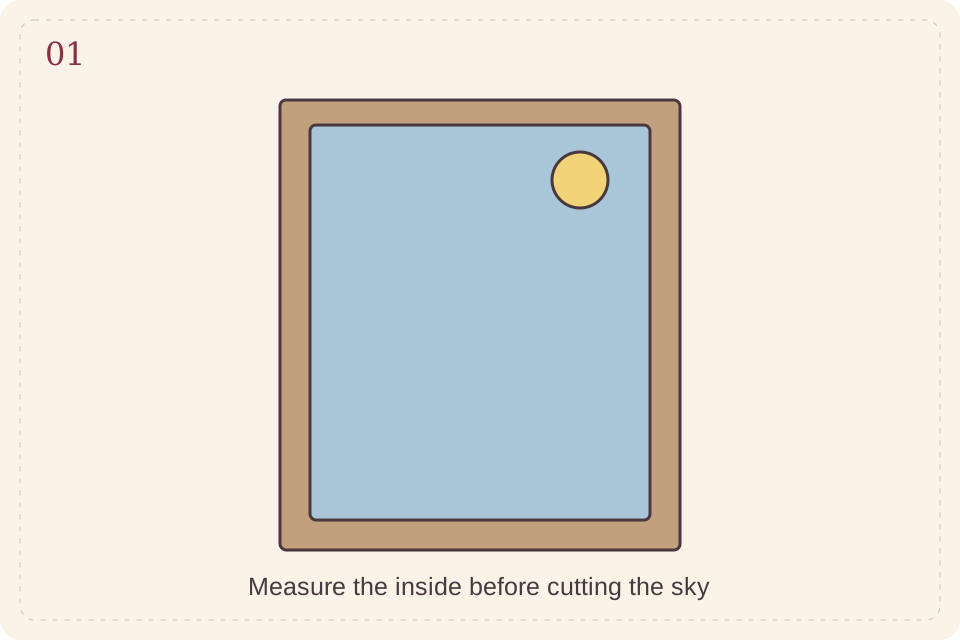
Step illustration · follow the written measurements · View full size ↗ - 02
Cut two snow layers
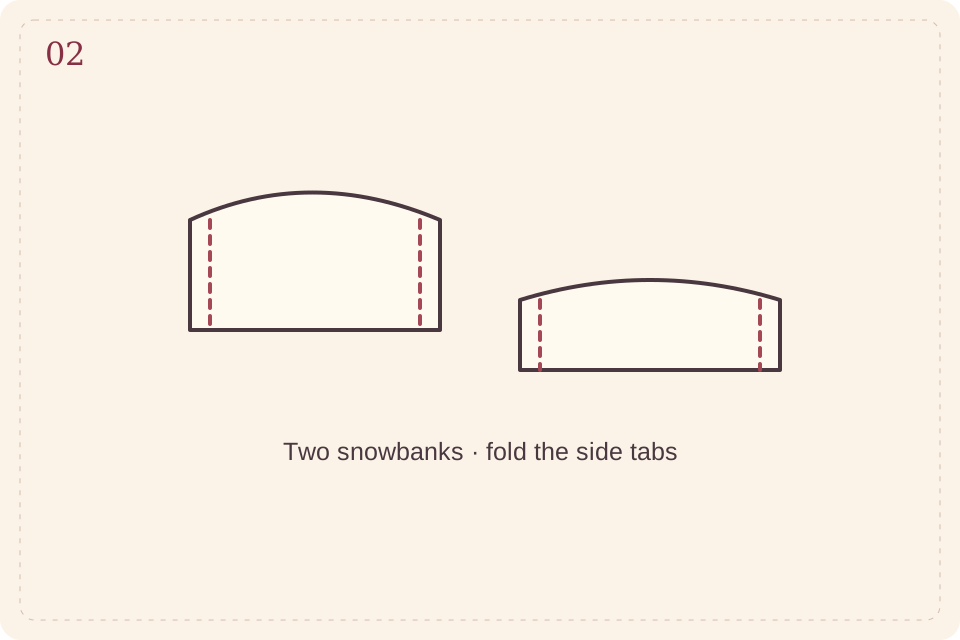
Cut two white snowbank strips slightly wider than the drawer, one about 2 cm high and one about 1 cm high. Fold 3 mm tabs at each side. Curve the top edges gently with scissors. Test the fit before gluing: the taller drift will sit behind the shorter one.
Step illustration · follow the written measurements · View full size ↗ - 03
Add folded trees
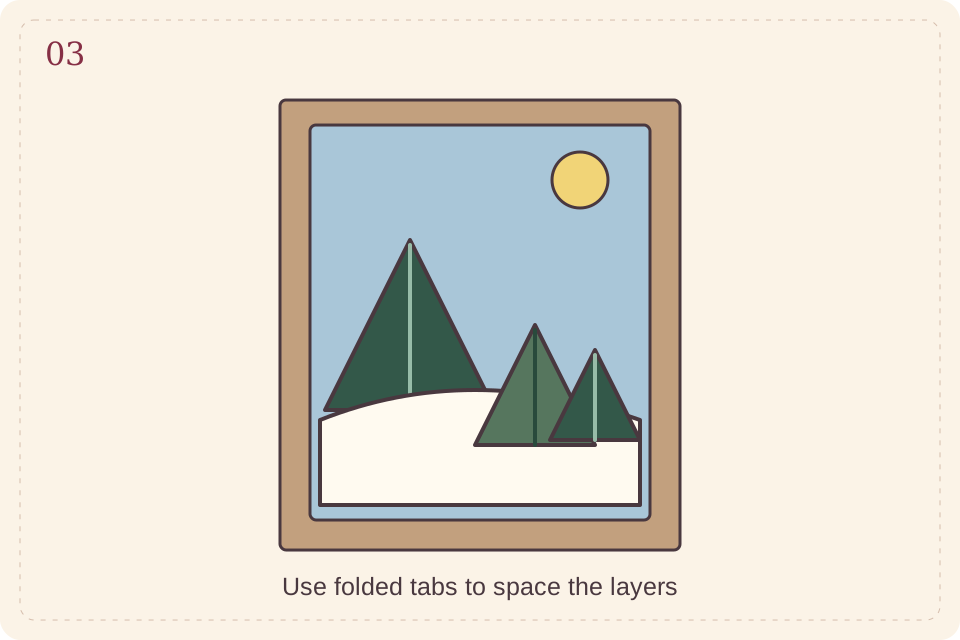
Cut three green tree triangles between 1.5 and 3 cm tall. Fold each lightly down the center so it holds a shallow V. Attach the tallest tree near the back with a small folded card tab, then add the taller snowbank about 5 mm in front of it. Add the remaining trees at different depths.
Step illustration · follow the written measurements · View full size ↗ - 04
Place the front drift
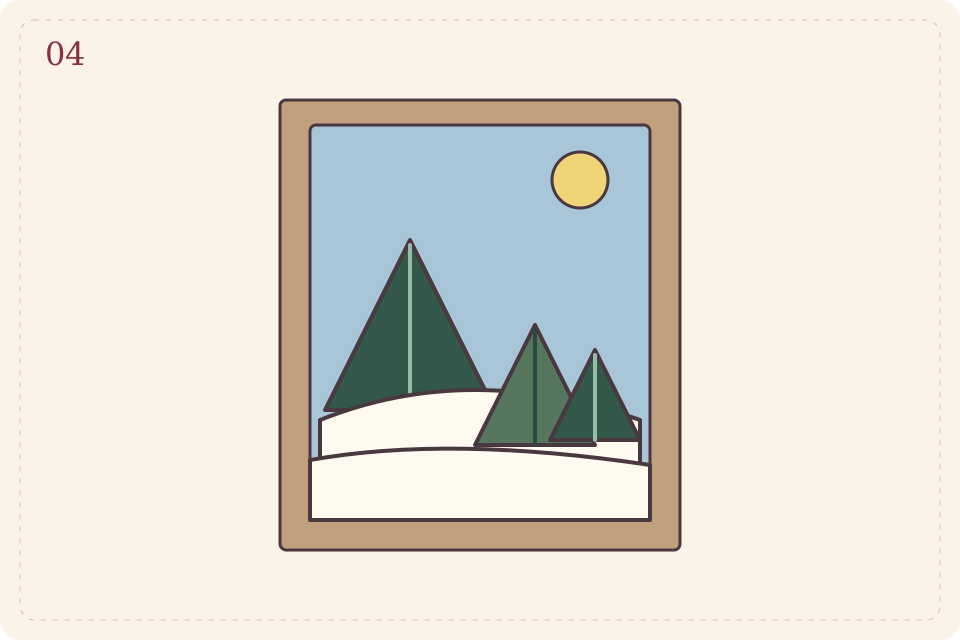
Glue the shorter snowbank at the front, concealing the tree tabs. Keep every piece inside the drawer edges. Let the scene dry upright, then check that nothing bends when you set it down. Display the drawer open; a layered scene may no longer slide into its sleeve.
Step illustration · follow the written measurements · View full size ↗
Use the box as your measuring guide. Leaving a little air between layers creates depth more effectively than adding lots of tiny details.
Make it personal
Make a summer beach version with blue water layers and a folded paper sail, using the same construction idea.
The cover is AI-generated concept imagery. Step diagrams are original instructional illustrations, not photographs or measured cutting templates. Allow additional drying time. Estimated materials cost excludes equipment. Check your equipment and material instructions, verify template dimensions, and make a sample before a batch.
← Back to Christmas projects