Everyday · No machine
A little citrus dish for everyday treasures
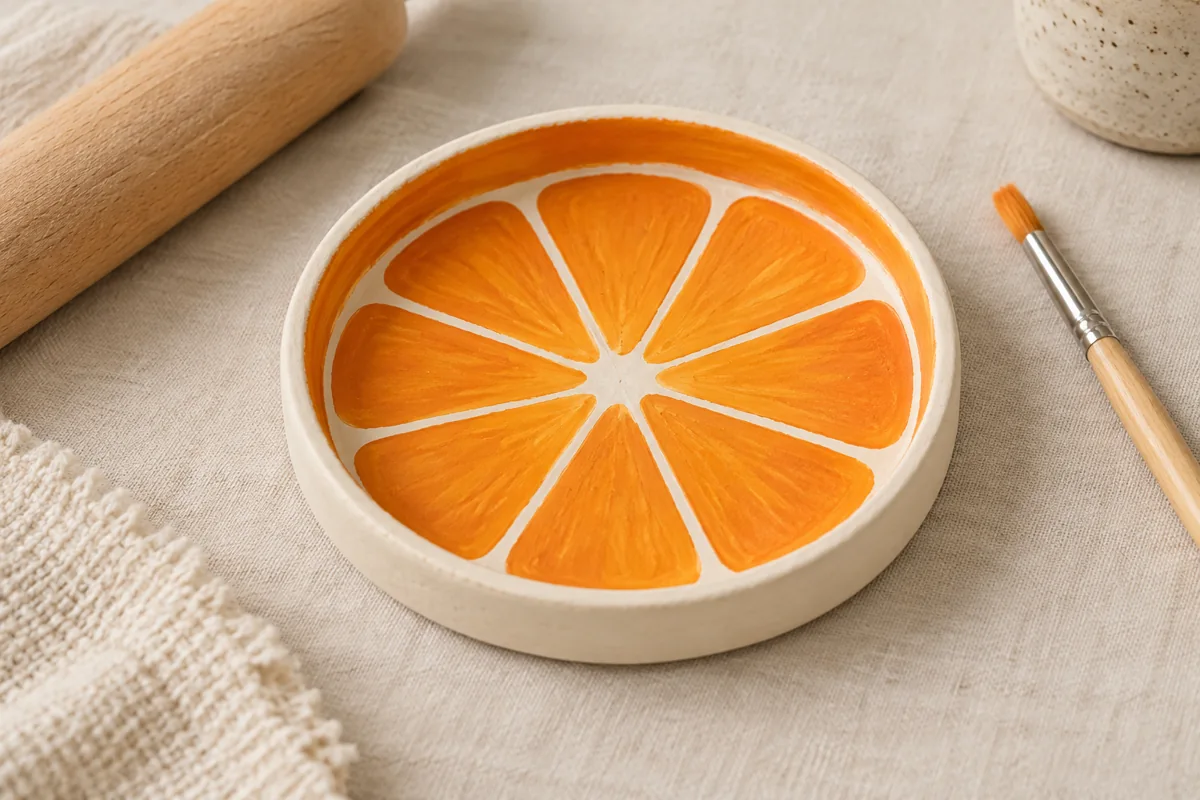
Shape a sunny orange-slice catchall from air-dry clay, then paint a citrus pattern that follows the curve.
STARTER GUIDE · AWAITING MAKER TESTING
Let’s make something lovely.
Before you begin: Craft clay and craft finishes are for decoration here. This dish is not food-safe, waterproof, dishwasher-safe or a candle holder.
Four illustrated steps, from the first cut to the finishing touch. The cover is an AI-generated concept; the diagrams show the planned construction. This guide awaits physical maker testing.
Drying & finishing: Dry fully according to the clay label before painting; allow paint and any compatible sealer to cure separately.
- 01
Roll and cut a circle
Roll the clay between 5 mm guides on a nonstick mat. Place an 11 cm circular template on top and cut around it with a blunt clay tool. Lift the edge carefully and smooth small cracks with a barely damp fingertip; do not soak the clay.
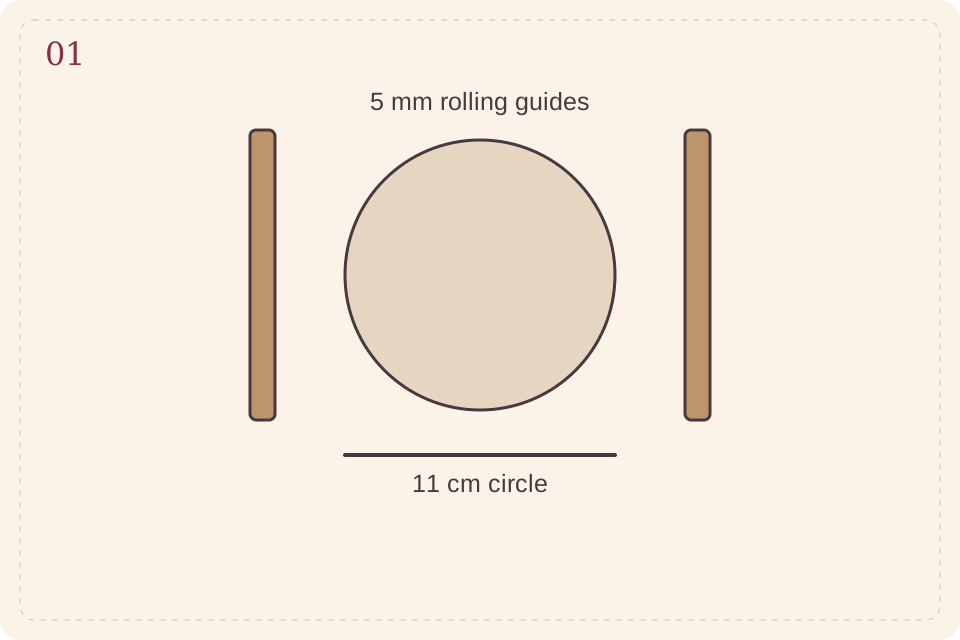
Step illustration · follow the written measurements · View full size ↗ - 02
Shape a shallow rim
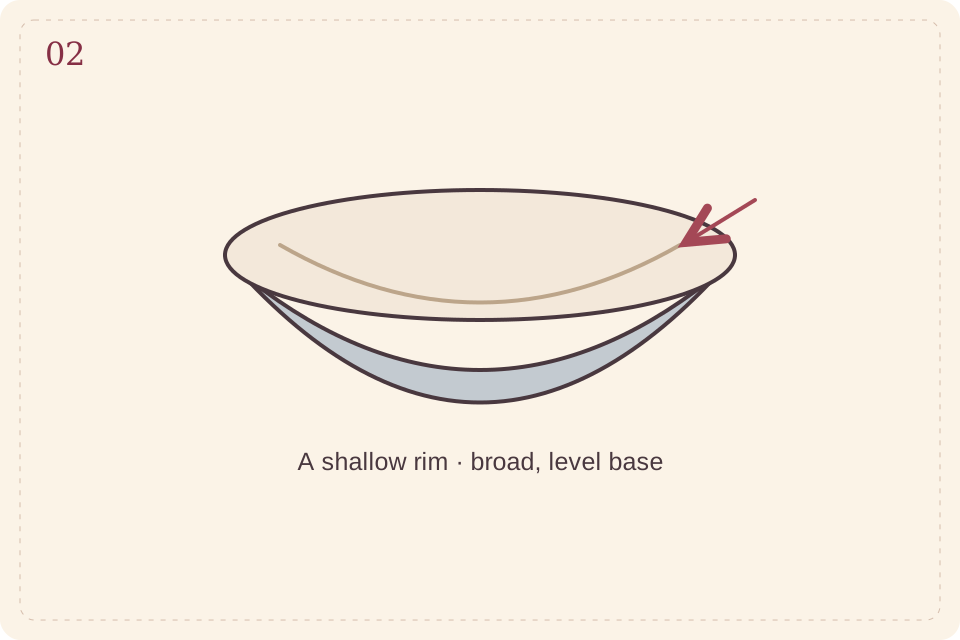
Line a shallow bowl with a release barrier suitable for your clay. Set the circle inside so only the outer 1 cm lifts into a gentle rim. Keep the base broad and level. Dry and release it according to the clay label, checking the underside too; thickness and humidity affect drying time.
Step illustration · follow the written measurements · View full size ↗ - 03
Paint the citrus wedges
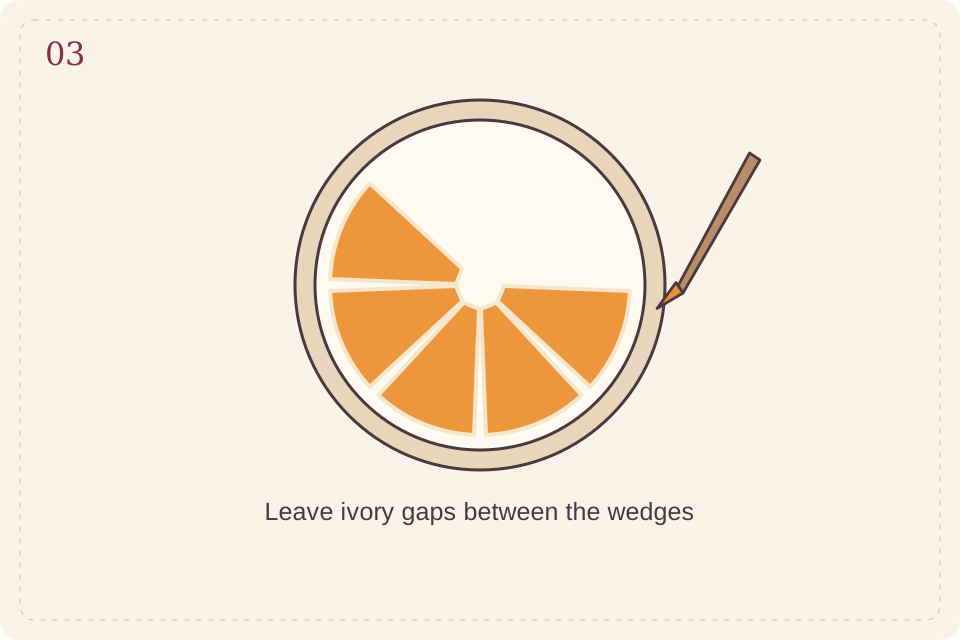
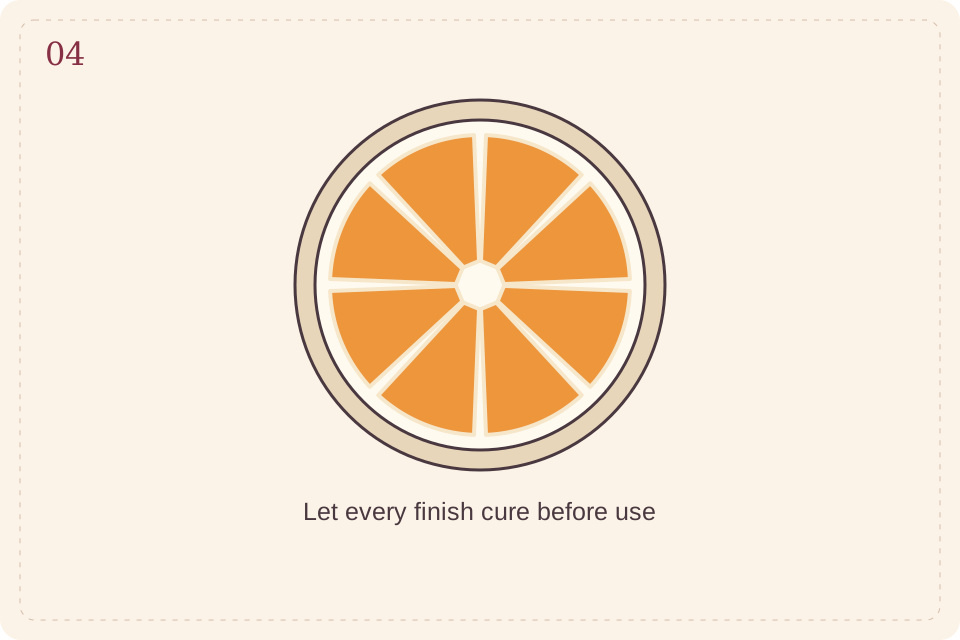
When the clay is fully dry, brush on an ivory base coat and let it dry. Sketch a small central circle and eight wedge-shaped citrus segments, leaving narrow ivory gaps between them. Paint the segments orange with a fine brush, then let the paint dry as directed.
Step illustration · follow the written measurements · View full size ↗ - 04
Finish and let it cure
Touch up the ivory gaps and outer rim. If desired, apply a sealer labeled compatible with both your clay and paint, following its cure instructions. Set the cured dish on a dry dresser for rings or other light treasures. Keep it away from water, food and heat.
Step illustration · follow the written measurements · View full size ↗
A broad flat base makes the dish steadier. If the edge cracks while shaping, lower the rim and smooth it before drying.
Make it personal
Try a lemon-yellow or pink-grapefruit palette, or paint a tiny initial underneath.
The cover is AI-generated concept imagery. Step diagrams are original instructional illustrations, not photographs or measured cutting templates. Allow additional drying time. Estimated materials cost excludes equipment. Check your equipment and material instructions, verify template dimensions, and make a sample before a batch.
← Back to Everyday projects