Everyday · No machine
A tiny meadow made from paper coils
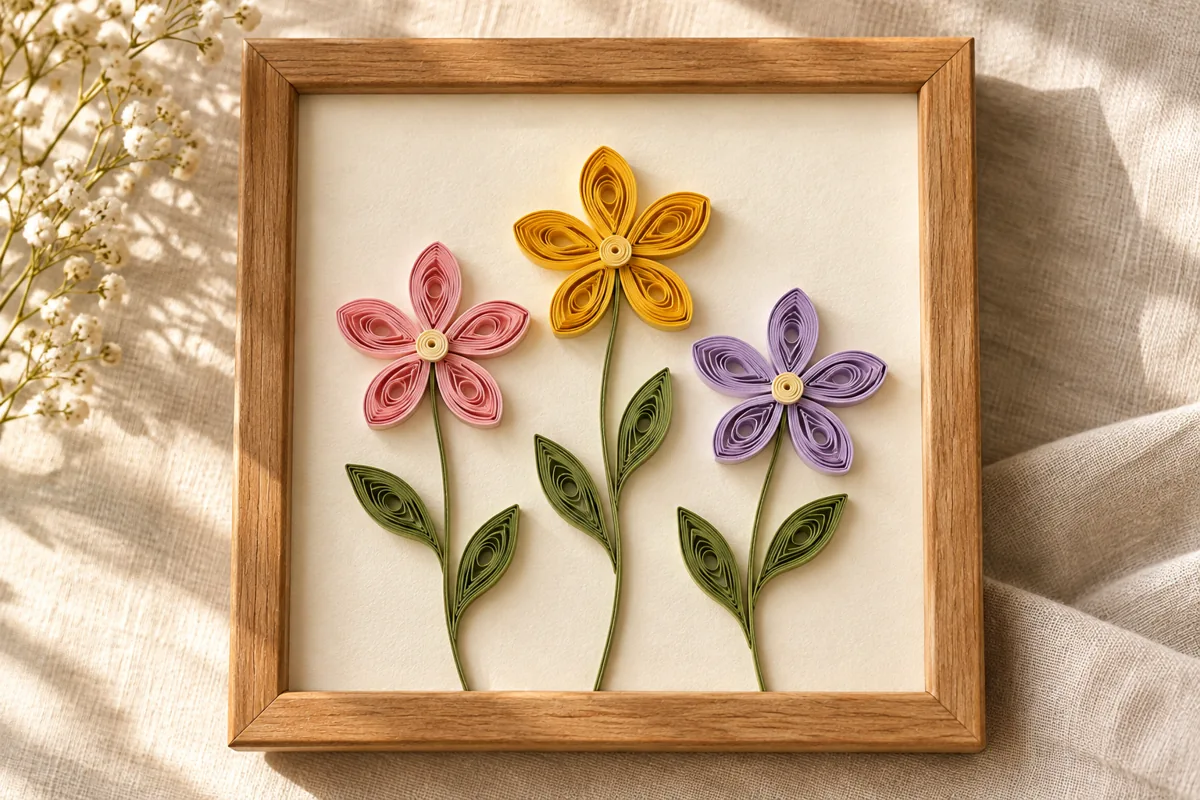
Roll narrow paper strips into three raised flowers for a miniature meadow that never needs watering.
STARTER GUIDE · AWAITING MAKER TESTING
Let’s make something lovely.
Before you begin: An adult handles sharp scissors and supervises the quilling tool. Keep small paper pieces and glue away from children who mouth objects.
Four illustrated steps, from the first cut to the finishing touch. The cover is an AI-generated concept; the diagrams show the planned construction. This guide awaits physical maker testing.
Drying & finishing: Let glued coils set flat before assembling; dry the finished artwork flat before framing.
- 01
Roll the colored coils
For each flower, cut five colored strips about 15 cm long. Roll one strip around the quilling tool, slide it off and let it relax to about 12–15 mm wide. Glue only the loose outer end. Repeat to make five coils in each of three colors; sizes may vary slightly.
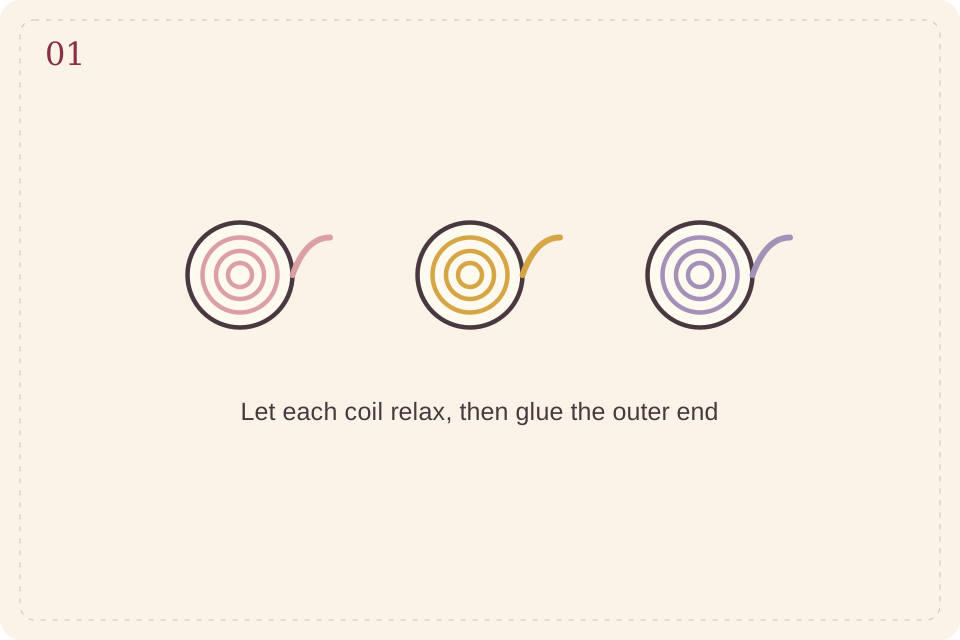
Step illustration · follow the written measurements · View full size ↗ - 02
Pinch petals and leaves
Pinch one side of each colored coil to form a teardrop petal. Make six green coils in the same way and pinch both ends into leaf shapes. Cut three green strips to different stem lengths, roughly 5, 7 and 9 cm. Leave these straight rather than rolling them.
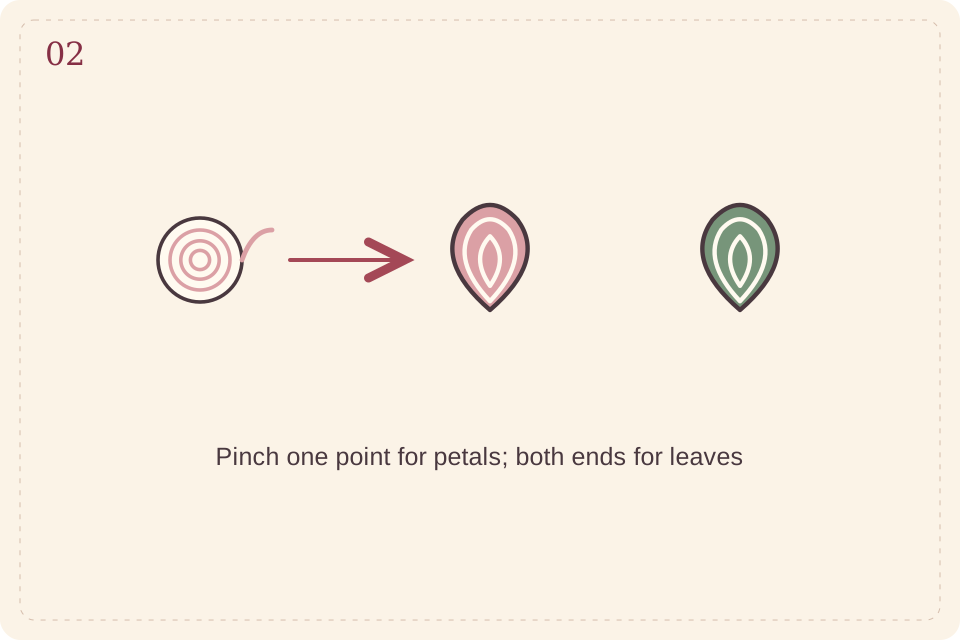
Step illustration · follow the written measurements · View full size ↗ - 03
Build the little meadow
Lay out three flowers on the 15 cm card, keeping the edges clear for a frame. Arrange five petals per flower with their pointed ends meeting. Apply a thin line of glue to the bottom edge of each coil, place it on the card and press lightly. Glue the stems on edge beneath the flowers, then add the green leaves.
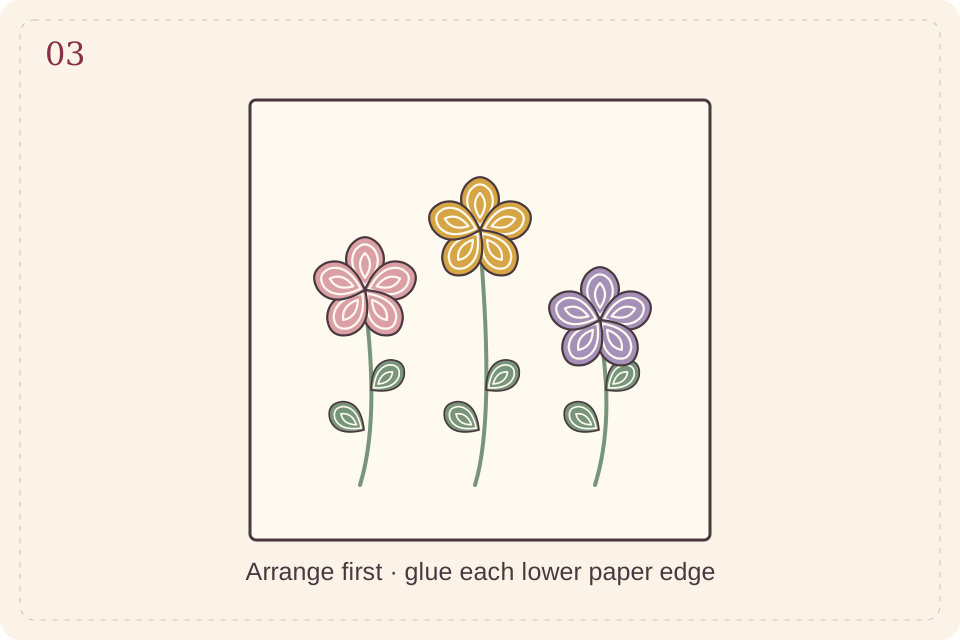
Step illustration · follow the written measurements · View full size ↗ - 04
Dry and display
Leave the card horizontal until all pieces hold securely. Check for loose petals and add a tiny amount of glue underneath if needed. Display on a shelf or in a deep frame that does not squash the raised paper. Keep the artwork dry and out of direct sun.
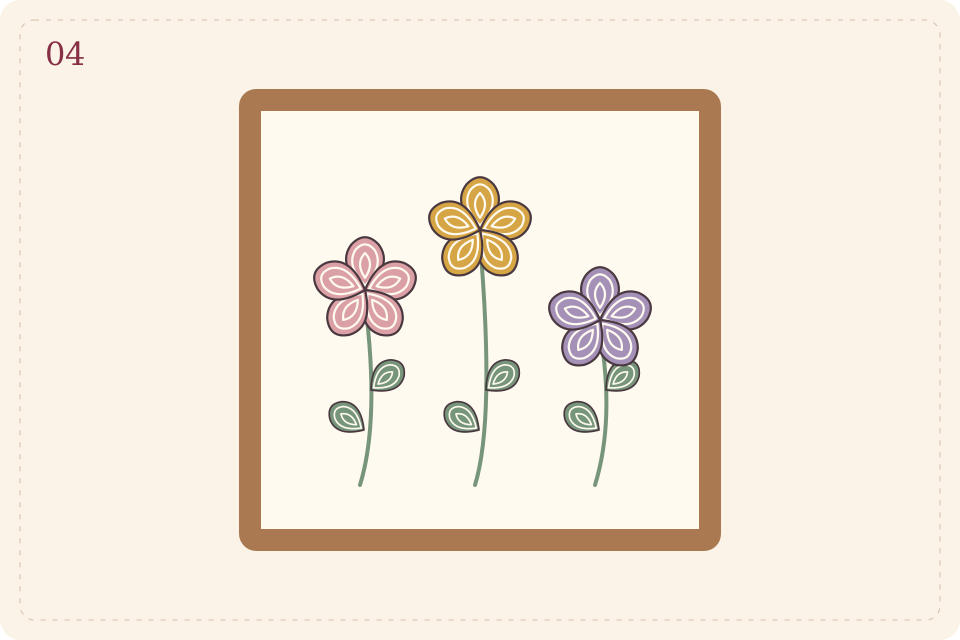
Step illustration · follow the written measurements · View full size ↗
Use a very small amount of glue. A puddle softens the cardstock and hides the delicate paper edges.
Make it personal
Choose the recipient's three favorite colors or add a handwritten date below the meadow.
The cover is AI-generated concept imagery. Step diagrams are original instructional illustrations, not photographs or measured cutting templates. Allow additional drying time. Estimated materials cost excludes equipment. Check your equipment and material instructions, verify template dimensions, and make a sample before a batch.
← Back to Everyday projects