Everyday · No machine
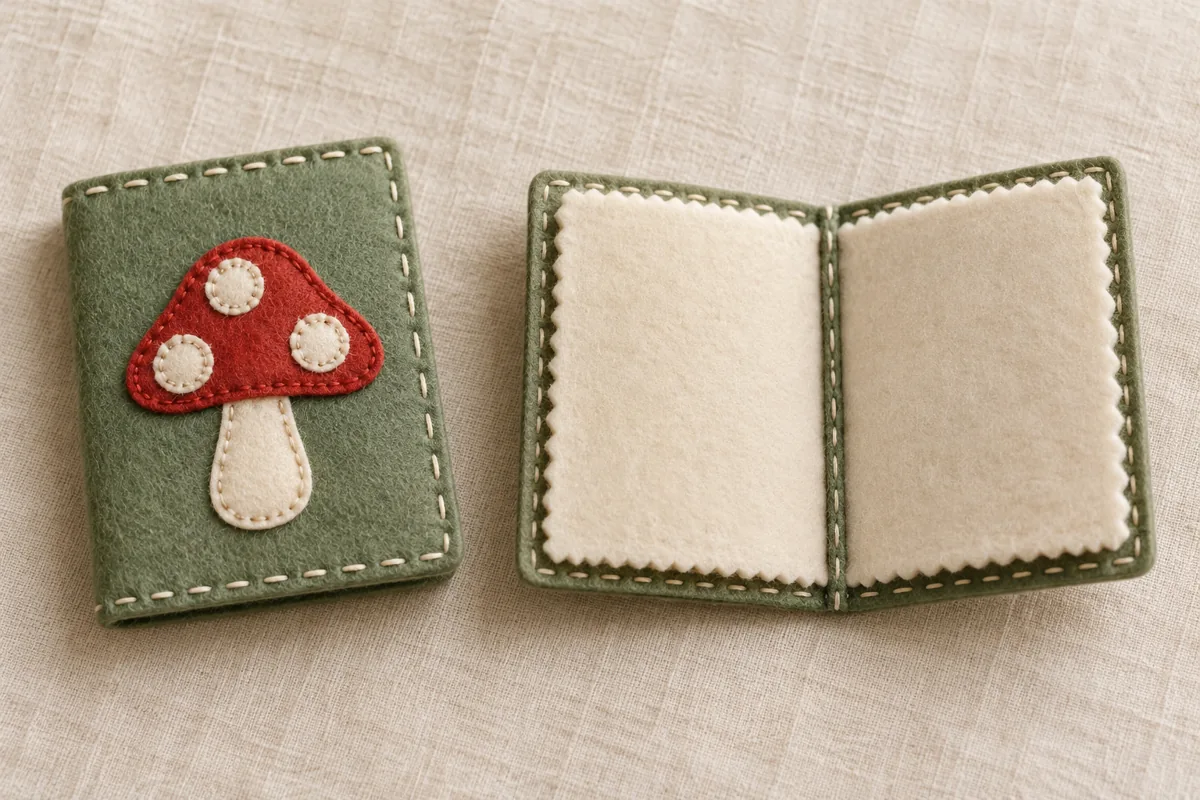
A felt mushroom needle book
Stitch a pocket-size home for sewing needles, with soft felt pages and a cheerful mushroom on the cover.
STARTER GUIDE · AWAITING MAKER TESTING
Let’s make something lovely.
Before you begin: Count and put away every needle and pin after sewing. The finished book holds sharp tools and is not a child's toy.
Four illustrated steps, from the first cut to the finishing touch. The cover is an AI-generated concept; the diagrams show the planned construction. This guide awaits physical maker testing.
Drying & finishing: No drying time; allow extra time if you are learning running stitch.
- 01
Cut the cover and pages
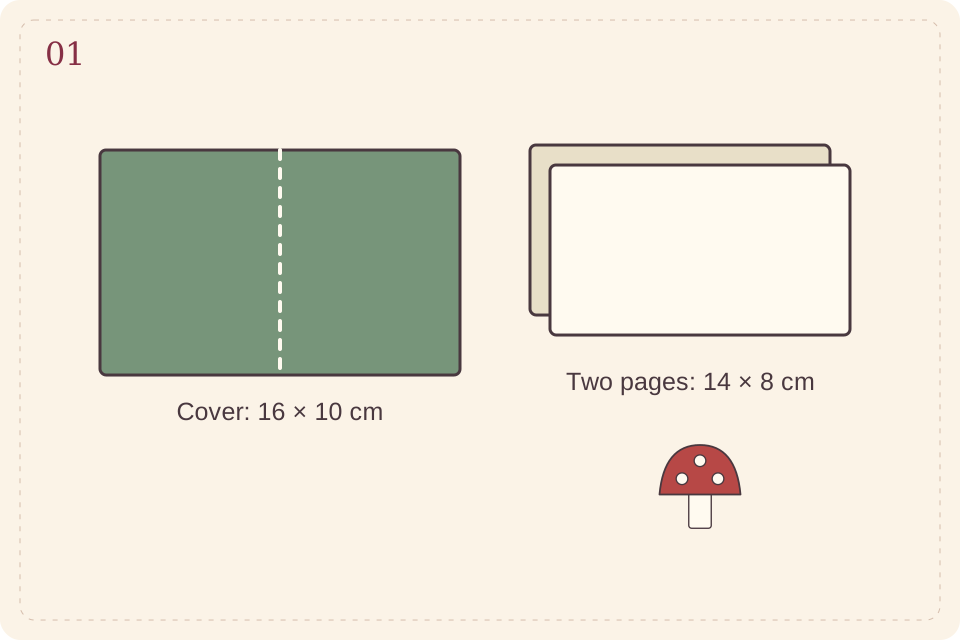
Cut a 16 × 10 cm cover and two 14 × 8 cm pages. Fold the cover in half to locate the spine, then reopen it. Mark the right-hand half as the front. Cut a red semicircular mushroom cap about 4 cm wide and a cream stem about 1 × 3 cm; round the sharp corners.
Step illustration · follow the written measurements · View full size ↗ - 02
Stitch the mushroom
Place the stem, then the cap, on the right-hand front panel, at least 1 cm from the outer edge. Use small running stitches to attach each shape, catching only the cover. Add three cream stitched spots to the cap. Tie off on the inside; do not sew through the back panel.
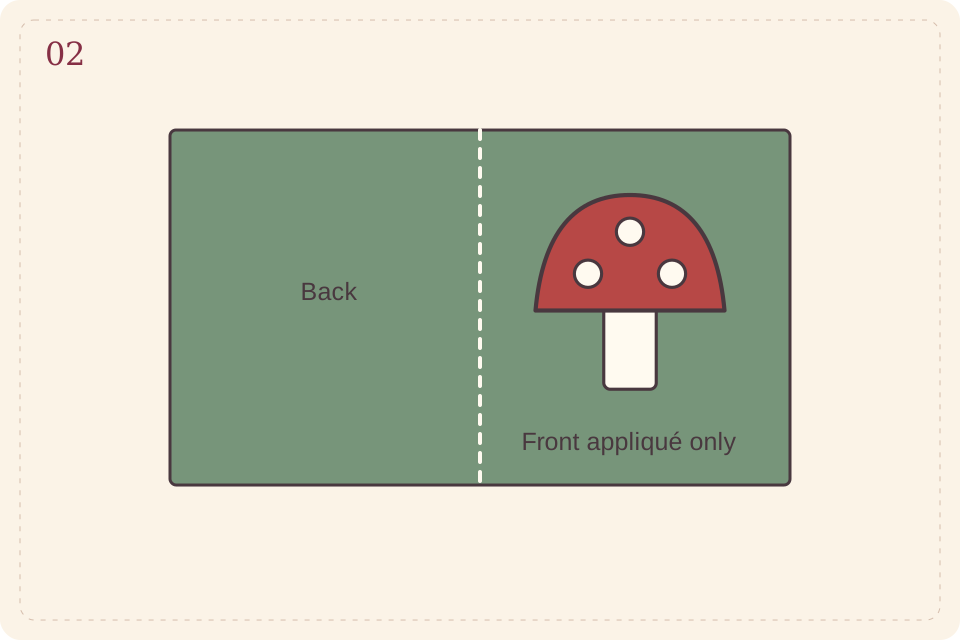
Step illustration · follow the written measurements · View full size ↗ - 03
Sew the center spine
Stack the two cream pages inside the open cover, centered with a 1 cm border. Clip them in place. Sew one straight running-stitch seam down the middle through all three layers. Make a second pass through the gaps if you want a continuous-looking spine, then secure the thread ends.
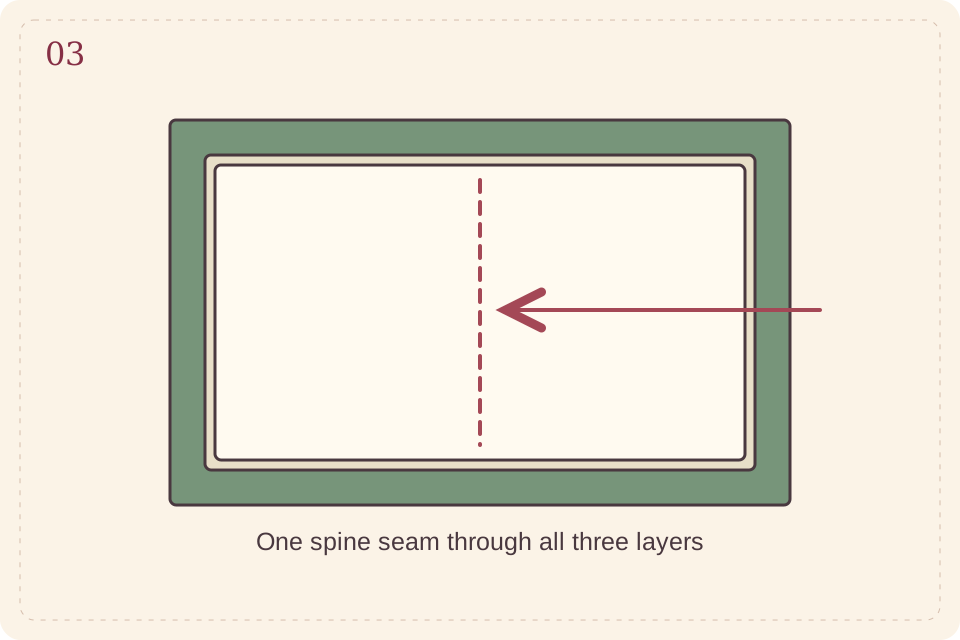
Step illustration · follow the written measurements · View full size ↗ - 04
Fold and organize
Fold the book closed and check that the pages turn freely. Add running stitches around the cover edge if you like, stitching the cover layer only. Place a few needles through the felt pages with their points contained. Close it and store it with your sewing tools out of children's reach.
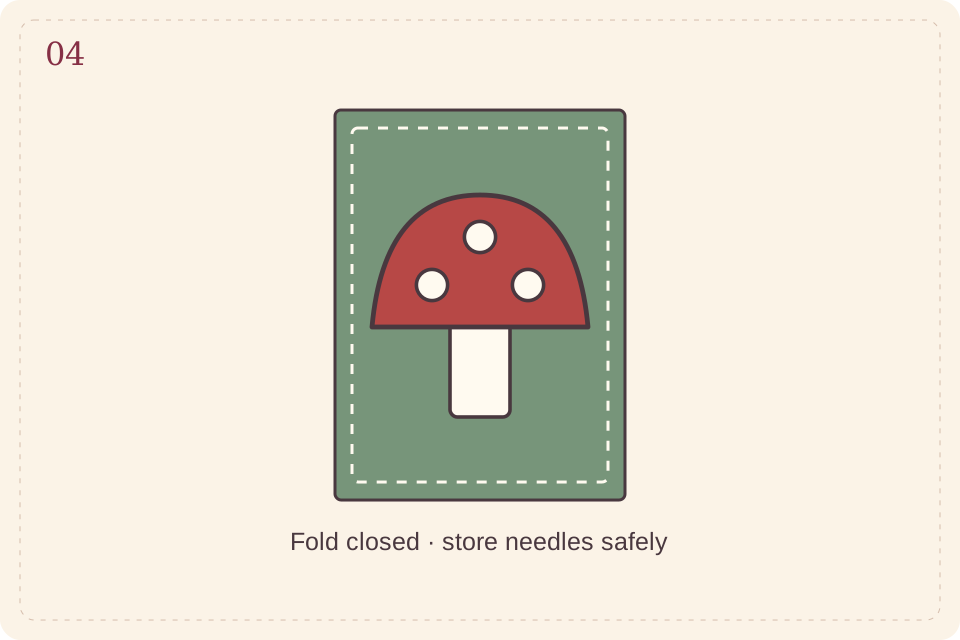
Step illustration · follow the written measurements · View full size ↗
Short working lengths of floss tangle less. A test stitch on a scrap helps you choose a needle that passes through the felt comfortably.
Make it personal
Replace the mushroom with your own simple leaf, crescent moon or initial; keep appliqué pieces broad.
The cover is AI-generated concept imagery. Step diagrams are original instructional illustrations, not photographs or measured cutting templates. Allow additional drying time. Estimated materials cost excludes equipment. Check your equipment and material instructions, verify template dimensions, and make a sample before a batch.
← Back to Everyday projects