Everyday · No machine
Stitch an imaginary constellation
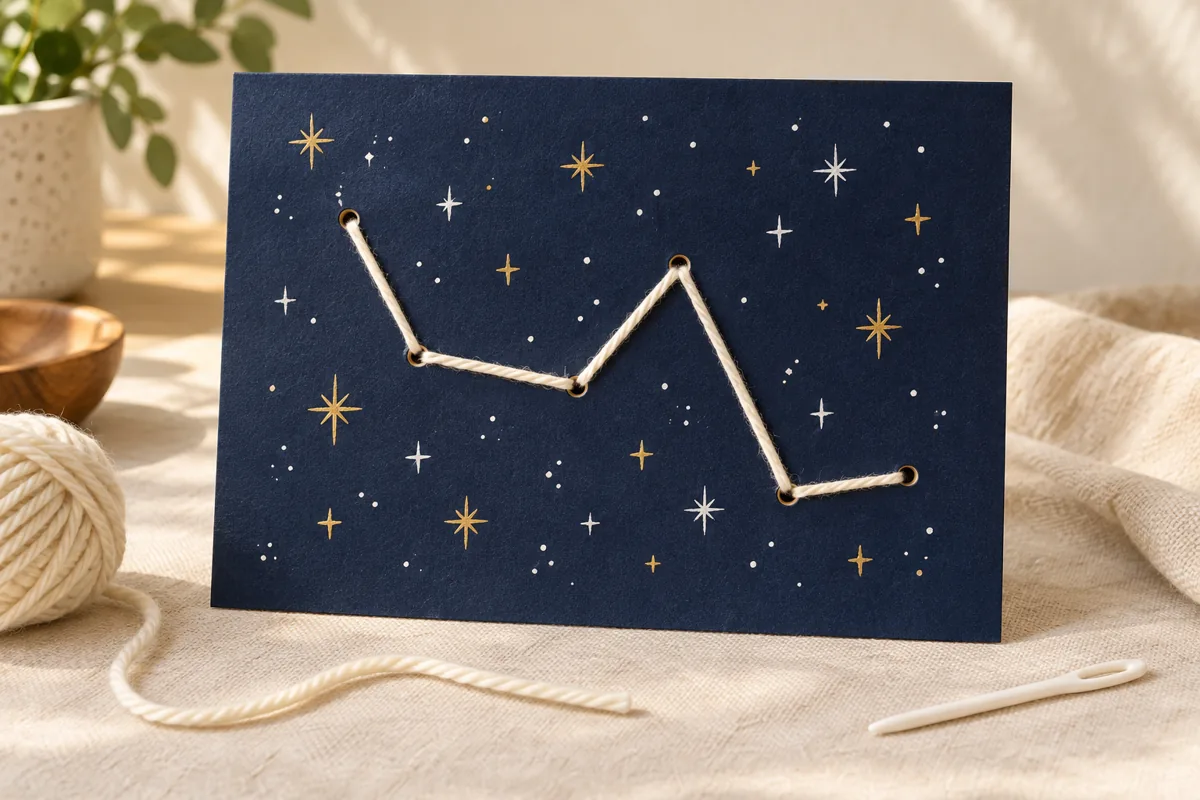
Thread a simple star path through cardboard and invent the story behind your own little piece of night sky.
STARTER GUIDE · AWAITING MAKER TESTING
Let’s make something lovely.
Before you begin: Only adults make the holes. Keep the needle and yarn away from toddlers, and remove the needle before display.
Four illustrated steps, from the first cut to the finishing touch. The cover is an AI-generated concept; the diagrams show the planned construction. This guide awaits physical maker testing.
Drying & finishing: No drying time when using colored card and markers.
- 01
Plan seven stars
Cover the front of the cardboard with navy paper, pressing it flat. Mark seven widely spaced dots in your own zigzag, keeping every dot at least 15 mm from the edge and about 20 mm from its neighbors. Draw a faint route between the dots so you know which hole comes next.
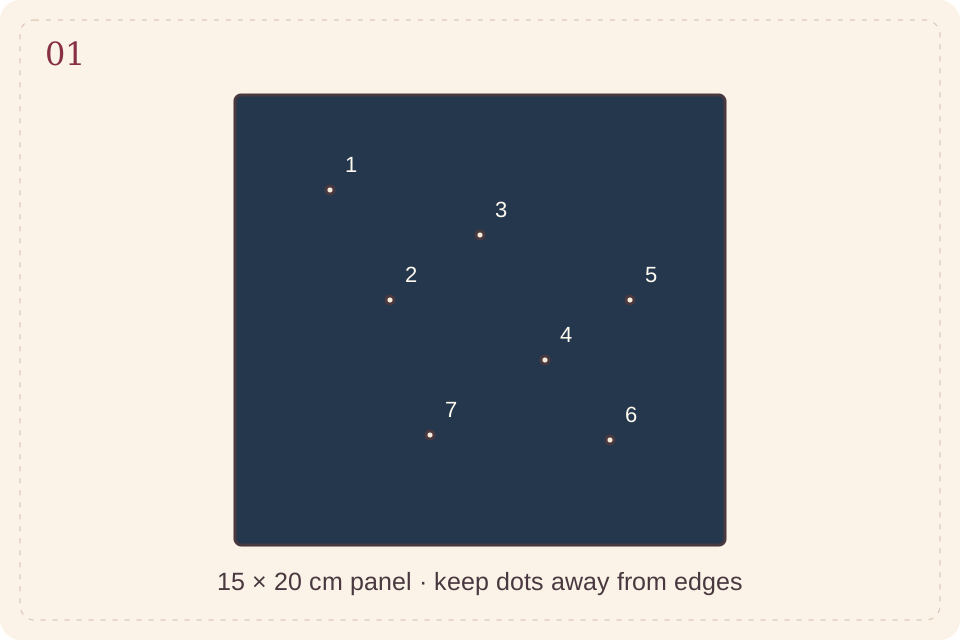
Step illustration · follow the written measurements · View full size ↗ - 02
Make the lacing holes
An adult makes a small hole at each dot over a scrap-card pad, away from hands. Use holes wide enough for the blunt needle to pass without forcing it. Draw a little star around each hole and a few smaller stars in the open spaces.
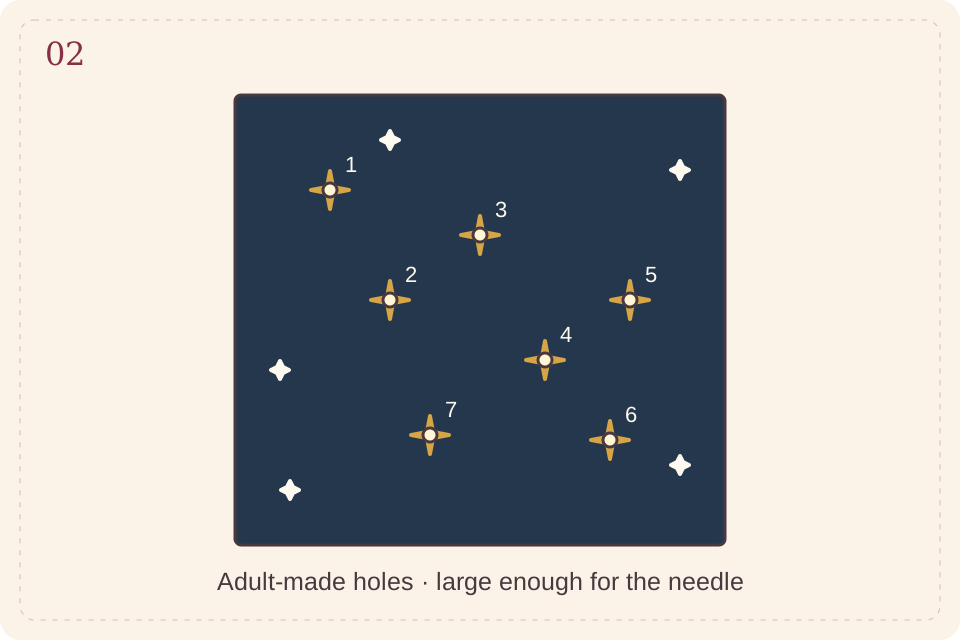
Step illustration · follow the written measurements · View full size ↗ - 03
Backstitch the star path
Thread the needle with about 70 cm of yarn and tape a 5 cm tail to the back. Bring the yarn up through the first hole and down through the second. Bring it up through the third, then back down through the second to fill the missing front segment. Continue this backstitch route: up at the next unused hole, down through the previous one.
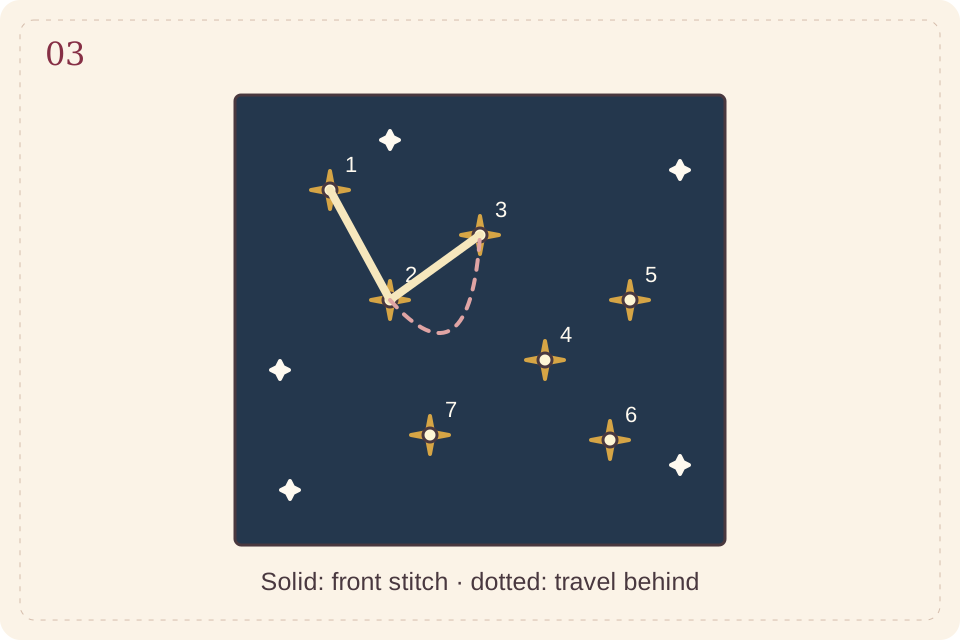
Step illustration · follow the written measurements · View full size ↗ - 04
Secure and tell its story
At the seventh hole, complete the final front segment and take the yarn to the back. Tape both ends flat without pulling the cardboard into a curve. Remove the needle. Give the constellation a name, write its story on the back and display the panel propped on a shelf.
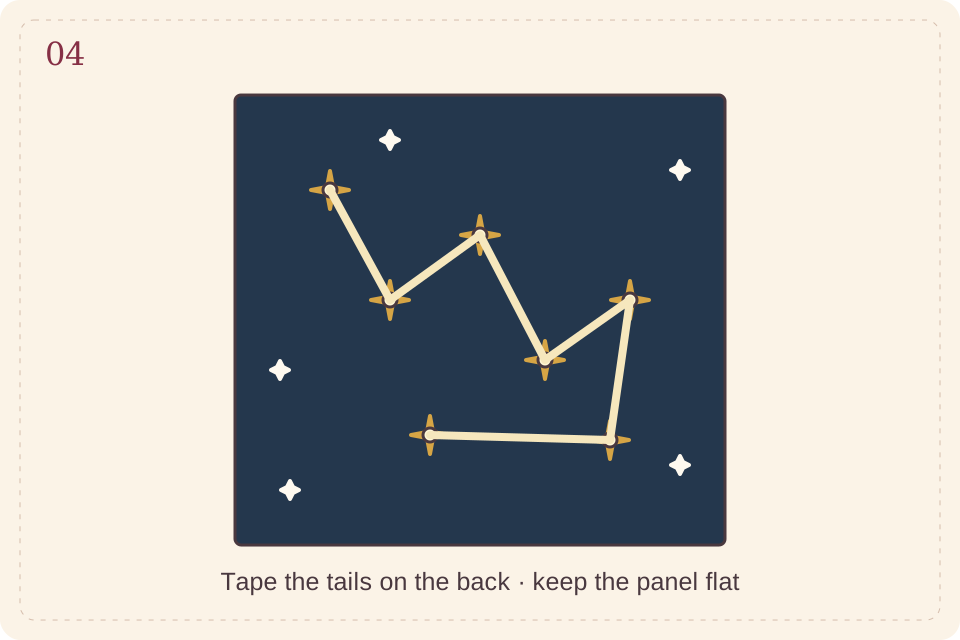
Step illustration · follow the written measurements · View full size ↗
If yarn frays or catches, make the holes slightly wider before threading. Keep stitches loose enough that the panel stays flat.
Make it personal
Invent a constellation for a family pet, a favorite place or a word that makes you smile. This is imaginative art, not an astronomy map.
The cover is AI-generated concept imagery. Step diagrams are original instructional illustrations, not photographs or measured cutting templates. Allow additional drying time. Estimated materials cost excludes equipment. Check your equipment and material instructions, verify template dimensions, and make a sample before a batch.
← Back to Everyday projects