Thanksgiving · Cricut
Thankful napkin bands, made personal
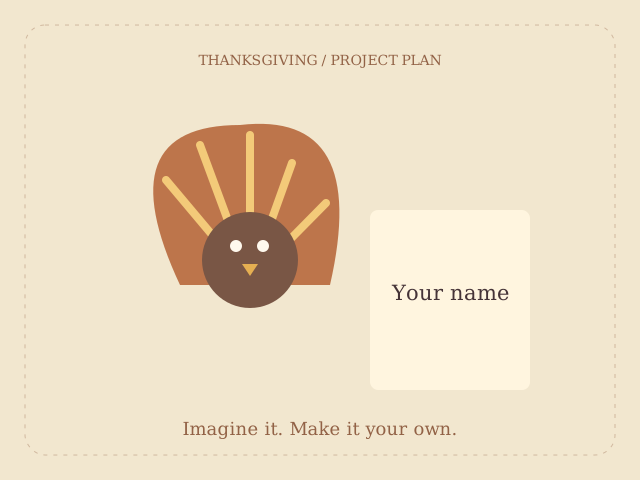
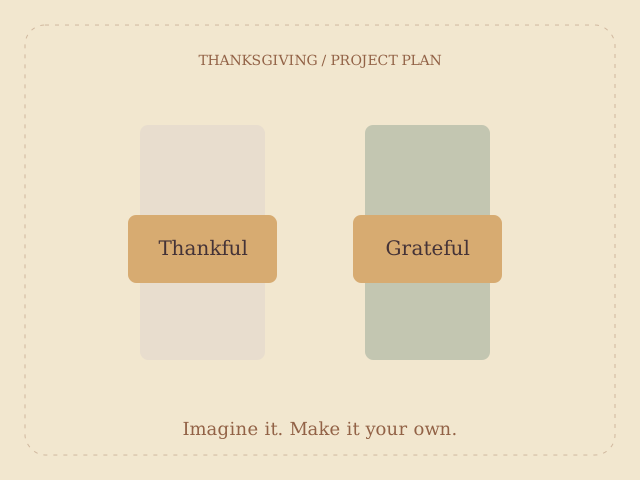
Cut a small batch of paper bands with names or a short gratitude prompt.
STARTER GUIDE · AWAITING MAKER TESTING
Let’s make something lovely.
Before you begin: A grown-up operates the cutting machine and keeps tools and scraps away from young children. Check the material setting for your machine and make one test before a batch.
- 01
Wrap a strip of scrap paper loosely around a folded napkin. Mark the overlap and use that length for your band.
- 02
Draw a rectangle of that length in Design Space; add a large leaf shape at one end if you like.
- 03
For machine lettering, set compatible text to Draw and attach it to the band so placement stays together. Hand lettering is an easy alternative.
- 04
Test one cardstock band before duplicating. Cut, then release it gently from the mat.
- 05
Wrap each finished band around a napkin and secure the overlap with a paper adhesive dot. Remove before using the napkin.
Avoid changing napkin folds after measuring or the bands may be too tight.
Make it personal
Write a different conversation starter on each band.
The diagram illustrates the project idea; it is not a maker-tested result. Allow additional drying time. Estimated materials cost excludes equipment. Check your equipment and material instructions, verify template dimensions, and make a sample before a batch.
← Back to Thanksgiving projects