Everyday · No machine
A patchwork pot from fabric scraps
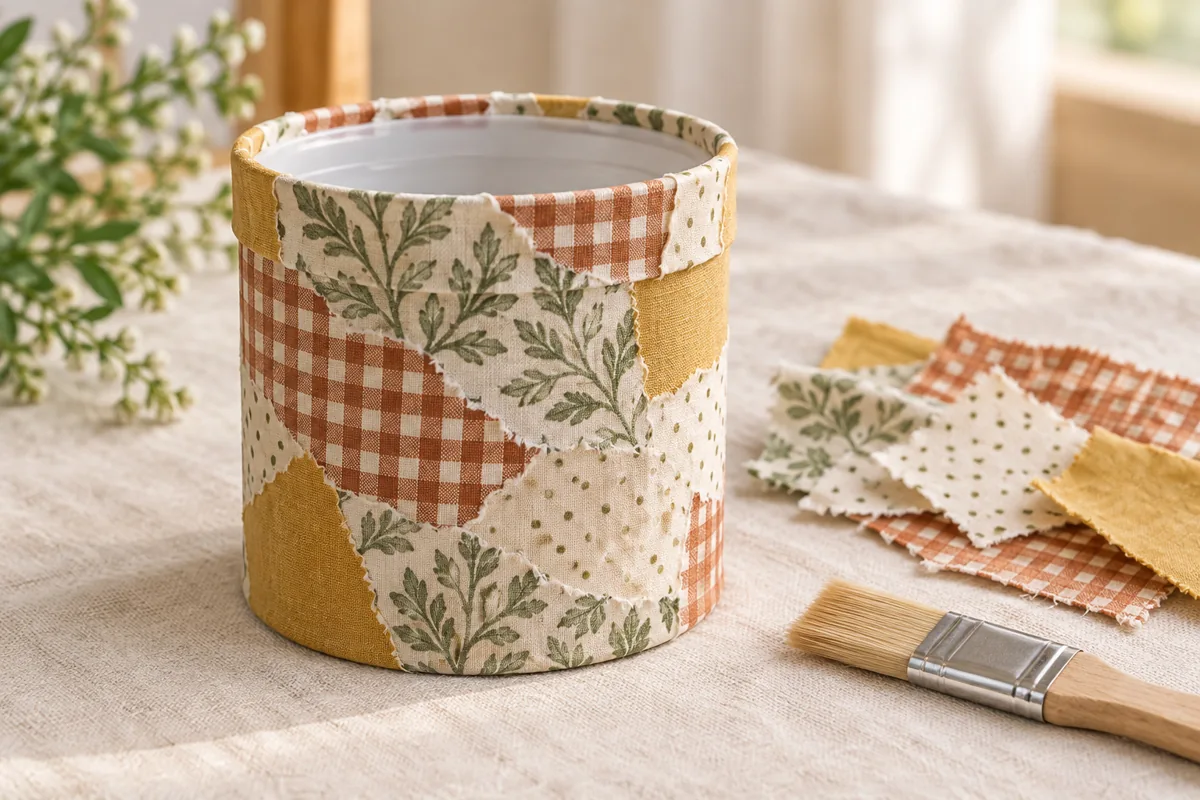
Give a clean container a second life with a soft patchwork of cotton scraps and a neatly folded rim.
STARTER GUIDE · AWAITING MAKER TESTING
Let’s make something lovely.
Before you begin: Use adhesive as labeled in a ventilated workspace. The finished pot is for dry storage only, not food, water, plants or heat.
Four illustrated steps, from the first cut to the finishing touch. The cover is an AI-generated concept; the diagrams show the planned construction. This guide awaits physical maker testing.
Drying & finishing: Allow the adhesive's full drying and cure time before filling the pot; this may require more than one day.
- 01
Clean and test the surface
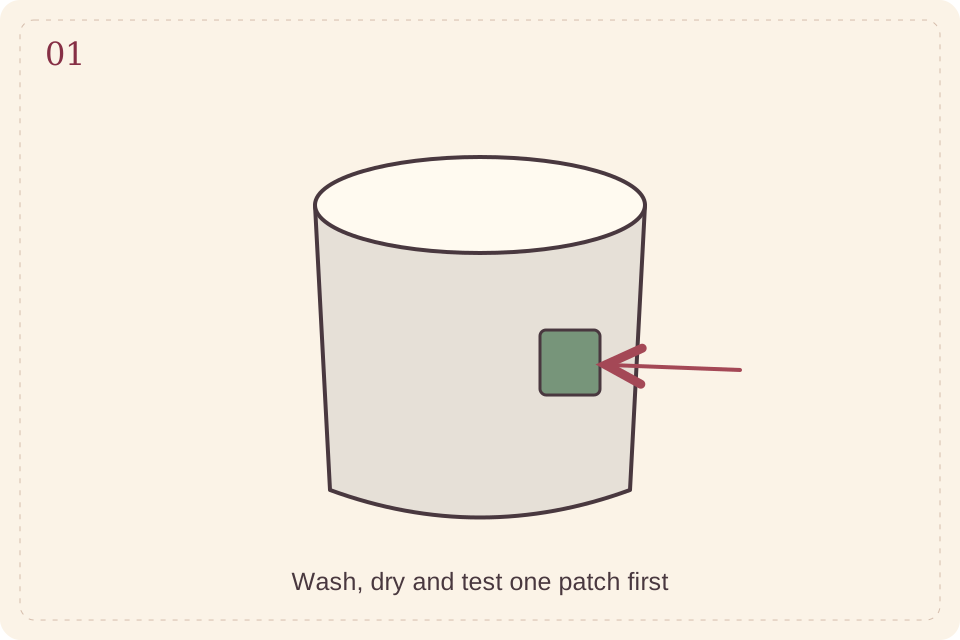
Wash the empty pot and dry it completely. Remove labels and check that the rim is smooth. Test a scrap and a small amount of your chosen adhesive on the outside; let it dry as directed and confirm it stays attached before covering the whole pot.
Step illustration · follow the written measurements · View full size ↗ - 02
Choose the patchwork
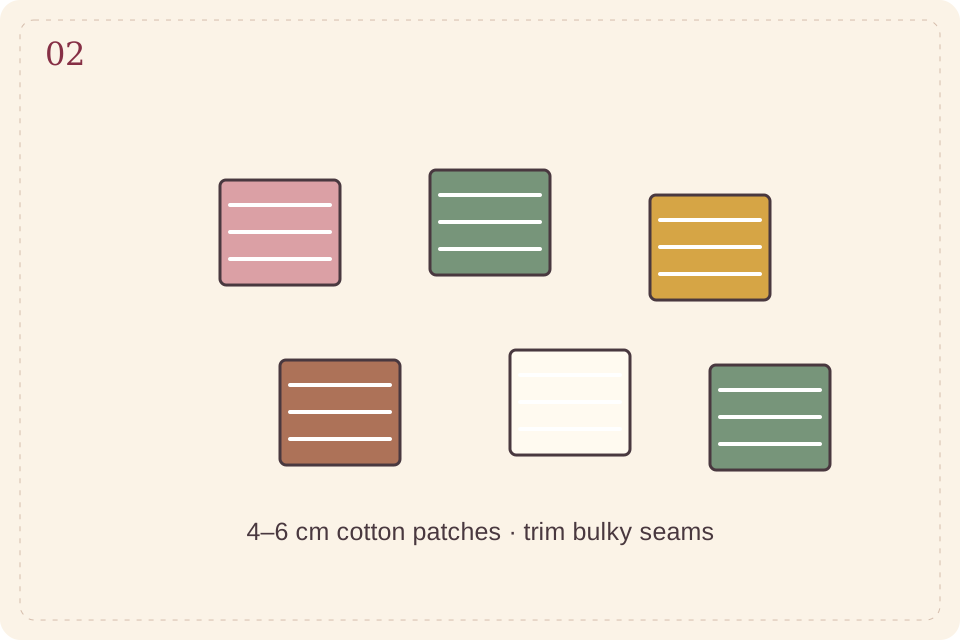
Cut or tear lightweight cotton into 4–6 cm patches. Arrange a small palette of solids and prints. Trim away bulky seams and very loose threads. Set aside several patches with a straight edge for the base and a few larger pieces to fold over the rim.
Step illustration · follow the written measurements · View full size ↗ - 03
Cover in overlapping patches
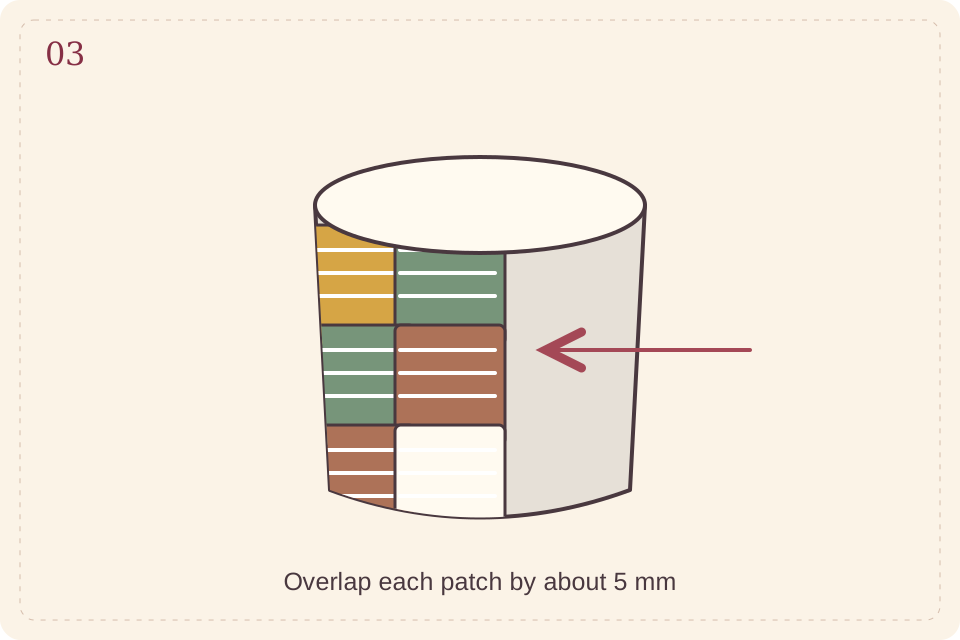
Brush a thin layer of compatible adhesive onto one small outside section. Lay a patch over it and smooth from the center outward. Overlap the next patch by about 5 mm. Work around the pot, trimming at the bottom so it sits flat. Keep the inside mostly bare.
Step illustration · follow the written measurements · View full size ↗ - 04
Fold the rim and cure
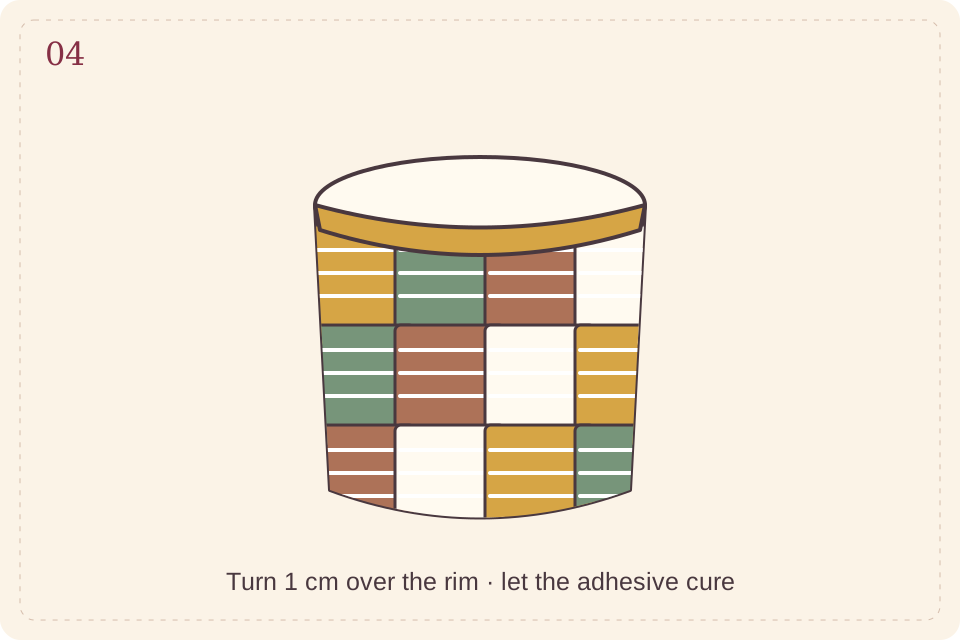
At the top, leave about 1 cm of fabric to turn over the rim. Make small relief snips where needed, fold the fabric inward and smooth it with adhesive. Apply a thin finishing coat only if your product directs it. Let the pot cure completely, then use it for dry craft supplies.
Step illustration · follow the written measurements · View full size ↗
Thin cotton follows curves more easily than heavy upholstery fabric. Smooth one patch at a time instead of coating the entire pot at once.
Make it personal
Use offcuts from a meaningful sewing project, or make a coordinated trio in different container heights.
The cover is AI-generated concept imagery. Step diagrams are original instructional illustrations, not photographs or measured cutting templates. Allow additional drying time. Estimated materials cost excludes equipment. Check your equipment and material instructions, verify template dimensions, and make a sample before a batch.
← Back to Everyday projects