Christmas · No machine
Folded paper gift bows
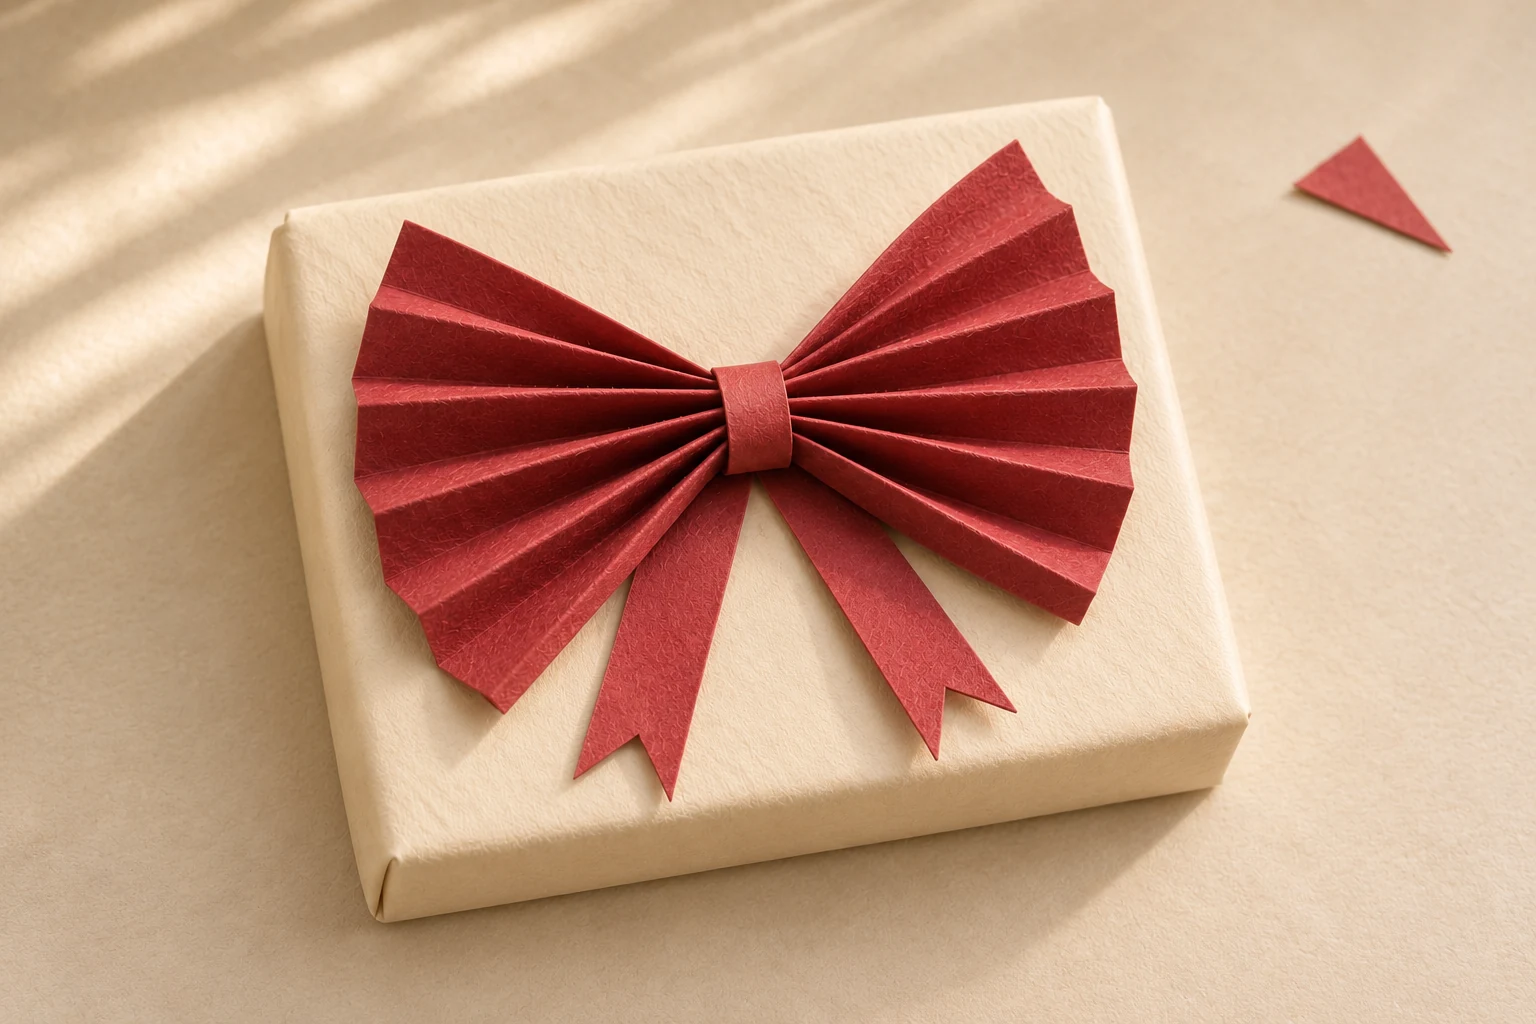
Accordion-fold one rectangle into a generous paper bow and finish it with two neatly notched tails.
- Active time
- About 20 min
- Makes
- 1 paper bow, about 18 cm wide
- Skill level
- Beginner
- Materials
- Est. Under $2
Ages 7+ with adult help
Check off your supplies and steps. Your progress stays in this browser.
0 of 4 steps complete.
STARTER GUIDE · AWAITING MAKER TESTING
Let’s make something lovely.
Before you begin: Supervise scissors with younger children. Keep paper bows away from flames and hot lights.
4 illustrated steps to help you follow the construction. Open any image for a closer look. AI-generated process illustrations accompany the written measurements.
Measure the bow and tails
Cut the 18 × 12 cm bow rectangle, the 1.5 × 8 cm center band and two 2 × 10 cm tails. On both 12 cm sides of the large rectangle, mark every 1.5 cm. Lightly connect matching marks to make seven fold guides running across the 18 cm width.
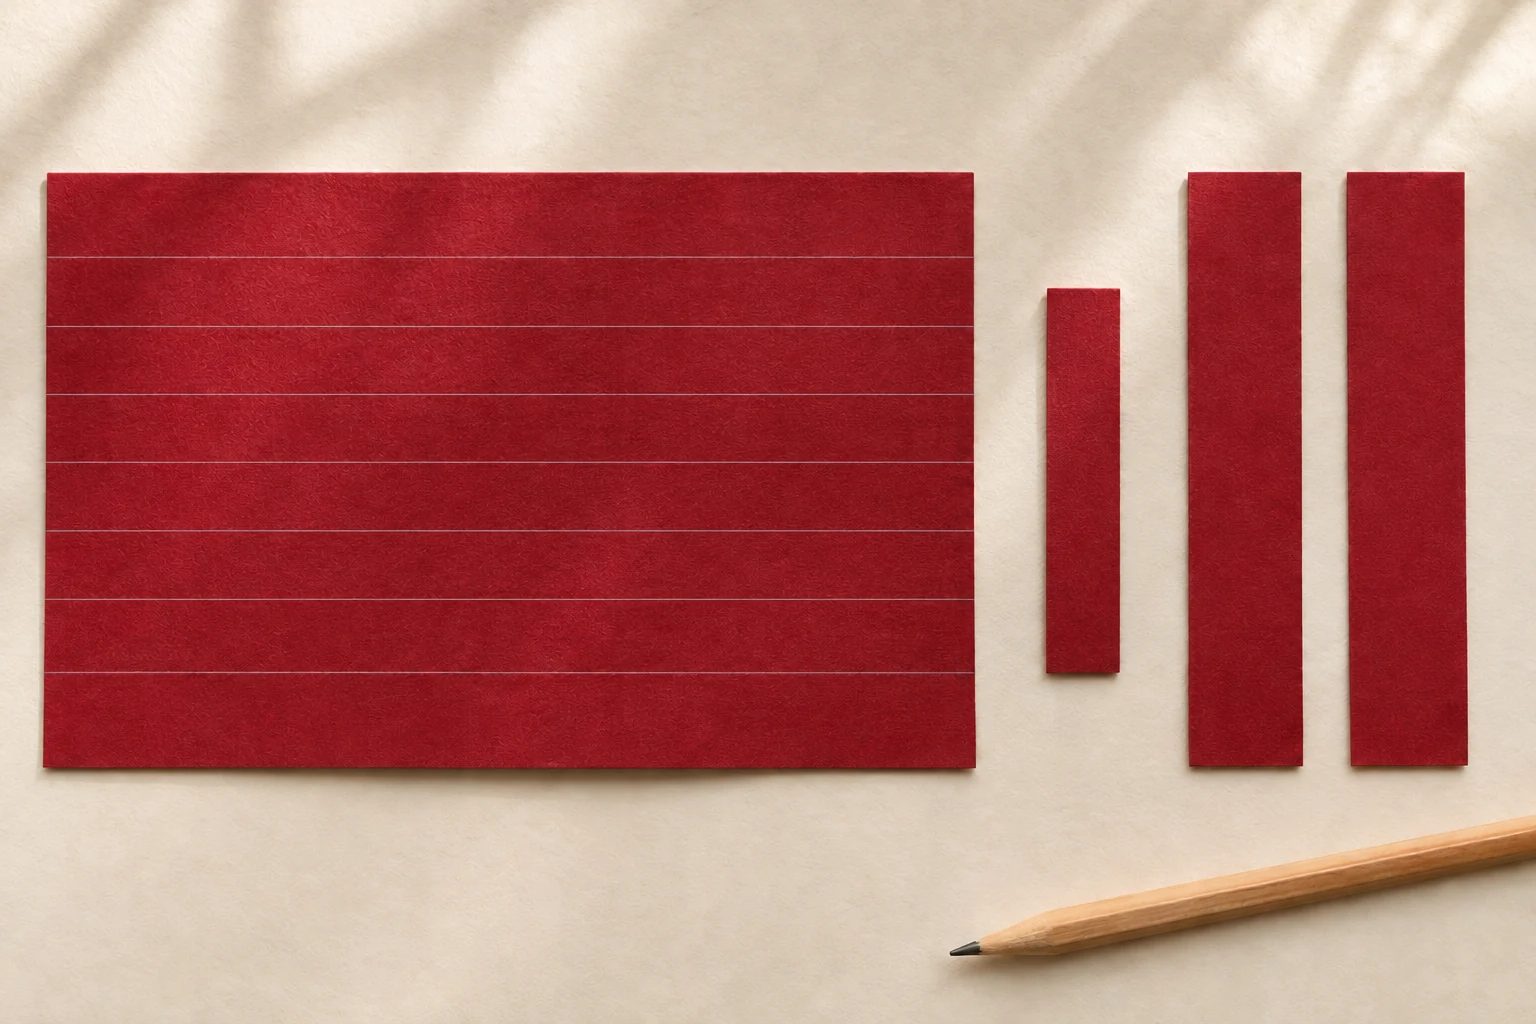
Seven folds divide the 12 cm height into eight equal panels. · View full size ↗ Fold eight even panels
Fold the large rectangle back and forth along the seven guides, alternating mountain and valley folds. Keep the long edges aligned. You will have eight 1.5 cm panels stacked into a strip about 18 cm long and 1.5 cm high. Press the creases, then mark the midpoint 9 cm from either end.
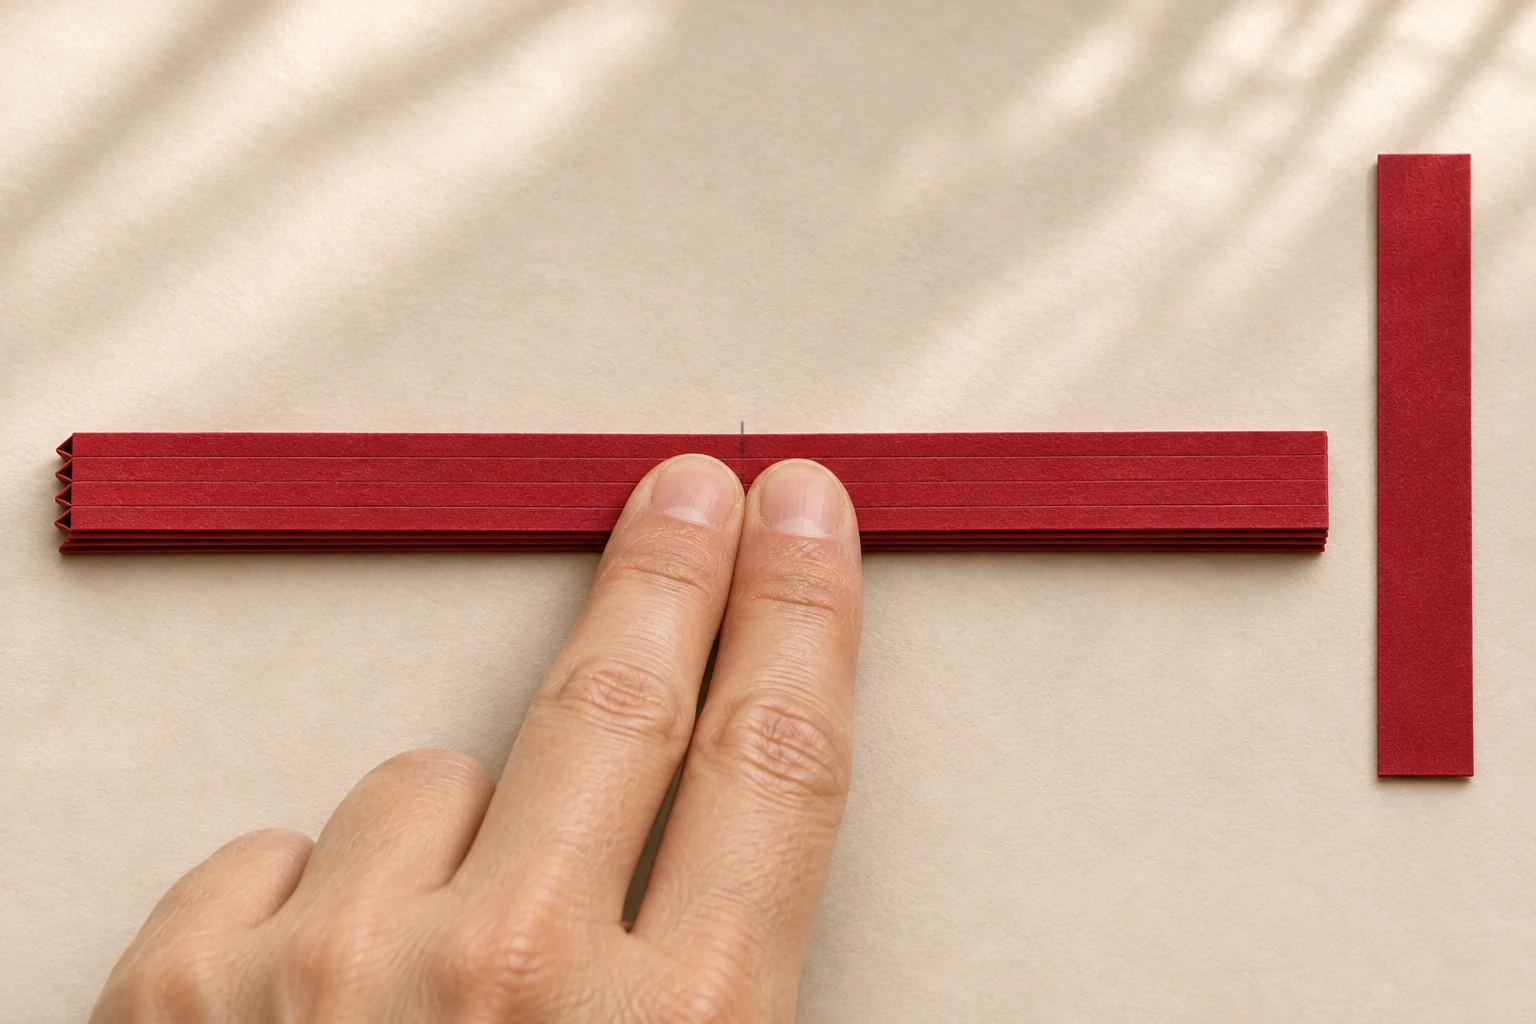
Alternate the fold direction each time. · View full size ↗ Wrap the center and open
Pinch the folded strip at its midpoint. Wrap the 1.5 × 8 cm band around this center, with the band’s short width running along the bow’s length. Pull it snug enough to hold the folds, trim excess if needed and tape the overlap on the back. Gently spread the pleats at both ends.
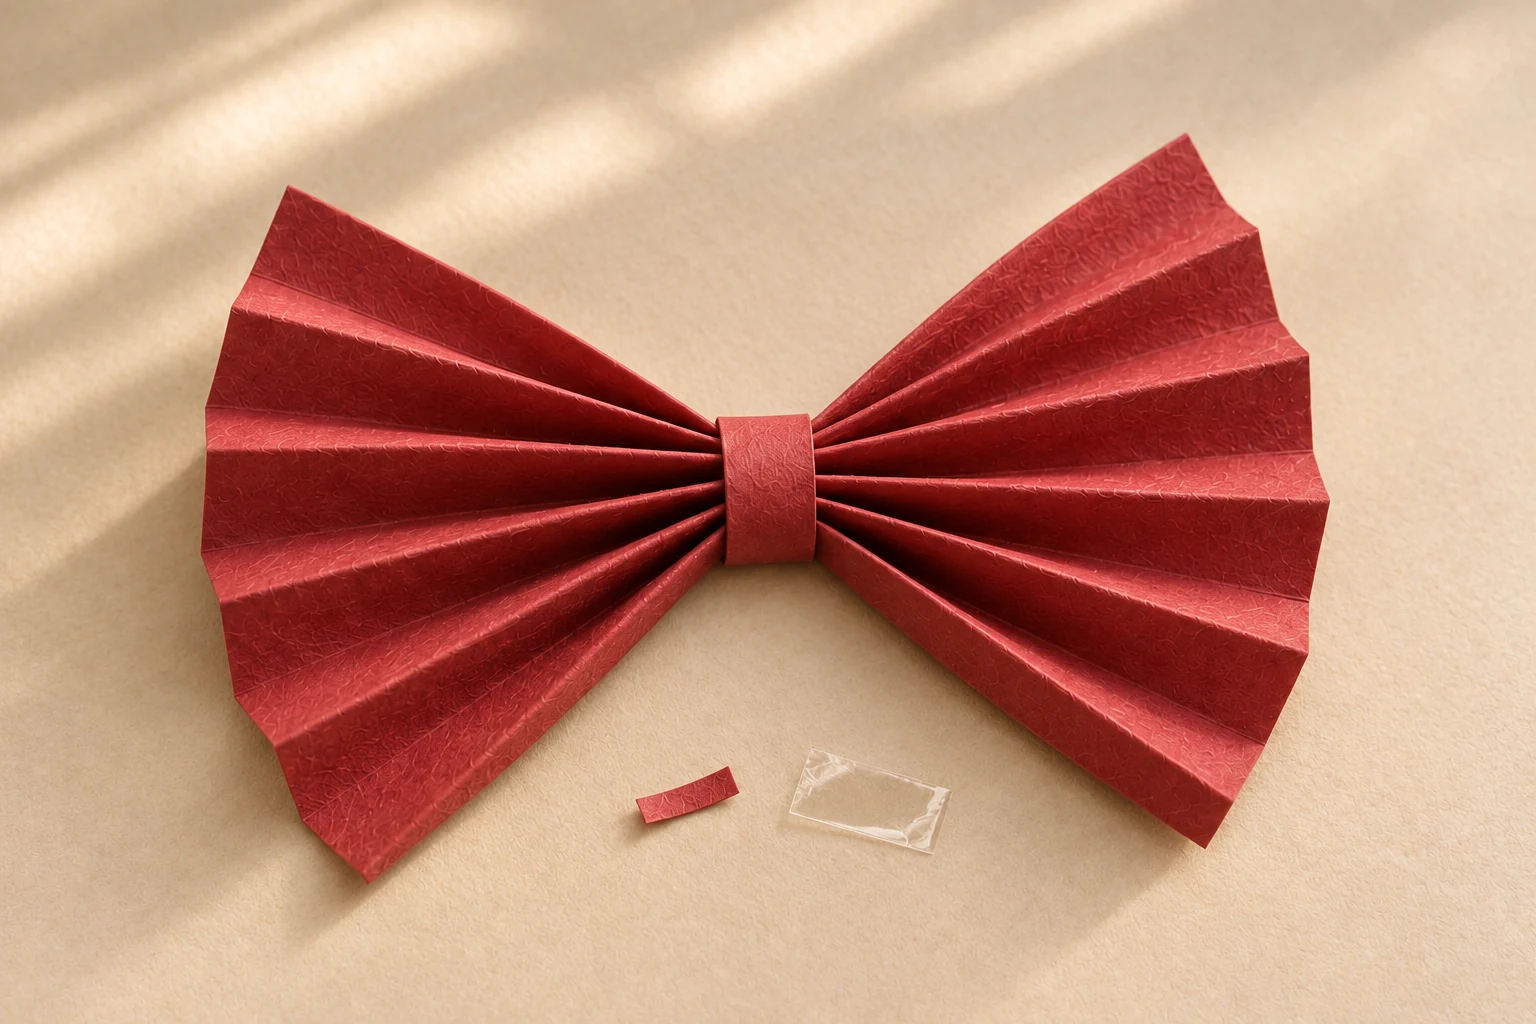
Tape the center band closed on the back of the bow. · View full size ↗ Notch and attach the tails
At the bottom of each tail, mark a point 1 cm up from the center of the short edge. Cut from the two bottom corners to that point to make a V notch. Tape the uncut ends to the back of the bow, angled apart. Attach the finished bow to a wrapped gift with an extra piece of tape.
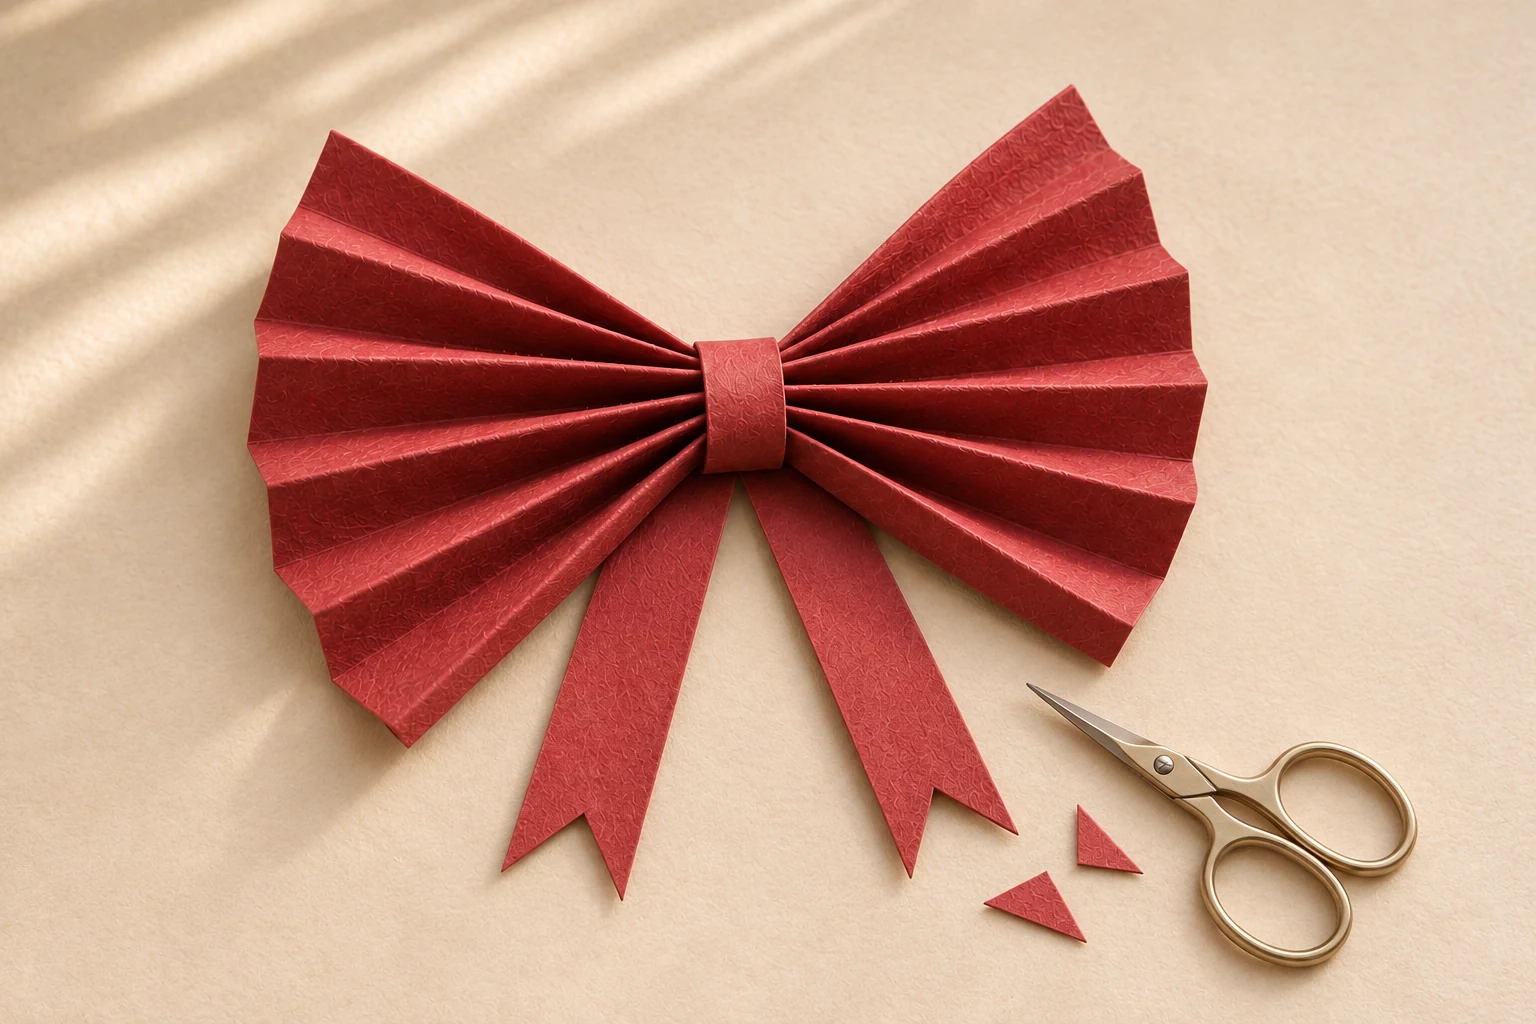
Cut a 1 cm-deep V at each tail’s free end. · View full size ↗
Thin wrapping paper can tear when pinched. A sheet of ordinary colored printer paper is easier for a first bow.
Make it personal
Use a favorite color, an old map or a clean sheet of reused gift wrap.
The cover and process images are AI-generated illustrations of the intended make. Follow the written measurements; these project plans await hands-on maker testing. Allow any additional drying time. Estimated materials cost excludes equipment. Check your equipment and material instructions, verify template dimensions, and make a sample before a batch.
← Back to Christmas projects