Christmas · No machine
Paper cone angels
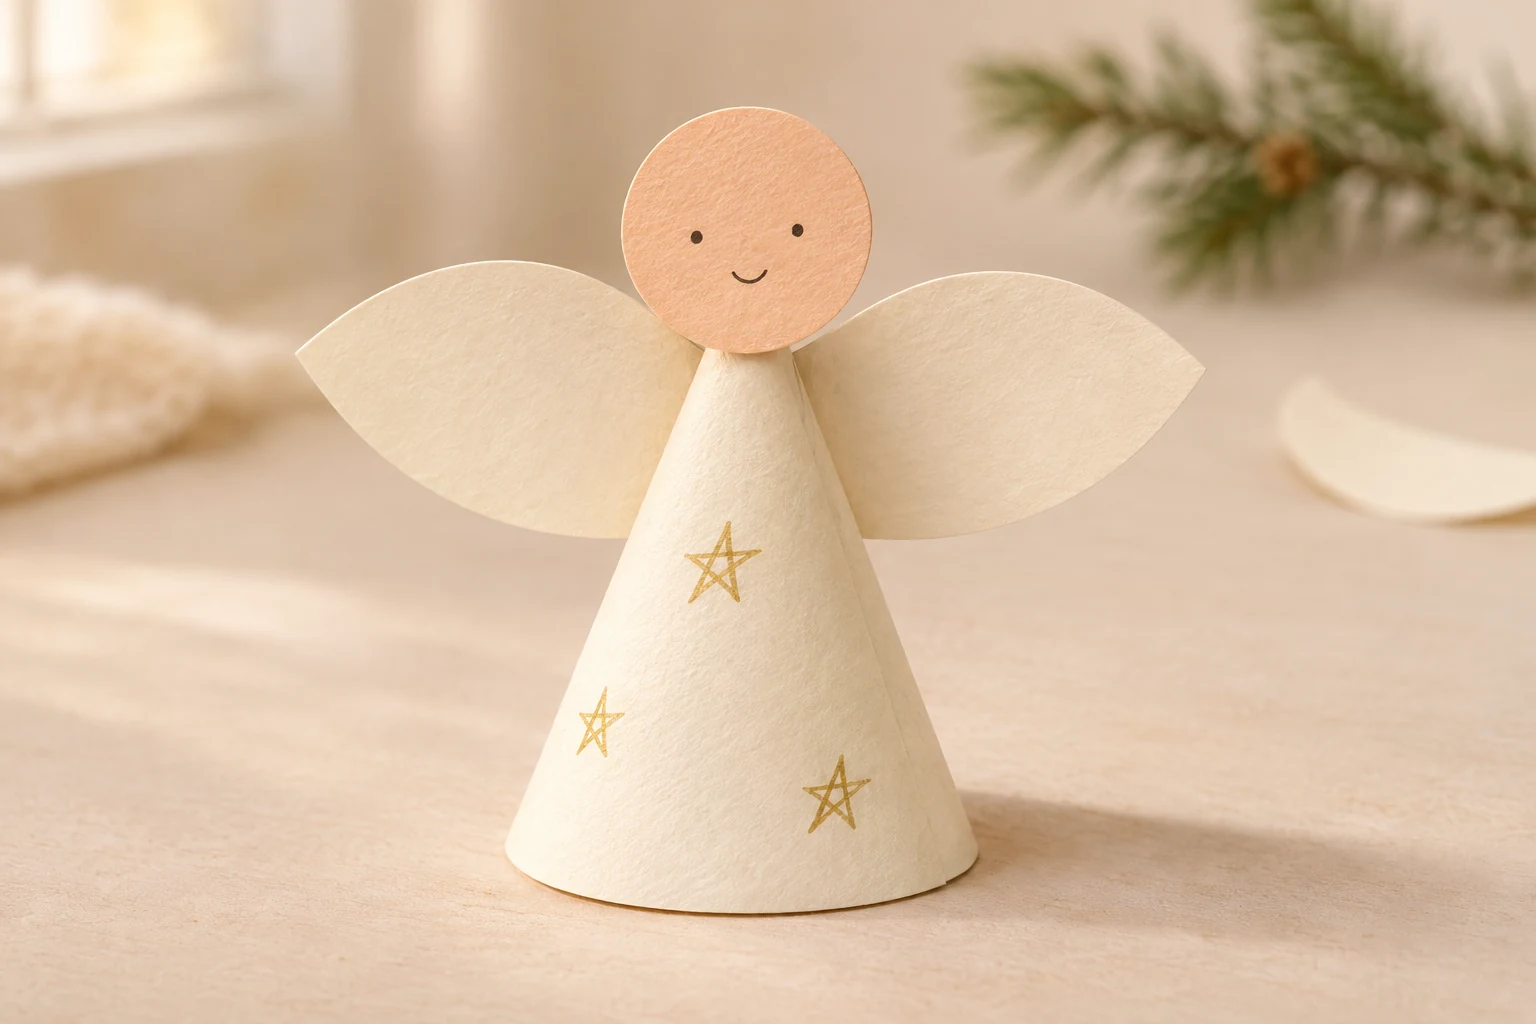
Shape a simple paper semicircle into a little standing angel, then add folded wings and a friendly face.
- Active time
- About 25 min
- Makes
- 1 small standing paper angel
- Skill level
- Beginner
- Materials
- Est. $1–3
Ages 7+ with adult help
Check off your supplies and steps. Your progress stays in this browser.
0 of 4 steps complete.
STARTER GUIDE · AWAITING MAKER TESTING
Let’s make something lovely.
Before you begin: Help younger children with scissors. Display the paper angel away from candles, radiators and light bulbs; it is not a candle cover.
4 illustrated steps to help you follow the construction. Open any image for a closer look. AI-generated process illustrations accompany the written measurements.
Cut a semicircle and details
Draw a semicircle with a 10 cm radius: its straight edge is 20 cm across and its height is 10 cm. Cut it out. Cut a 12 × 6 cm rectangle for the wings and a 3.5 cm circle for the head. Keep the semicircle’s center point on the straight edge lightly marked.
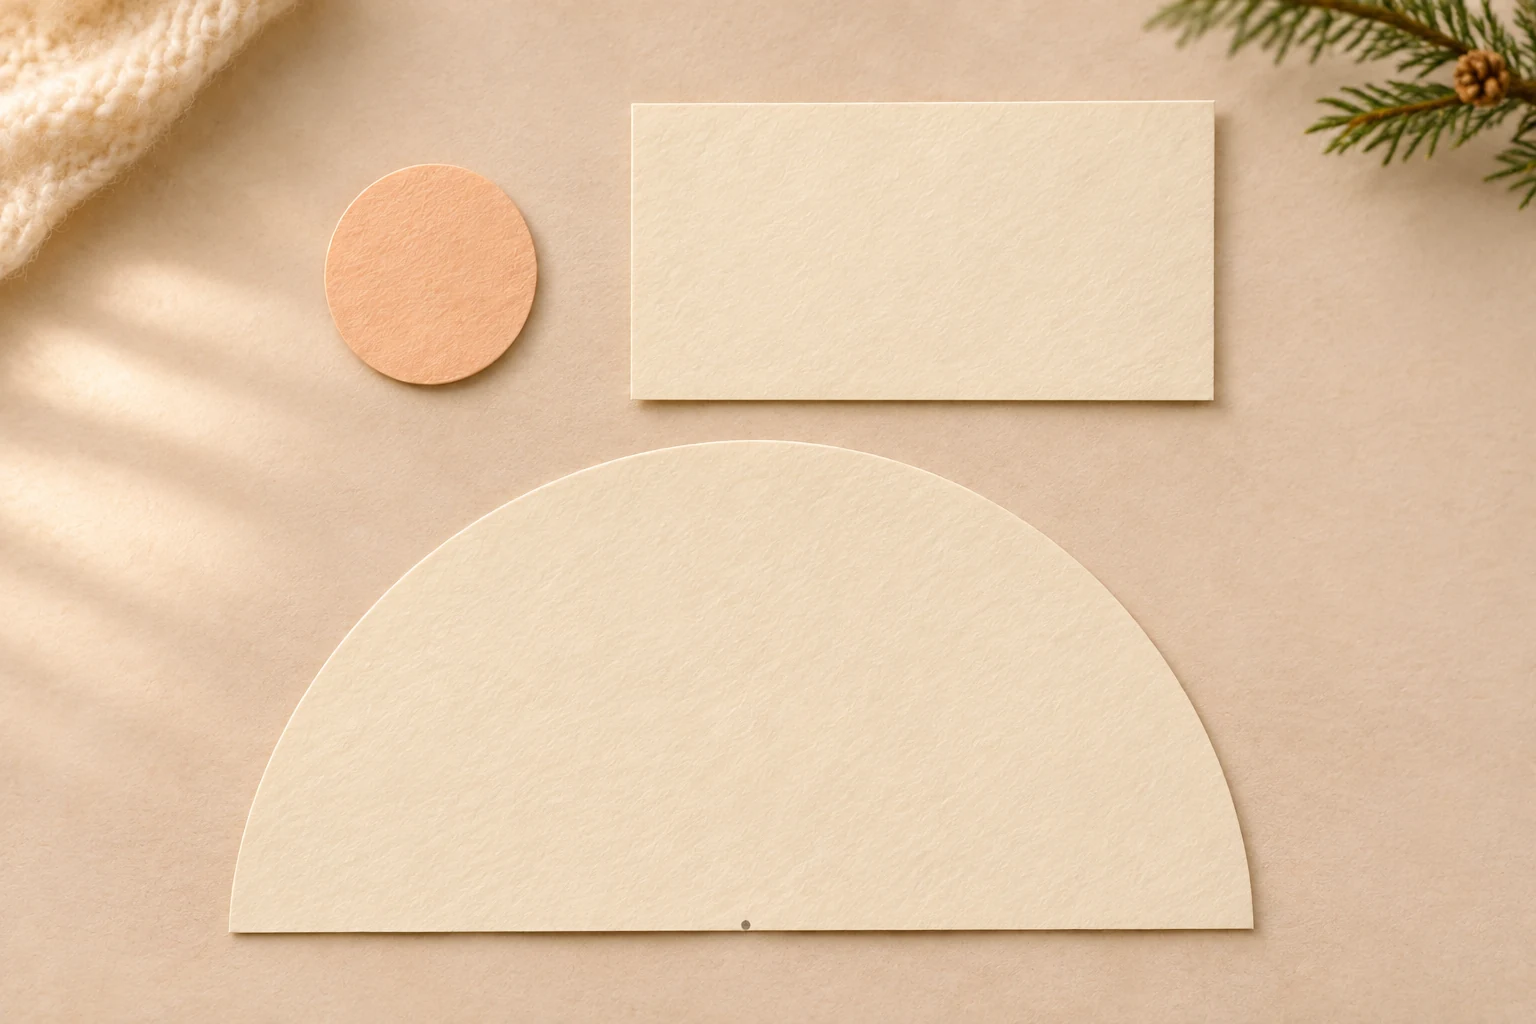
The straight edge of the semicircle measures 20 cm. · View full size ↗ Roll the standing cone
Bring the two straight halves of the semicircle together to make a cone, with the marked center becoming its tip. Overlap the straight edges by about 1 cm at the lower rim and secure the seam with tape. Set the cone on its curved rim and gently adjust until it stands level.
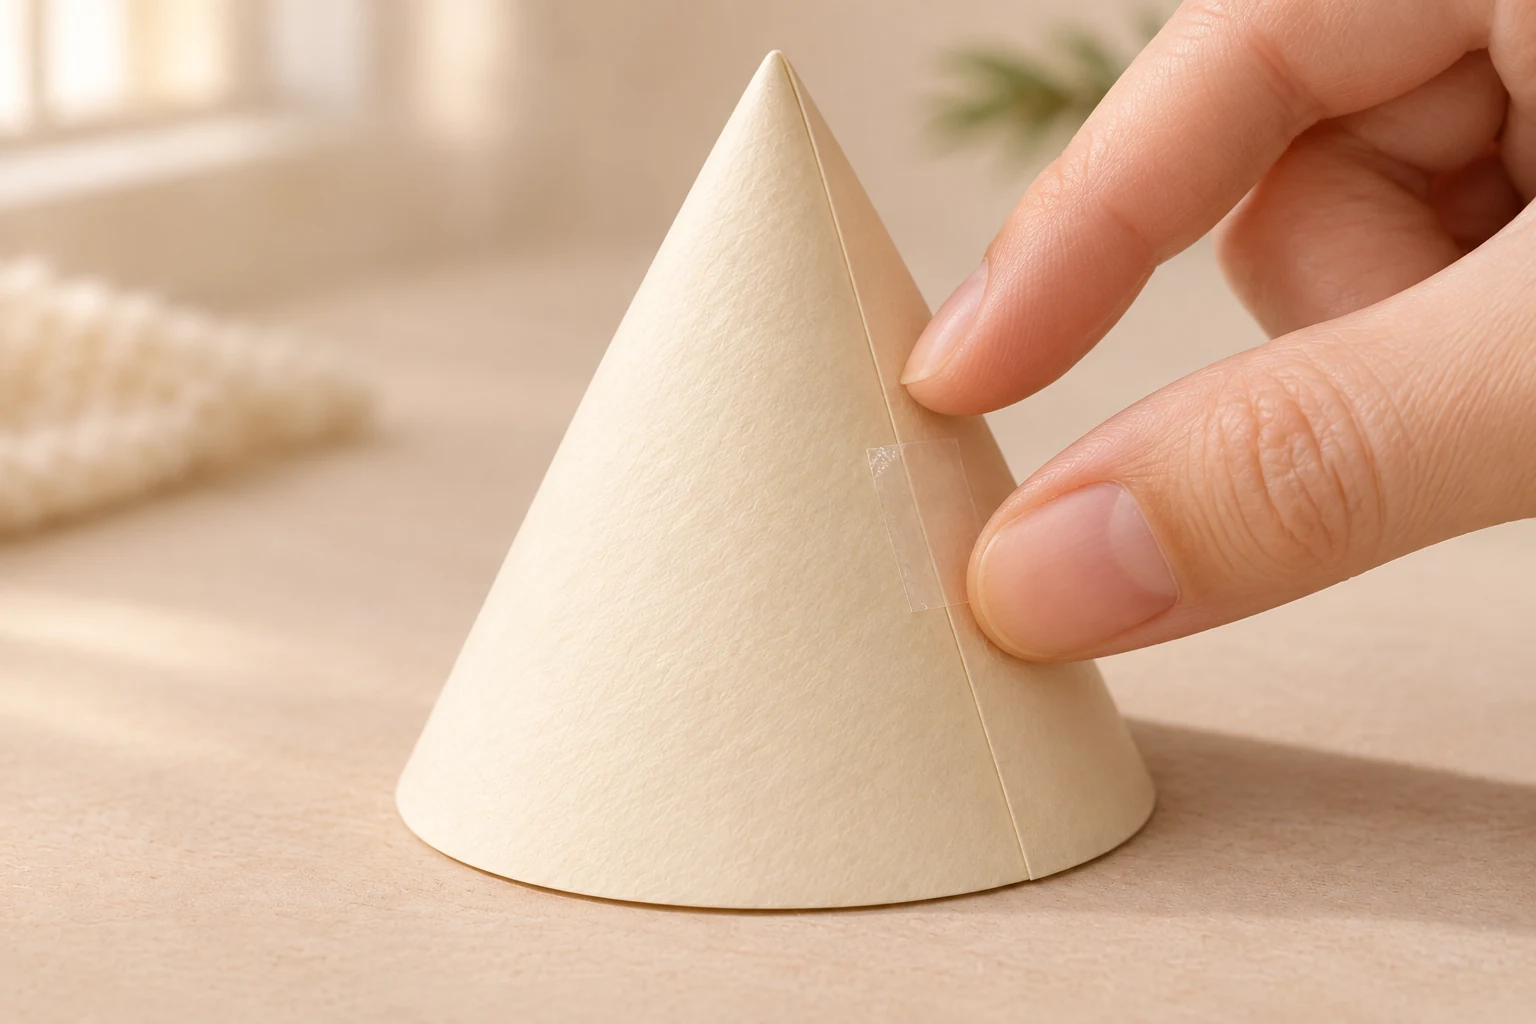
Overlap the seam about 1 cm at the rim, then check the base. · View full size ↗ Fold and cut a pair of wings
Fold the 12 × 6 cm wing rectangle in half to make a 6 × 6 cm square. Keep the fold at the left. Draw a rounded wing from the upper folded corner out toward the right edge, then back to the lower folded corner. Cut the outer curve while leaving the folded edge intact. Open it to reveal two joined wings.
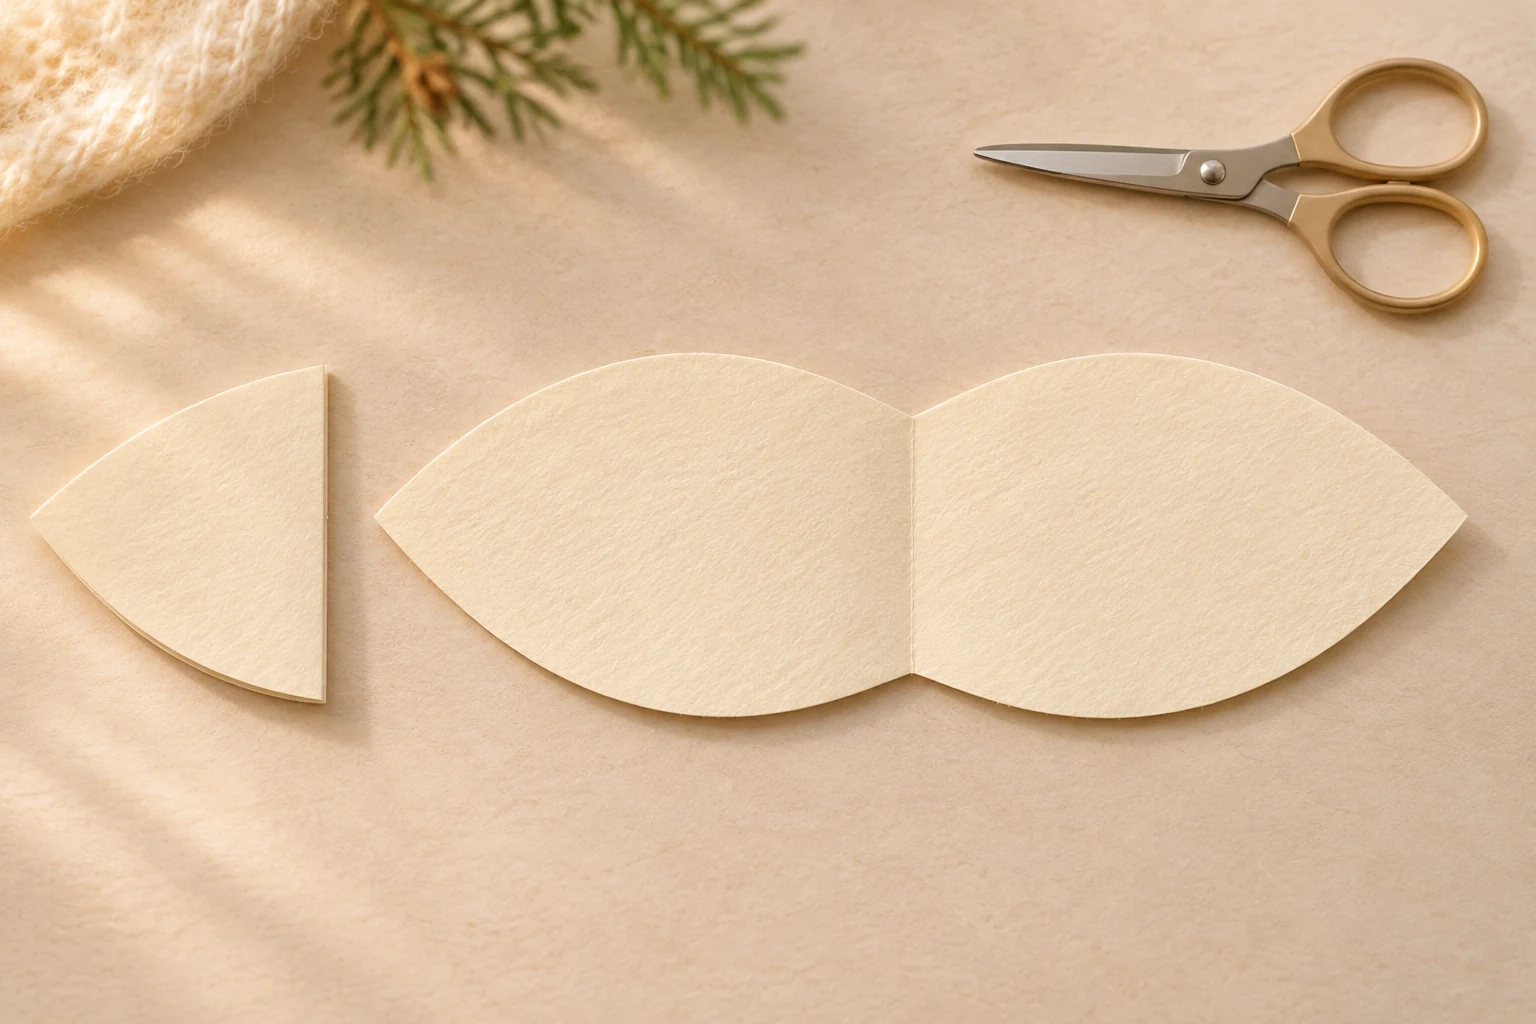
Do not cut the folded edge: it joins the two wings. · View full size ↗ Attach the face and wings
Draw a face on the head circle. Tape its lower 1 cm to the front of the cone tip. Tape the center of the opened wings to the back of the cone just below the head; bend the wings slightly forward if you like. Check that the cone still sits level, then display it indoors.
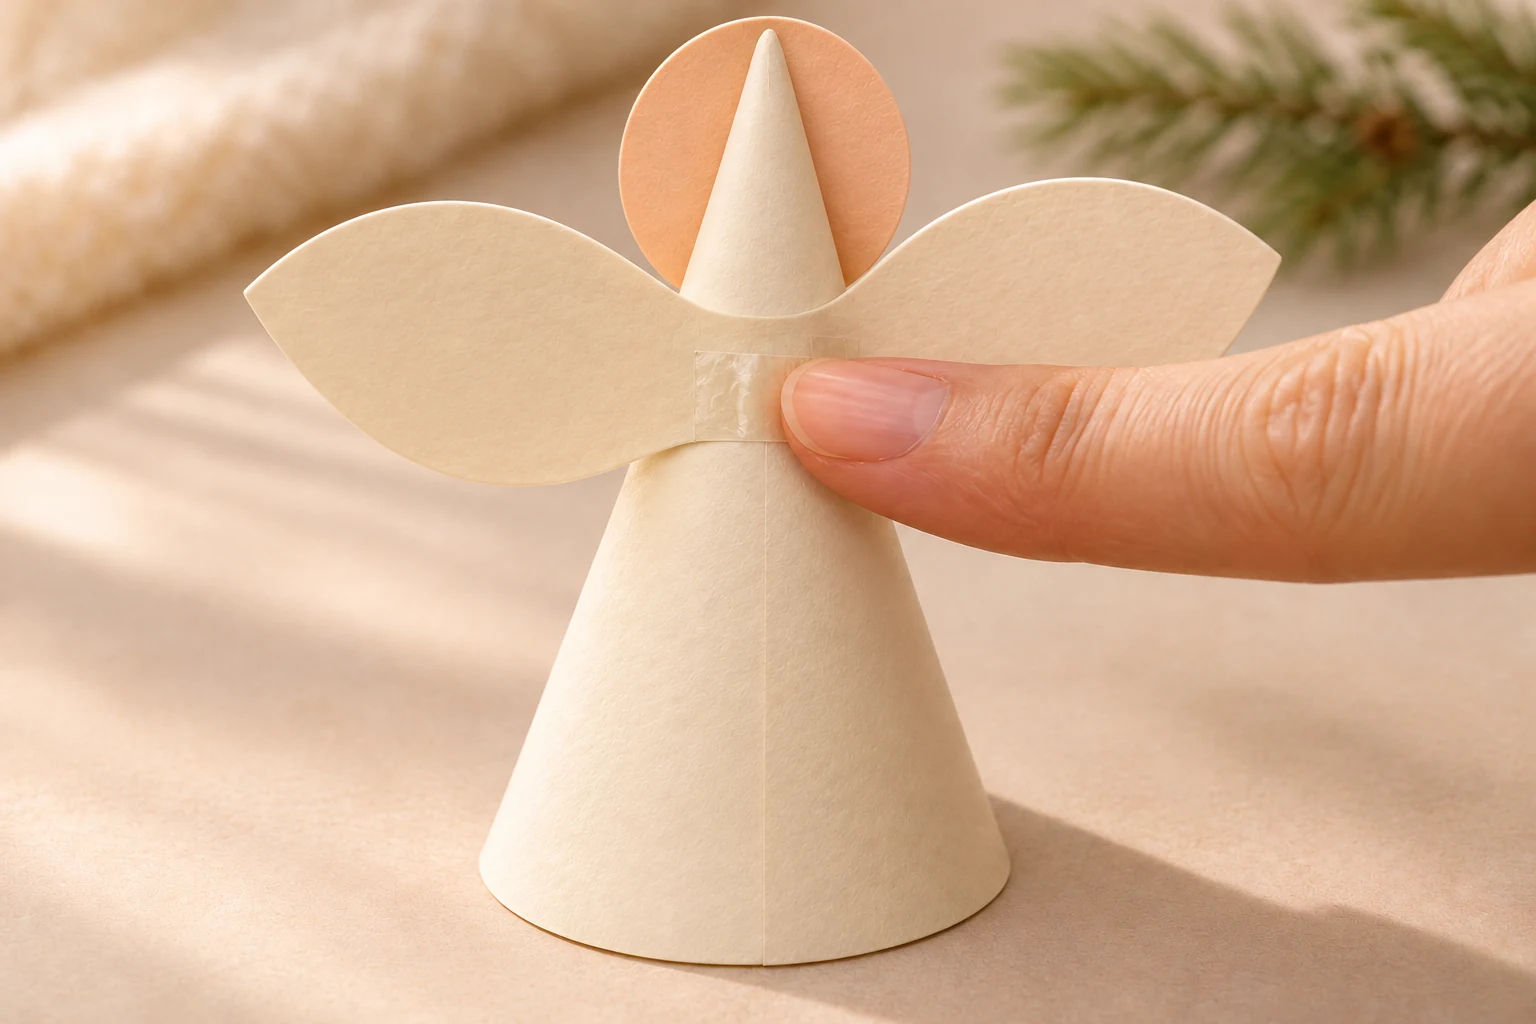
Tape the head on the front and the wing center on the back. · View full size ↗
Use light cardstock that bends smoothly. Heavy card may spring open at the cone seam.
Make it personal
Choose a skin tone, draw a hairstyle and add tiny stars to the robe.
The cover and process images are AI-generated illustrations of the intended make. Follow the written measurements; these project plans await hands-on maker testing. Allow any additional drying time. Estimated materials cost excludes equipment. Check your equipment and material instructions, verify template dimensions, and make a sample before a batch.
← Back to Christmas projects