Thanksgiving · No machine
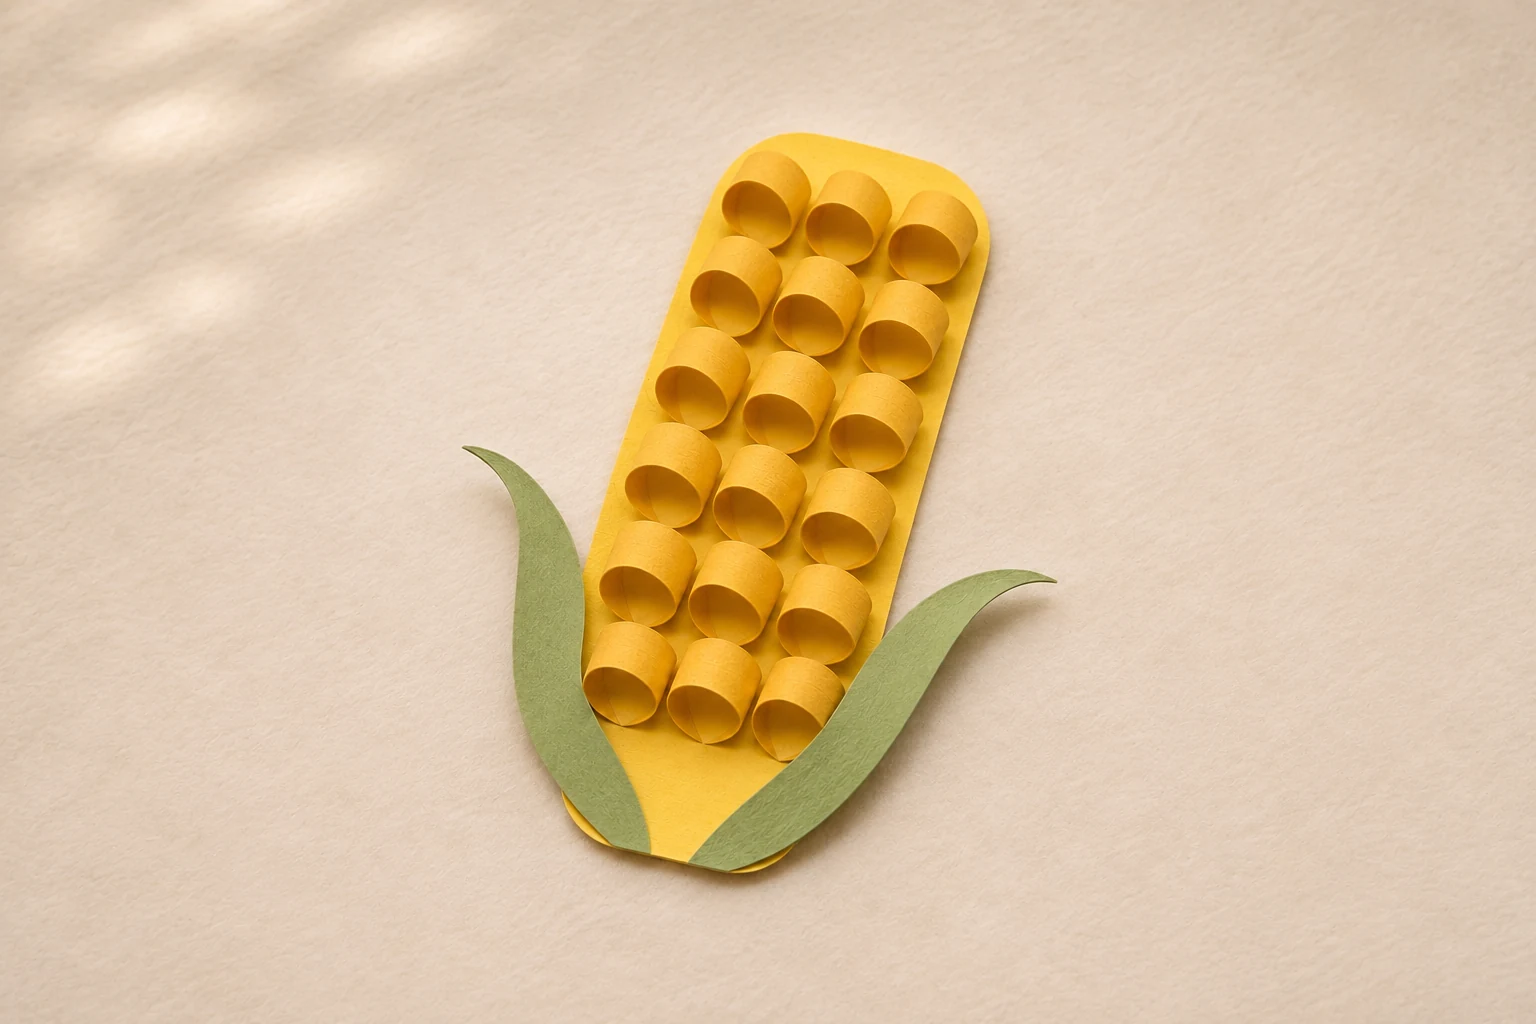
Golden paper-loop corn
Turn little paper loops into a golden ear of corn with two sweeping green husks for your Thanksgiving table.
- Active time
- About 30 min
- Makes
- 1 paper ear of corn, about 16 cm tall
- Skill level
- Beginner
- Materials
- Est. $1–3
Ages 7+ with adult help
Check off your supplies and steps. Your progress stays in this browser.
0 of 4 steps complete.
STARTER GUIDE · AWAITING MAKER TESTING
Let’s make something lovely.
Before you begin: An adult should help younger children cut the strips. Keep this paper decoration away from candles and serving dishes.
4 illustrated steps to help you follow the construction. Open any image for a closer look. AI-generated process illustrations accompany the written measurements.
Measure the paper pieces
Cut a 6 × 16 cm yellow cardstock backing and round its corners slightly. Measure and cut 18 paper strips, each 1.5 × 6 cm. Cut two green 3 × 15 cm rectangles; taper each into a long leaf, leaving the bottom 3 cm at its full width for attaching.
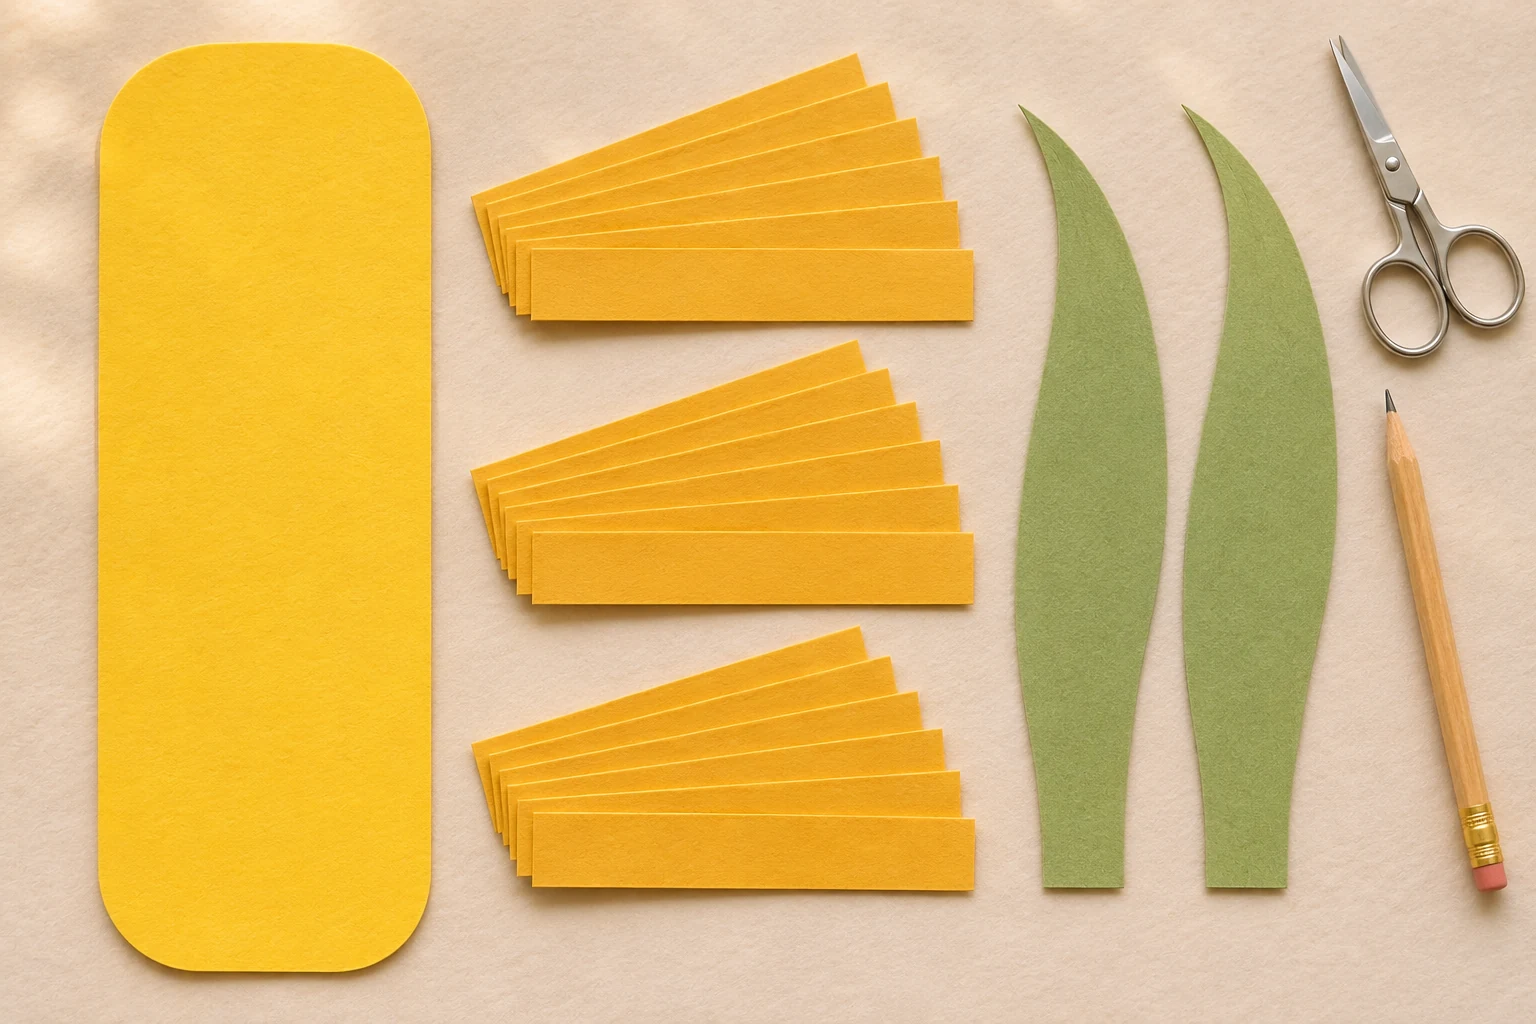
Cut 18 equal strips; keep a broad base on each leaf. · View full size ↗ Make 18 little loops
On each yellow strip, put a small piece of double-sided tape across the last 1 cm. Bring the other short end over it to make a loop with a 1 cm overlap. Press only the joined ends flat, leaving the rest rounded. Make all 18 loops.
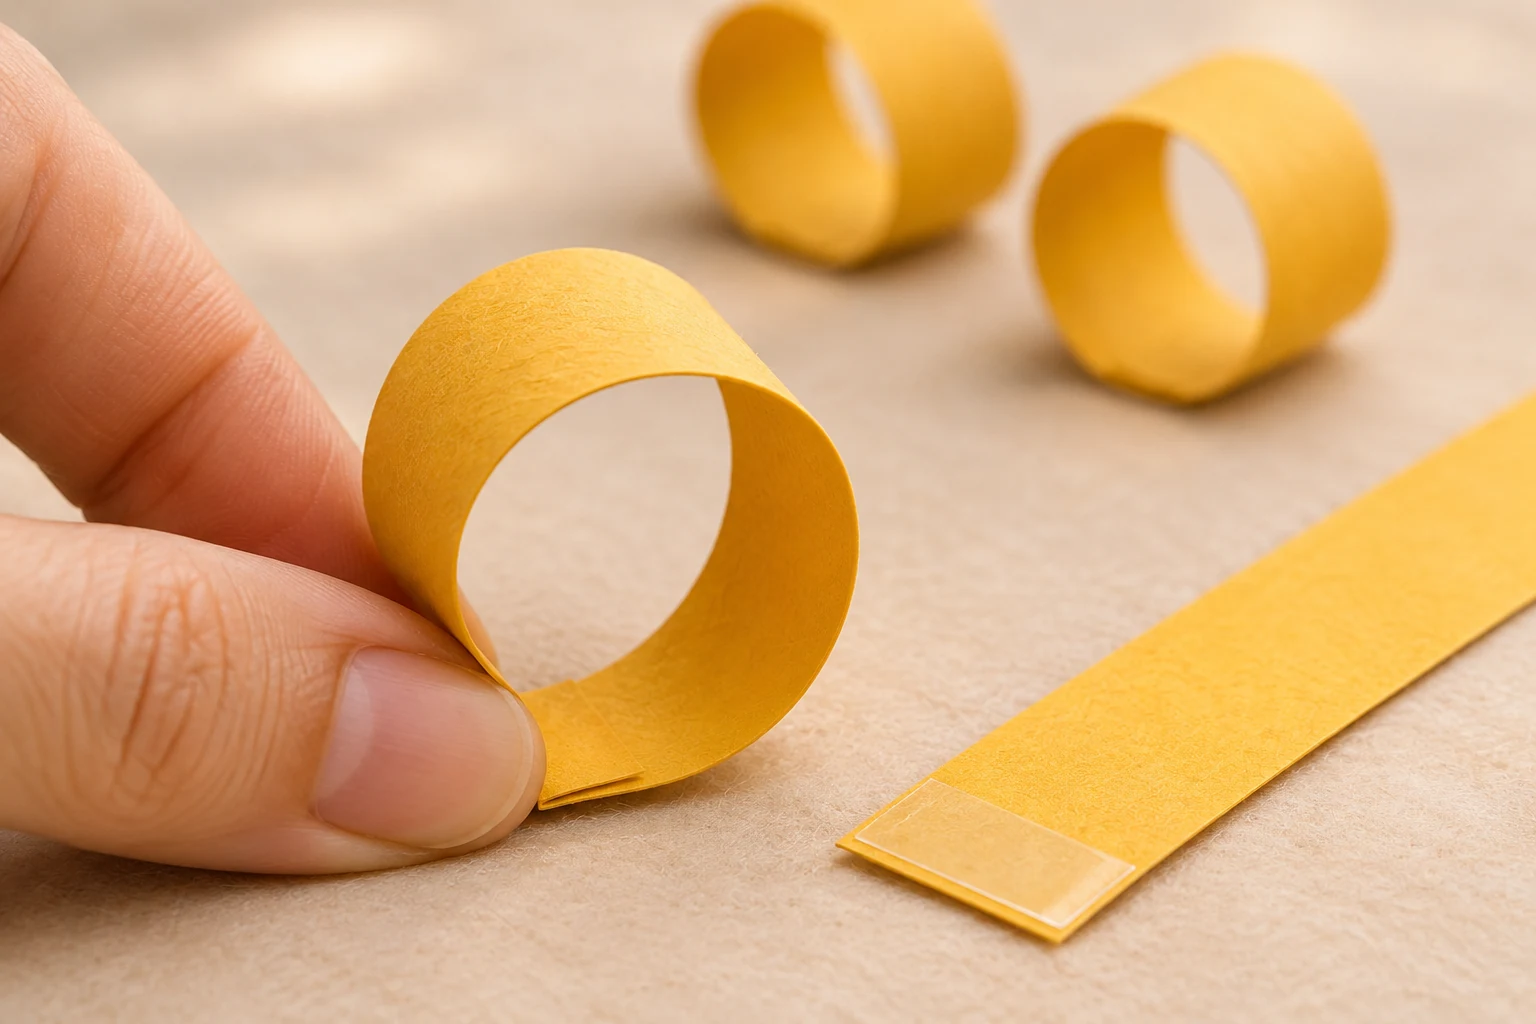
Overlap the short ends by 1 cm; do not flatten the whole loop. · View full size ↗ Build six rows of kernels
Lay the backing upright. Add three loops across it, with their flat joins near the bottom and the rounded portions pointing up. Start the lowest row about 3 cm above the bottom. Add five more rows above it, about 2 cm apart, working upward so each new row slightly overlaps the one below. Keep all joins inside the backing.
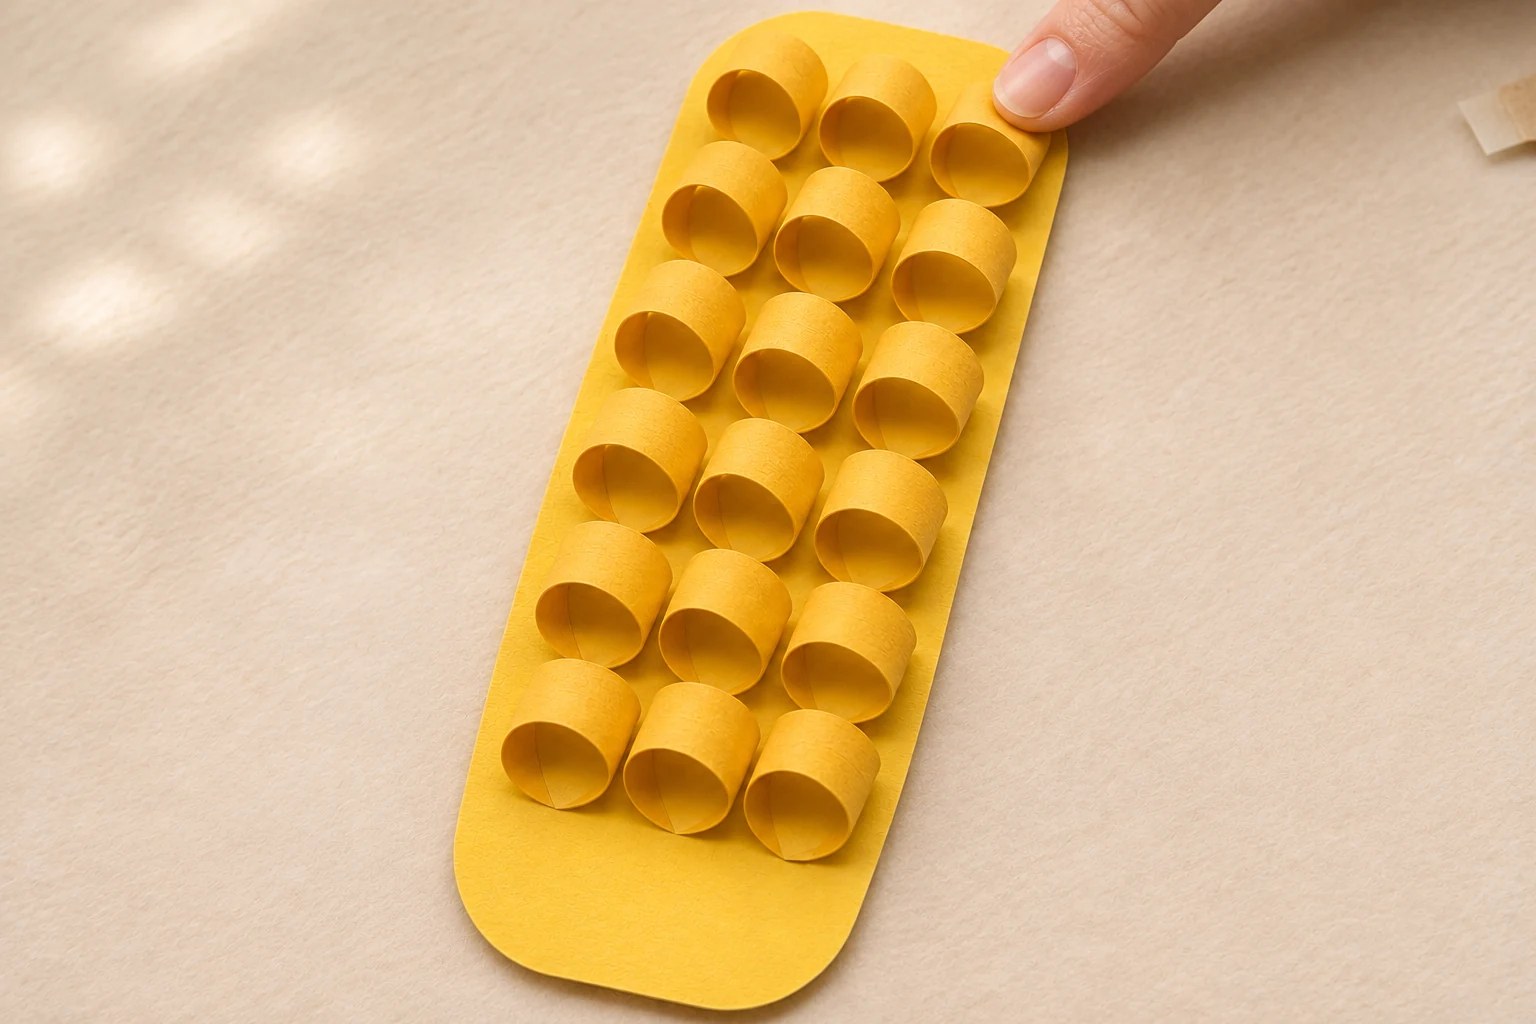
Three loops per row × six rows = 18 kernels. · View full size ↗ Add the two green husks
Tape the wide bottom 3 cm of both green leaves over the lower end of the backing. Angle one leaf out to each side so the kernels remain visible. Gently curve the leaf tips with your fingers and set the finished corn on a dry display surface.
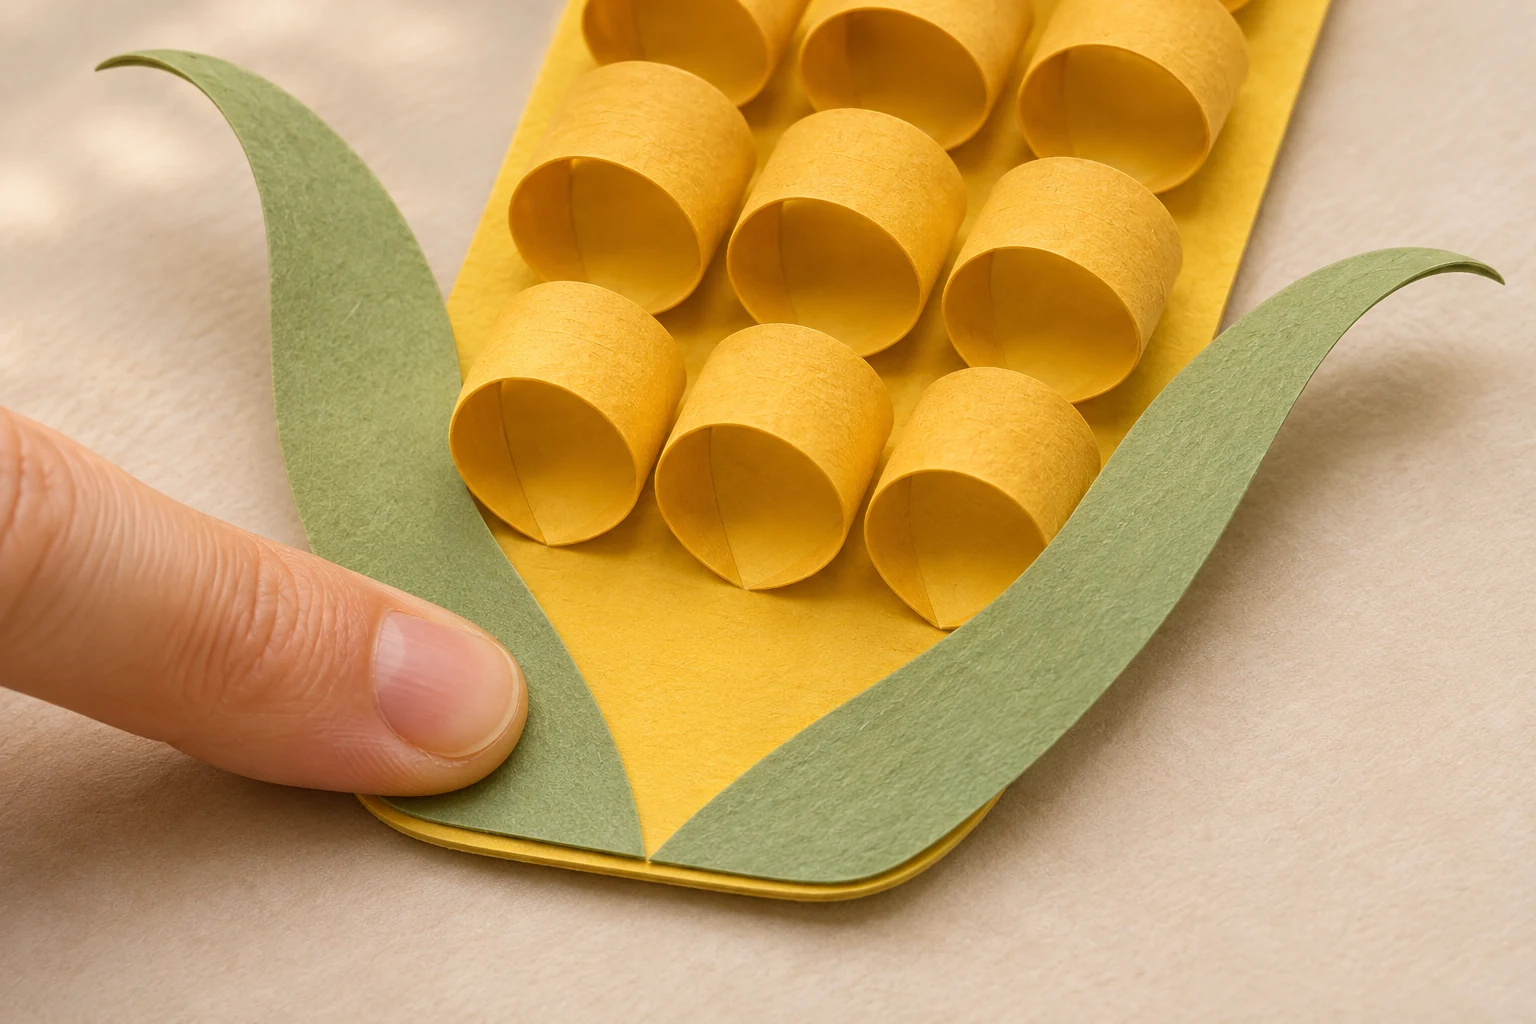
Tape only the lower section so the leaf tips can curve. · View full size ↗
Dry-arrange the six rows before taping. Let the loops overlap a little rather than squashing them flat.
Make it personal
Mix pale yellow and ochre strips, or write a guest’s name on one green husk.
The cover and process images are AI-generated illustrations of the intended make. Follow the written measurements; these project plans await hands-on maker testing. Allow any additional drying time. Estimated materials cost excludes equipment. Check your equipment and material instructions, verify template dimensions, and make a sample before a batch.
← Back to Thanksgiving projects