Thanksgiving · No machine
A little pumpkin-pie bunting
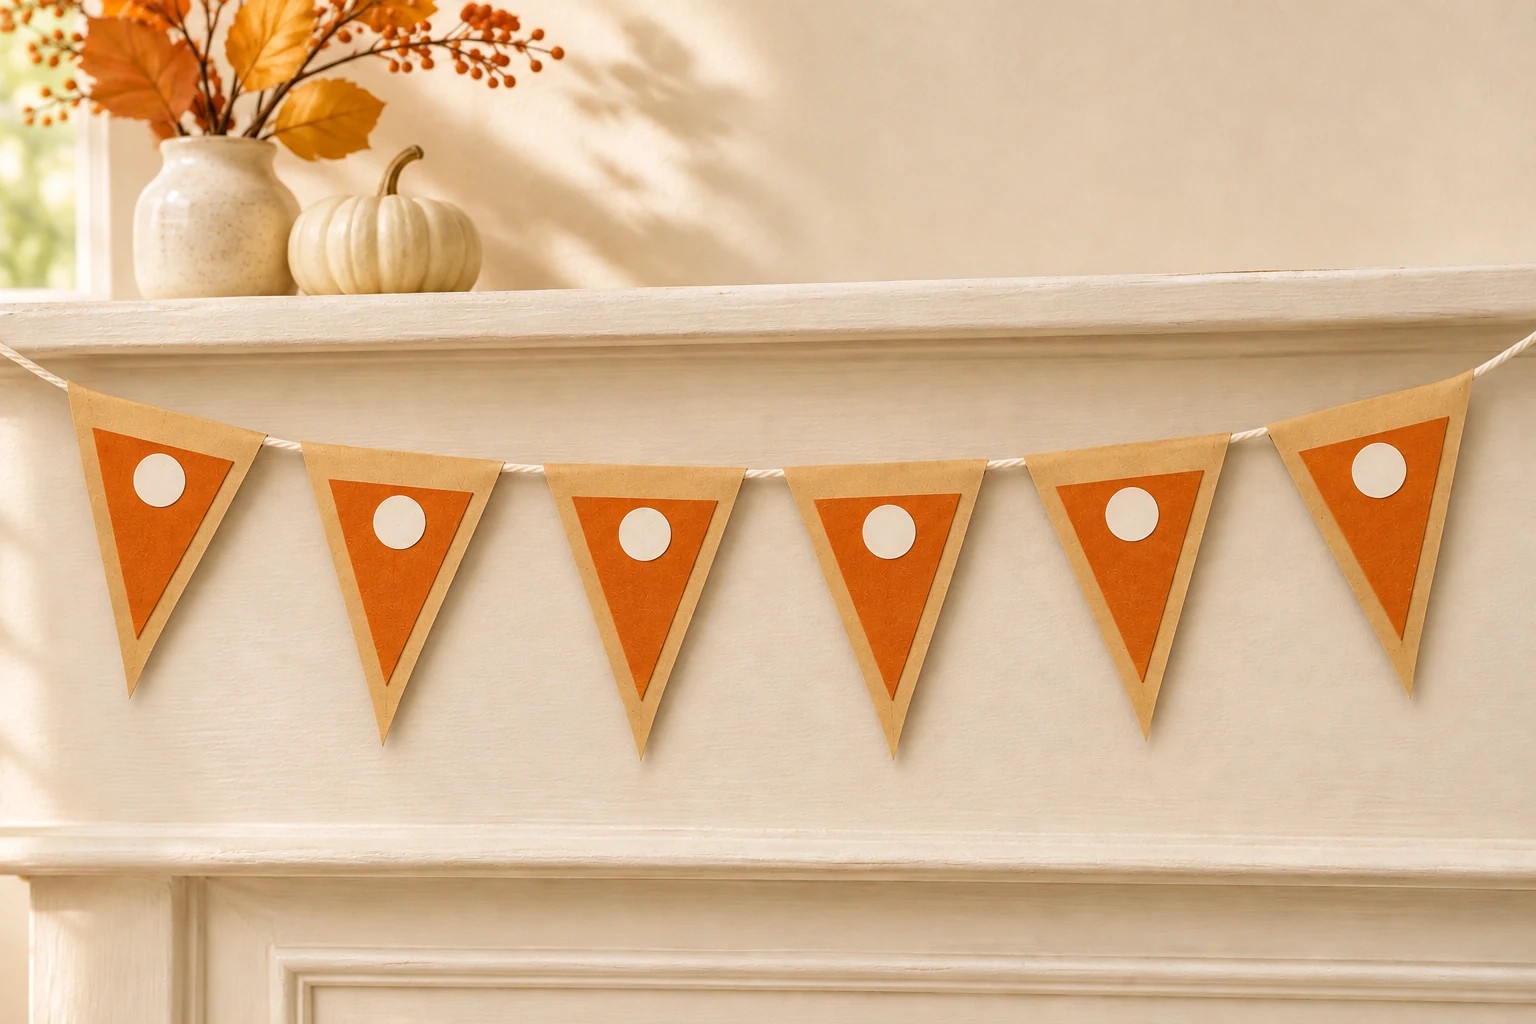
Make six cheerful paper pie slices and fold their tabs over a cord for a Thanksgiving garland.
- Active time
- About 35 min
- Makes
- 6 pennants on a 1.5 m cord
- Skill level
- Beginner
- Materials
- Est. $2–4
Ages 7+ with adult help
Check off your supplies and steps. Your progress stays in this browser.
0 of 4 steps complete.
STARTER GUIDE · AWAITING MAKER TESTING
Let’s make something lovely.
Before you begin: Adults should hang the garland. Keep long cords away from babies, young children, pets, heat and flames. This is a decoration, not food wrapping.
4 illustrated steps to help you follow the construction. Open any image for a closer look. AI-generated process illustrations accompany the written measurements.
Cut the crust and hanging tab
Cut six tan rectangles, each 10 × 13.5 cm. With each rectangle upright, mark a horizontal fold line 1.5 cm below the top. Mark the midpoint of the bottom edge. Cut from each end of the fold line to that bottom midpoint, leaving the full rectangular 1.5 cm tab above the triangle.
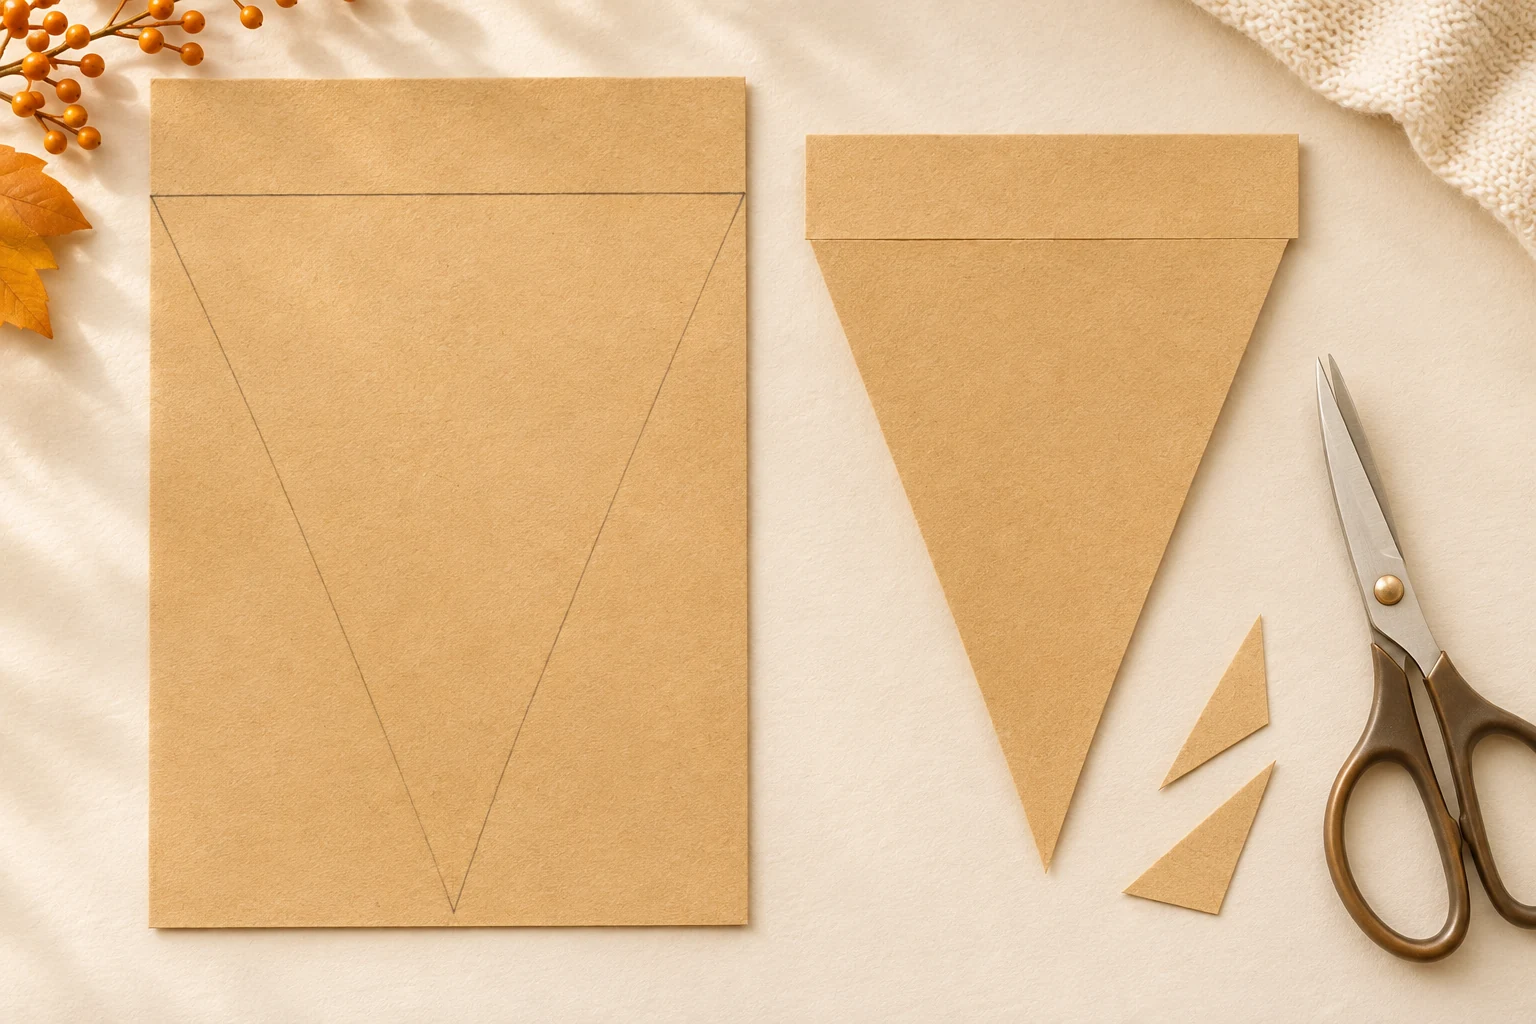
Keep the top 1.5 cm intact as a hanging tab. · View full size ↗ Layer the pumpkin filling
Cut six orange triangles, each 8 cm across the top and 9.6 cm from that top edge to the bottom point. Center one on each tan slice, with its top edge 1.2 cm below the fold line. Tape it down. Cut and add a 2 cm white circle near the wide end of each orange triangle for a little paper cream topping.
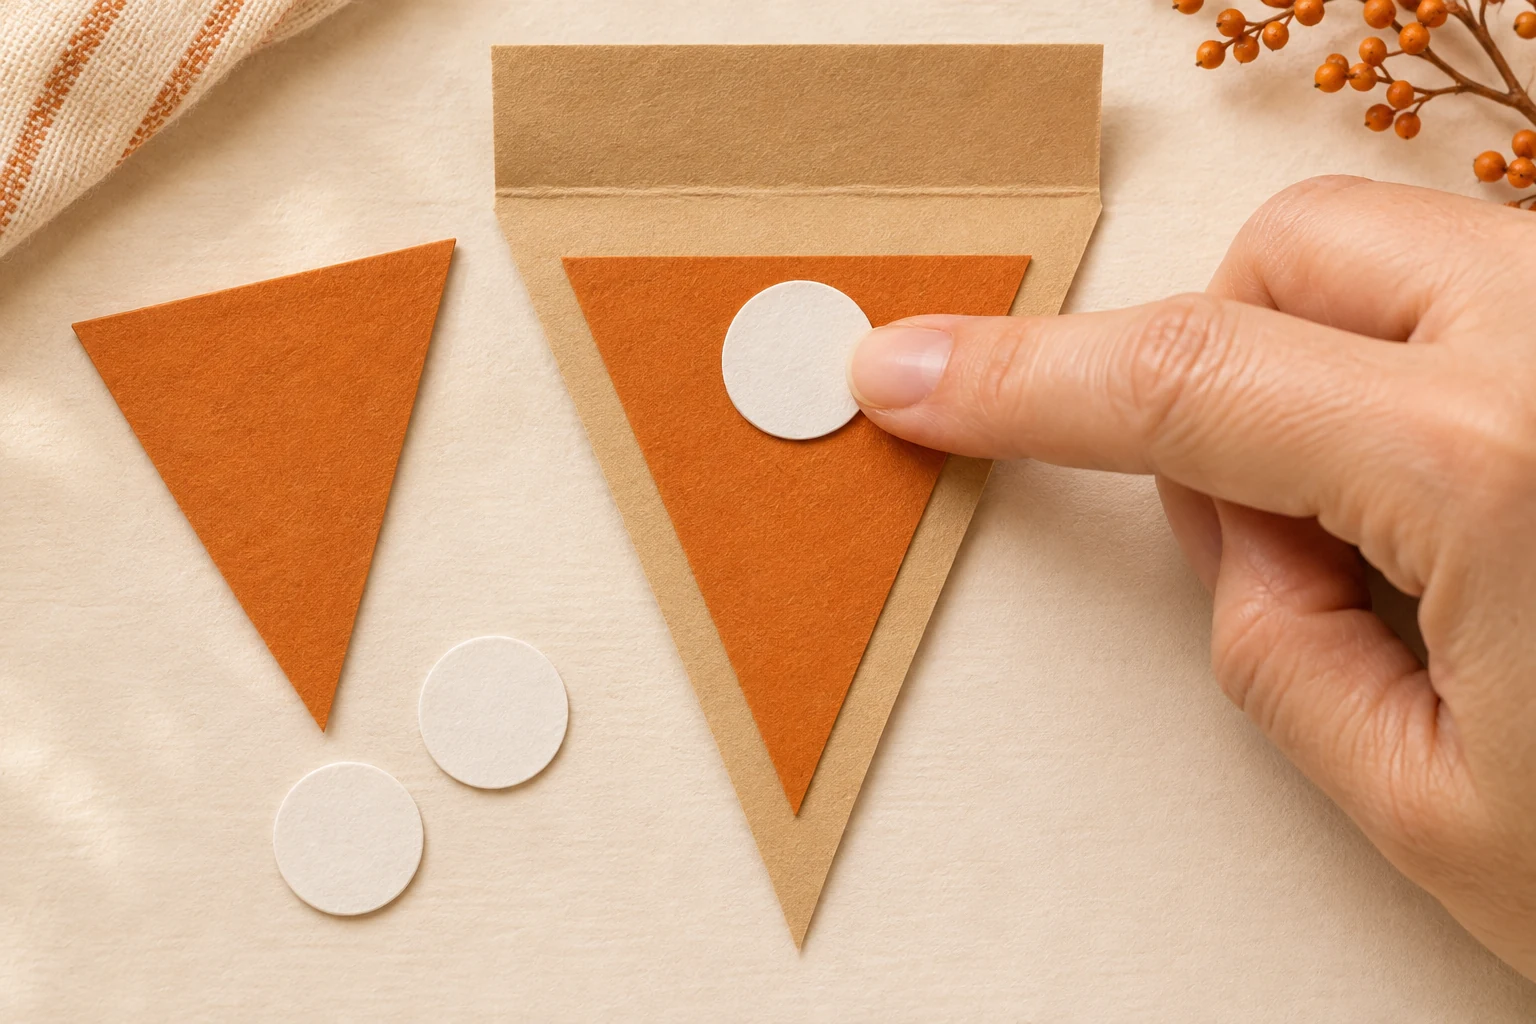
The orange triangle leaves a tan crust visible all around. · View full size ↗ Fold the tabs around the cord
Fold each tan top tab backward along the marked line. Reopen it and put a narrow strip of tape near its free edge. Lay the cord into the crease, then fold the tab down and press its taped edge to the back of the slice. Leave the cord free to slide inside the fold until spacing is set.
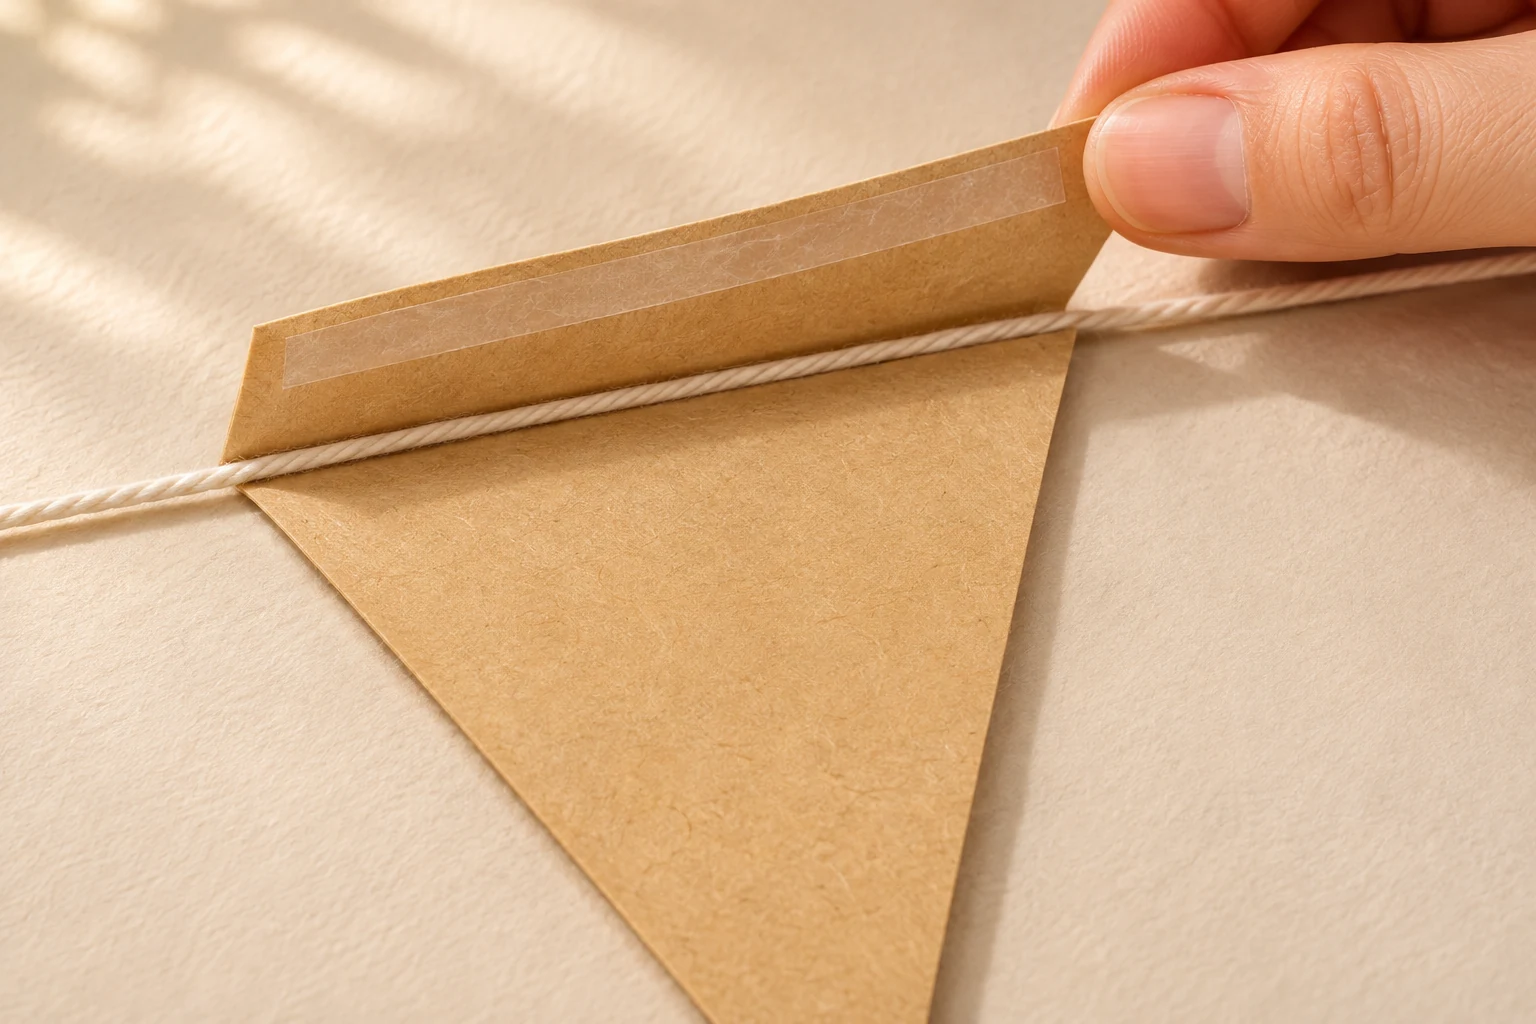
Tape the tab’s free edge to the back; keep tape off the cord. · View full size ↗ Space and hang six slices
Arrange all six slices along the 1.5 m cord with about 4 cm between neighboring slices. This uses about 80 cm of cord and leaves roughly 35 cm at each end for tying. Secure the ends to suitable indoor hooks, beyond children’s reach, and adjust the slices so they hang flat.
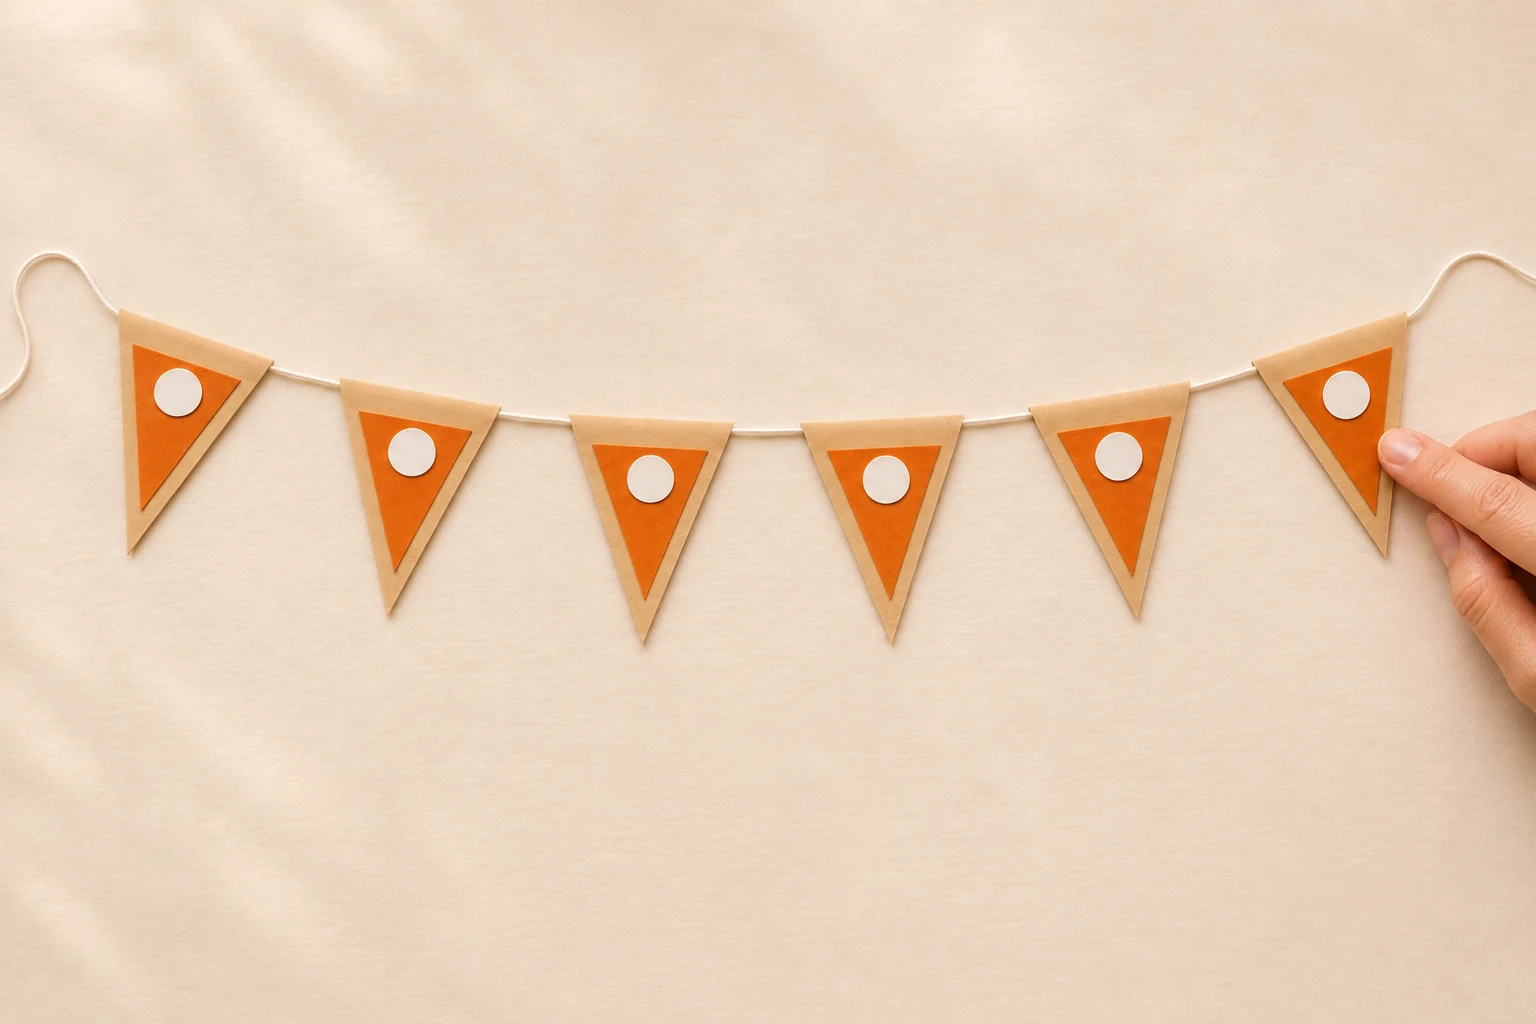
Six 10 cm slices + five 4 cm gaps make an 80 cm display. · View full size ↗
Make one tan slice first and use it as a tracing template for the other five.
Make it personal
Write one thing you are thankful for on the back of each slice before hanging.
The cover and process images are AI-generated illustrations of the intended make. Follow the written measurements; these project plans await hands-on maker testing. Allow any additional drying time. Estimated materials cost excludes equipment. Check your equipment and material instructions, verify template dimensions, and make a sample before a batch.
← Back to Thanksgiving projects