Everyday · No machine
A tear-and-stick rainbow
Explore colors with big torn paper pieces and a rainbow that can look any way you like.
STARTER GUIDE · AWAITING MAKER TESTING
Let’s make something lovely.
Before you begin: Stay within arm’s reach. Use age-rated washable materials; grown-ups handle cutting. Skip beads, buttons, loose magnets, batteries and other small parts around children who mouth objects.
- 01
Draw three or four broad rainbow bands on a large sheet. Fewer bands make a gentler first project.
- 02
Offer one color of paper in wide strips. Start a tear and let your child pull the pieces apart.
- 03
Apply glue to a small area and invite the child to press down the paper. Help only as much as they want.
- 04
Add the next color when your child is ready. It is fine to leave part of the rainbow for another day.
- 05
Finish with crayon clouds and dry flat. Display the work with a note about the colors your child chose.
Let your child place colors in any order. The experience matters more than matching a picture.
Make it personal
Make a family rainbow by giving each person one wide band.
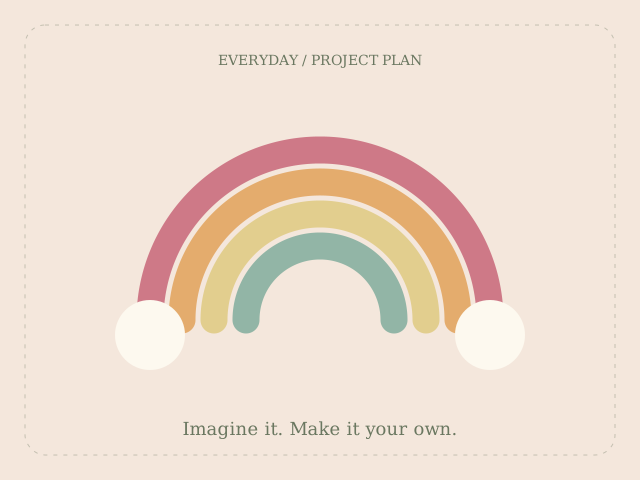
The diagram illustrates the project idea; it is not a maker-tested result. Allow additional drying time. Estimated materials cost excludes equipment. Check your equipment and material instructions, verify template dimensions, and make a sample before a batch.
← Back to Everyday projects